Hi All,
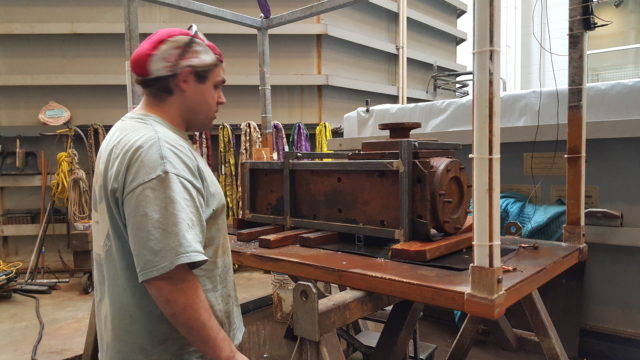
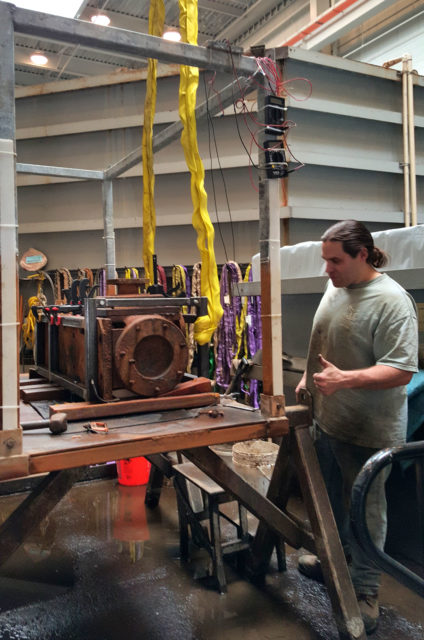
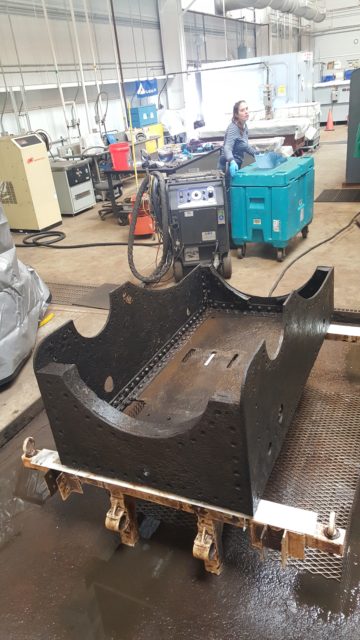
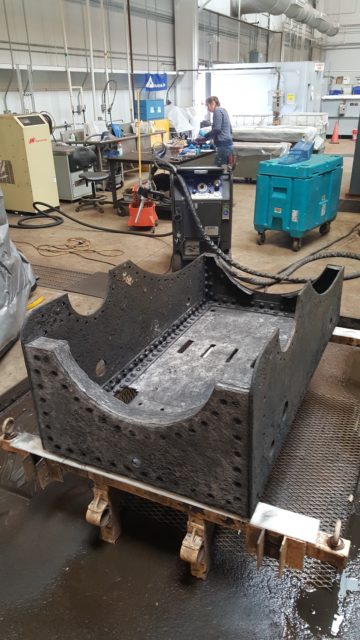
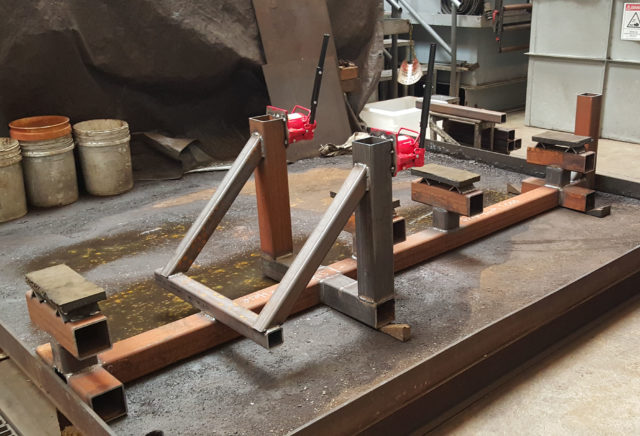
We have been working on a few large items in the Wet Lab recently. One of the ventilation engines needed a new support, which required flipping the object 45 degrees, and custom building a frame for this purpose. Additionally, a second round of dry ice blasting was applied to the port gun carriage and a first round of dry ice cleaning was performed on a section of the propeller shaft.
We just wanted to share a few pictures from all processes, so here are views of the ventilation engine re-support:

Here are a few before and after from dry ice cleaning of the port gun carriage:

And here are before and after pictures of the propeller shaft:

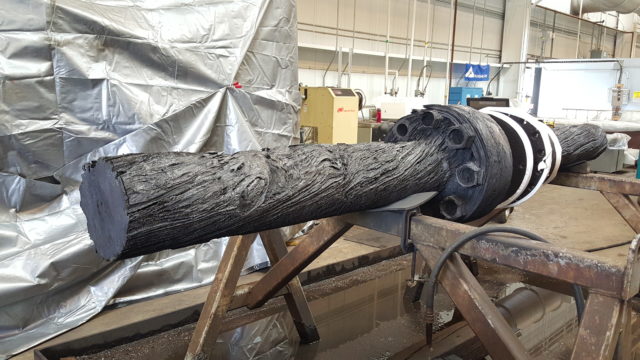
Note that I mentioned a “second round of dry ice blasting” above for the gun carriage, as we have empirically learned that a wrought iron object (like the carriage or the shaft) was thoroughly cleaned after three rounds of dry ice blasting. Between each round the artifacts are placed back in electrolytic reduction for a few months, to allow the electron transfer to loosen more of the surface concretions. In a few months the port carriage will be cleaned again with dry ice, before being place back in electrolytic reduction one last time.
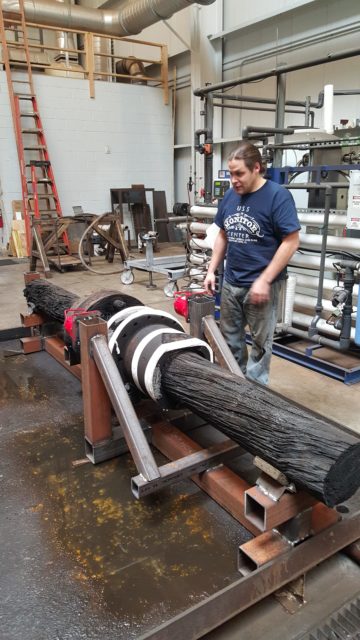
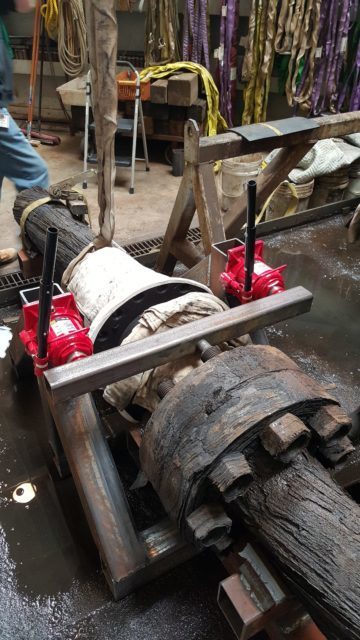
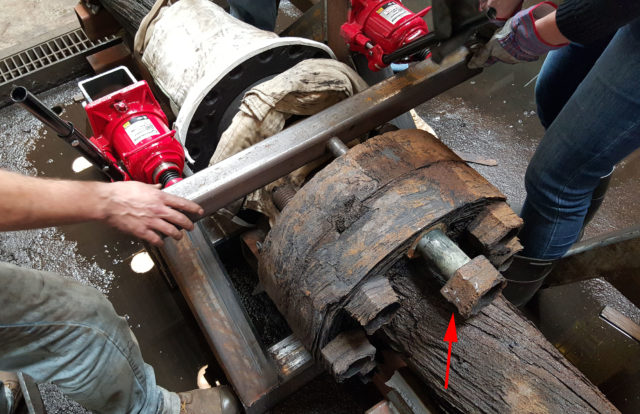
Last but not least, we have been spending the past two weeks trying to take apart the section of the propeller shaft showed above. This will allow for an overall better, more thorough, conservation treatment of the stuffing box couplings. Will even welded a crazy looking contraption for this purpose, which includes two 20 ton hydraulic jacks to help push the bolts out. We had a successful day last week and were able to extract one of the bolts, but none of them budged at all in our many attempts this week!! (Angry emoji face ;). We are not giving up yet, and this small bump in the road perfectly illustrates the challenges of this particular conservation project!
Here are a few shots illustrating the attempted bolt removal process:
Have a wonderful weekend everyone!!!