The day we loaded the hulls into the Great Hall I noticed water leaking from the packing materials so I decided to immediately unwrap the hulls to get the wet blankets and plastic out of the Museum. If you look at the video below, you can see the dirty black water seeping out of the packing materials and the moisture covering the surface of the port hull.
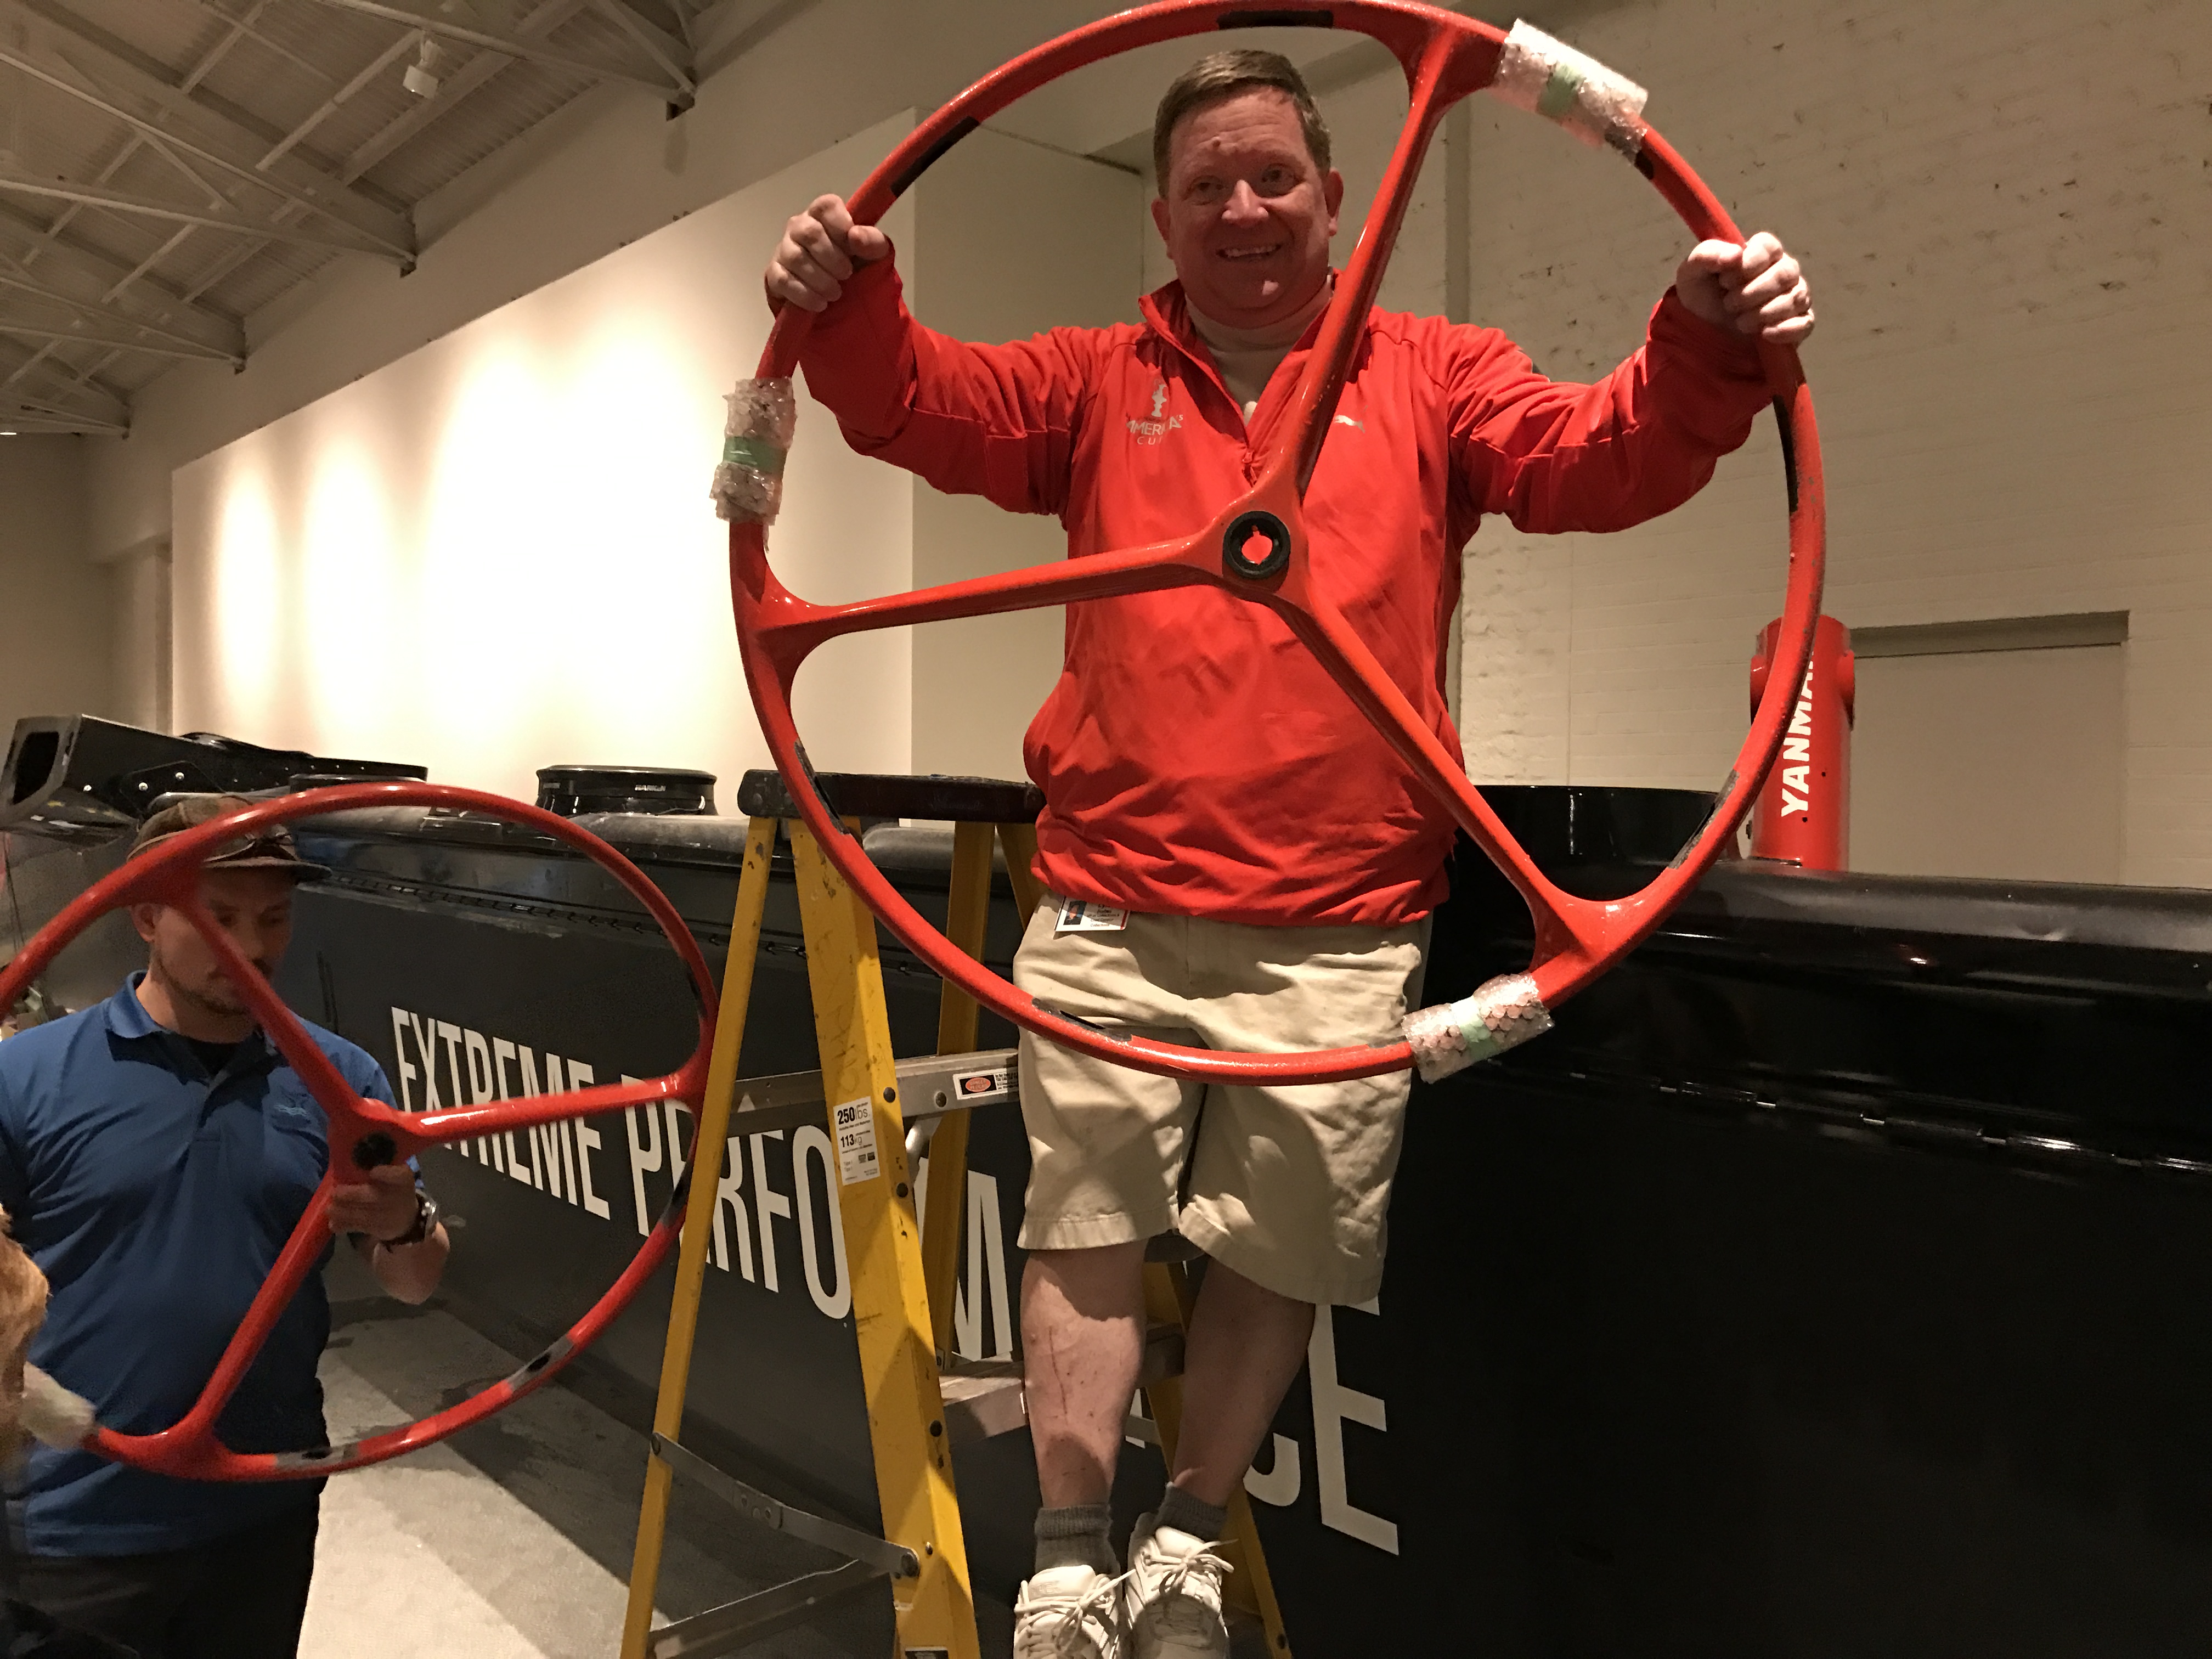
As we unpacked, we discovered large plastic bins of hardware and other boat parts (wheels, bowsprit, bobstay, dolphin striker, and lots of other things) packed inside the hulls. There was also quite a bit of standing water in the lower decks and other “debris” in the hulls (apparently a cat was living in the cat!) so I knew I had a major cleaning job ahead of me.
The next day Chris Voll, our exhibit production manager, and I got together first thing in the morning to plan how to move forward with the assembly of OTUSA 17. While we knew that one of the former Oracle shore team members might be coming to help us at some point, we were on a tight deadline with the exhibit installation schedule and both felt we needed to move forward as quickly as possible—whether we had help or not. I ran my thoughts regarding the assembly process by Chris and luckily he agreed with the plan I devised—which was really more of an ordering of the process. The order we came up with was 1) mount the foils, 2) seat the forward crossbeam, 3) mount the central pod, and 4) mount the stern crossbeam.
We spent that first day getting organized. This included unloading the materials packed inside the hulls and moving the lifting equipment we needed into the gallery. As one of my staff and I unloaded the hulls we realized that the bins and buckets of hardware were not only full of water—they were completely disorganized. There were hundreds of bolts and screws and nuts and washers and bushings and other parts in a hundred different shapes and sizes. We laid everything out on the floor of the gallery and Chris and I looked at each other and he said “I think they’ve sent us the world’s largest aptitude test—here are the boat parts and here’s the hardware, figure out how to put it together, you’ve got three weeks.”
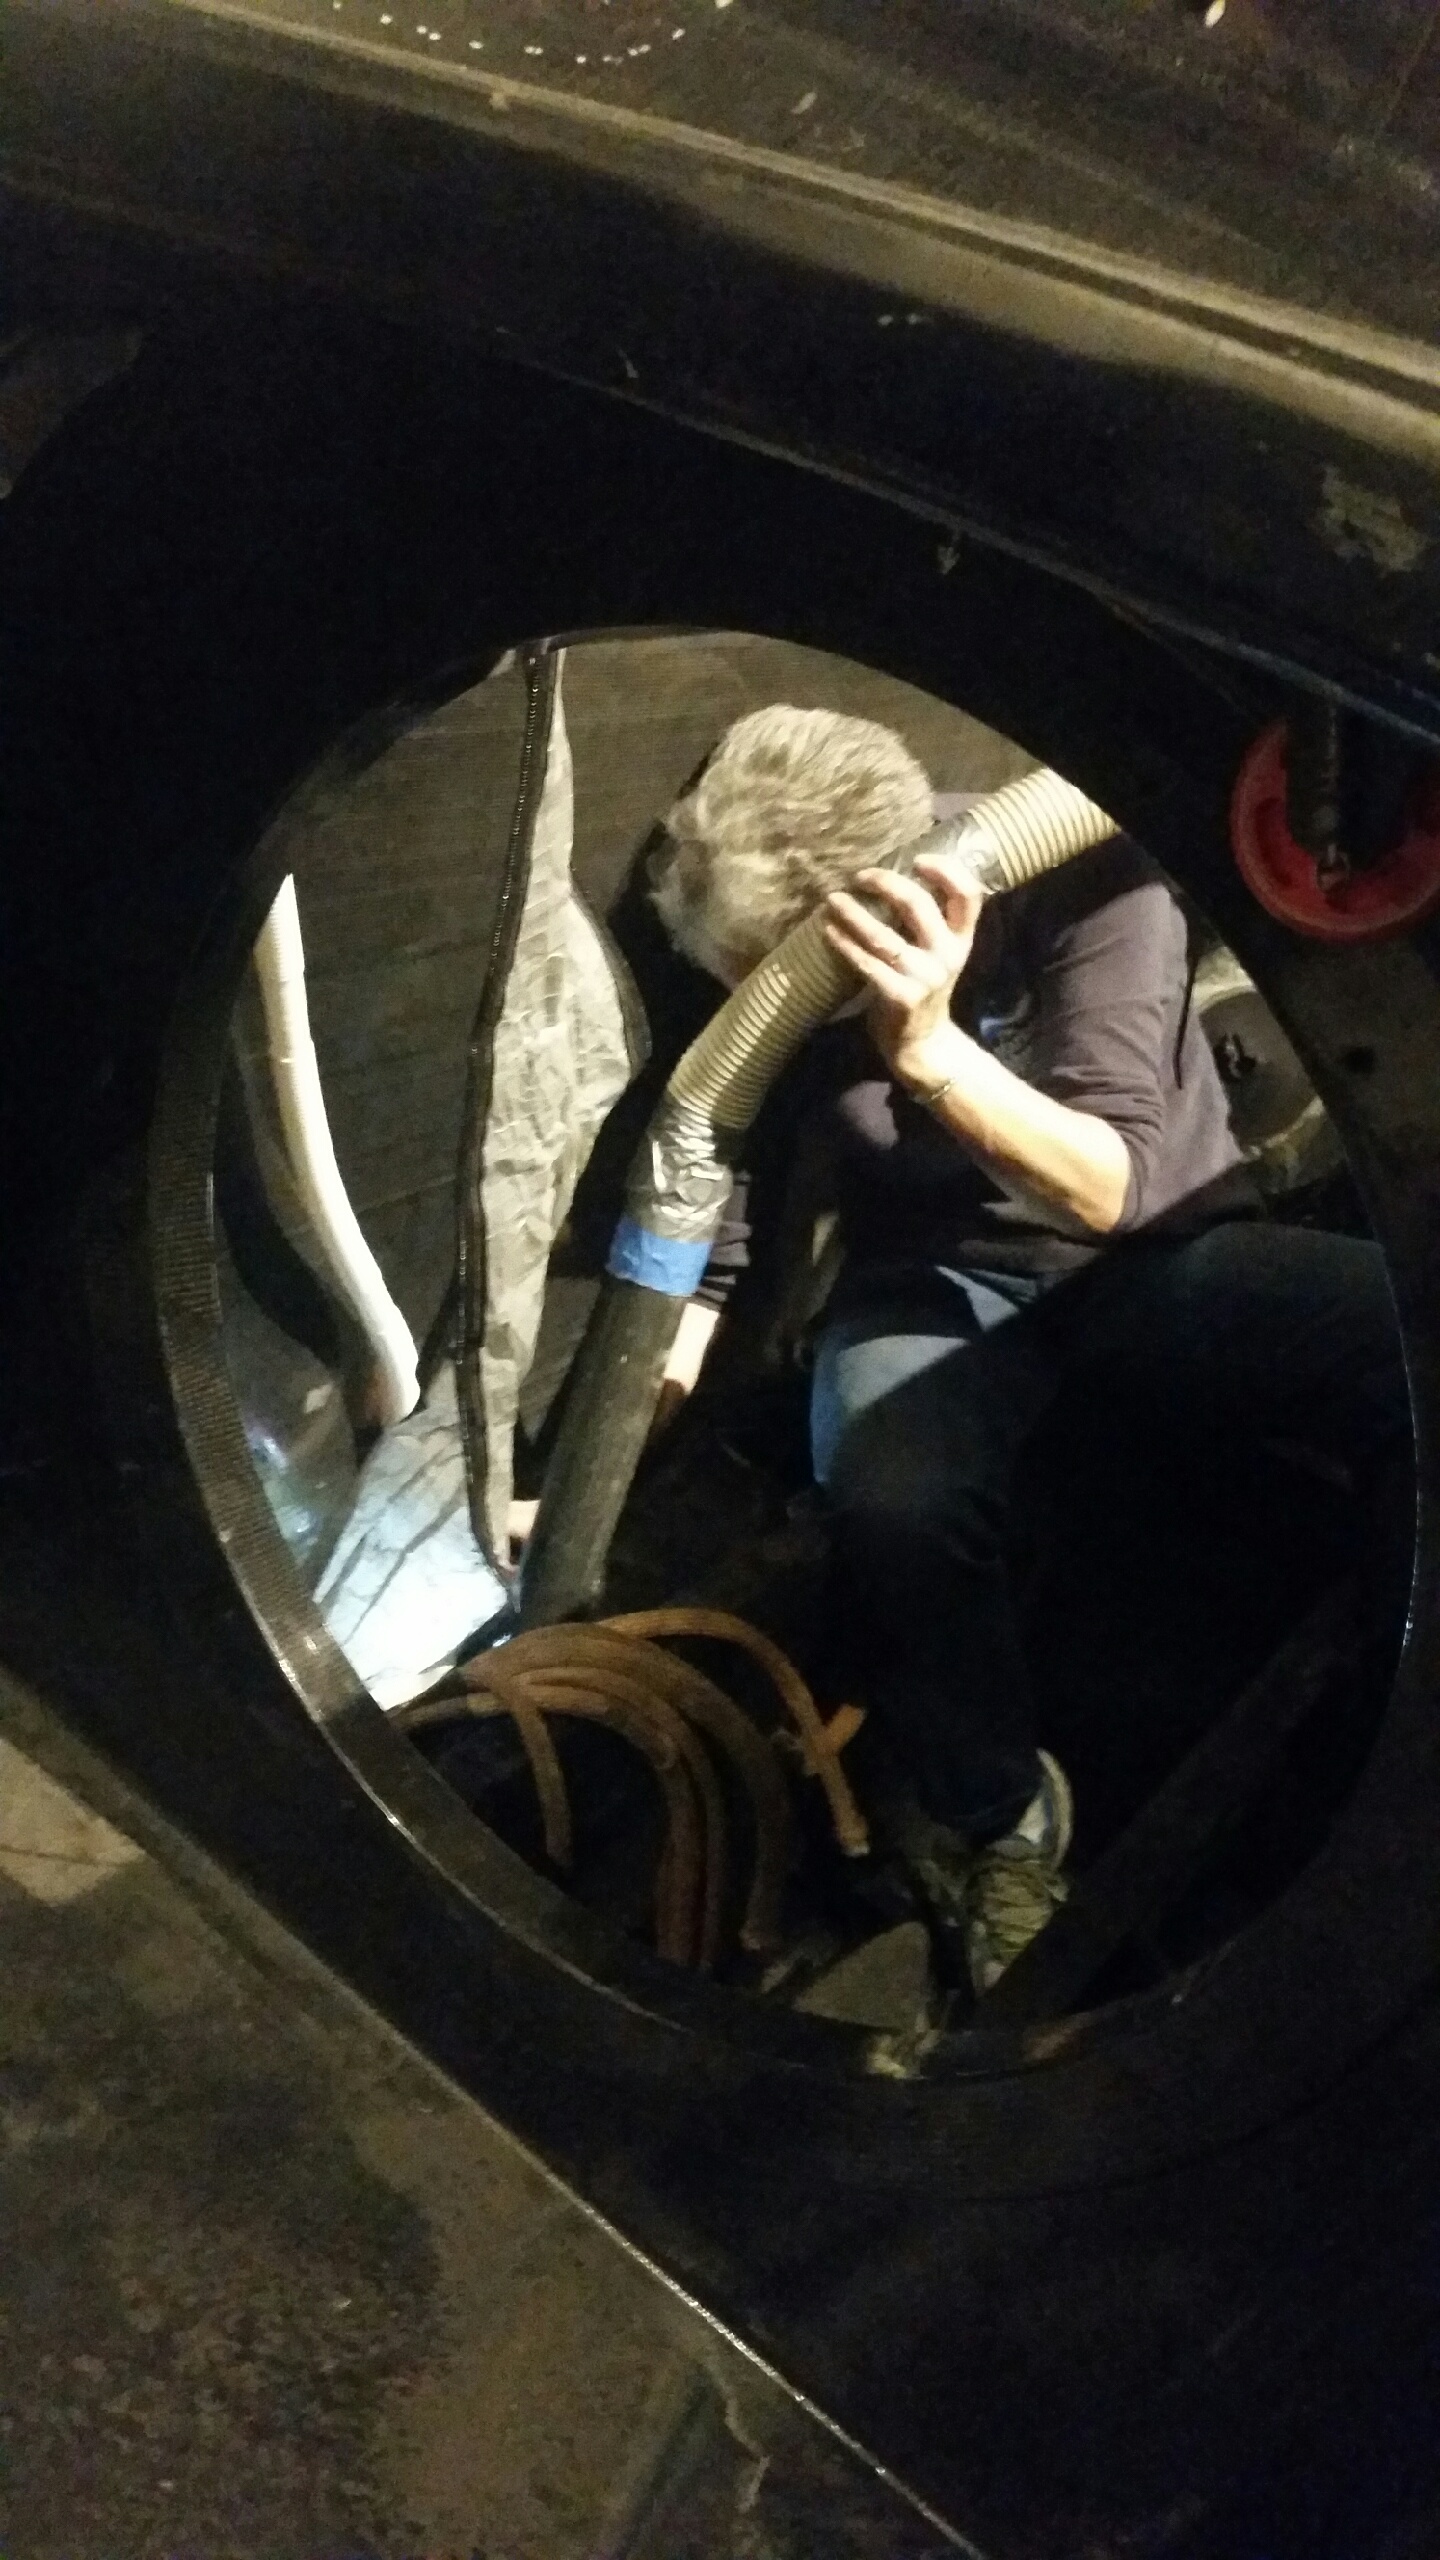
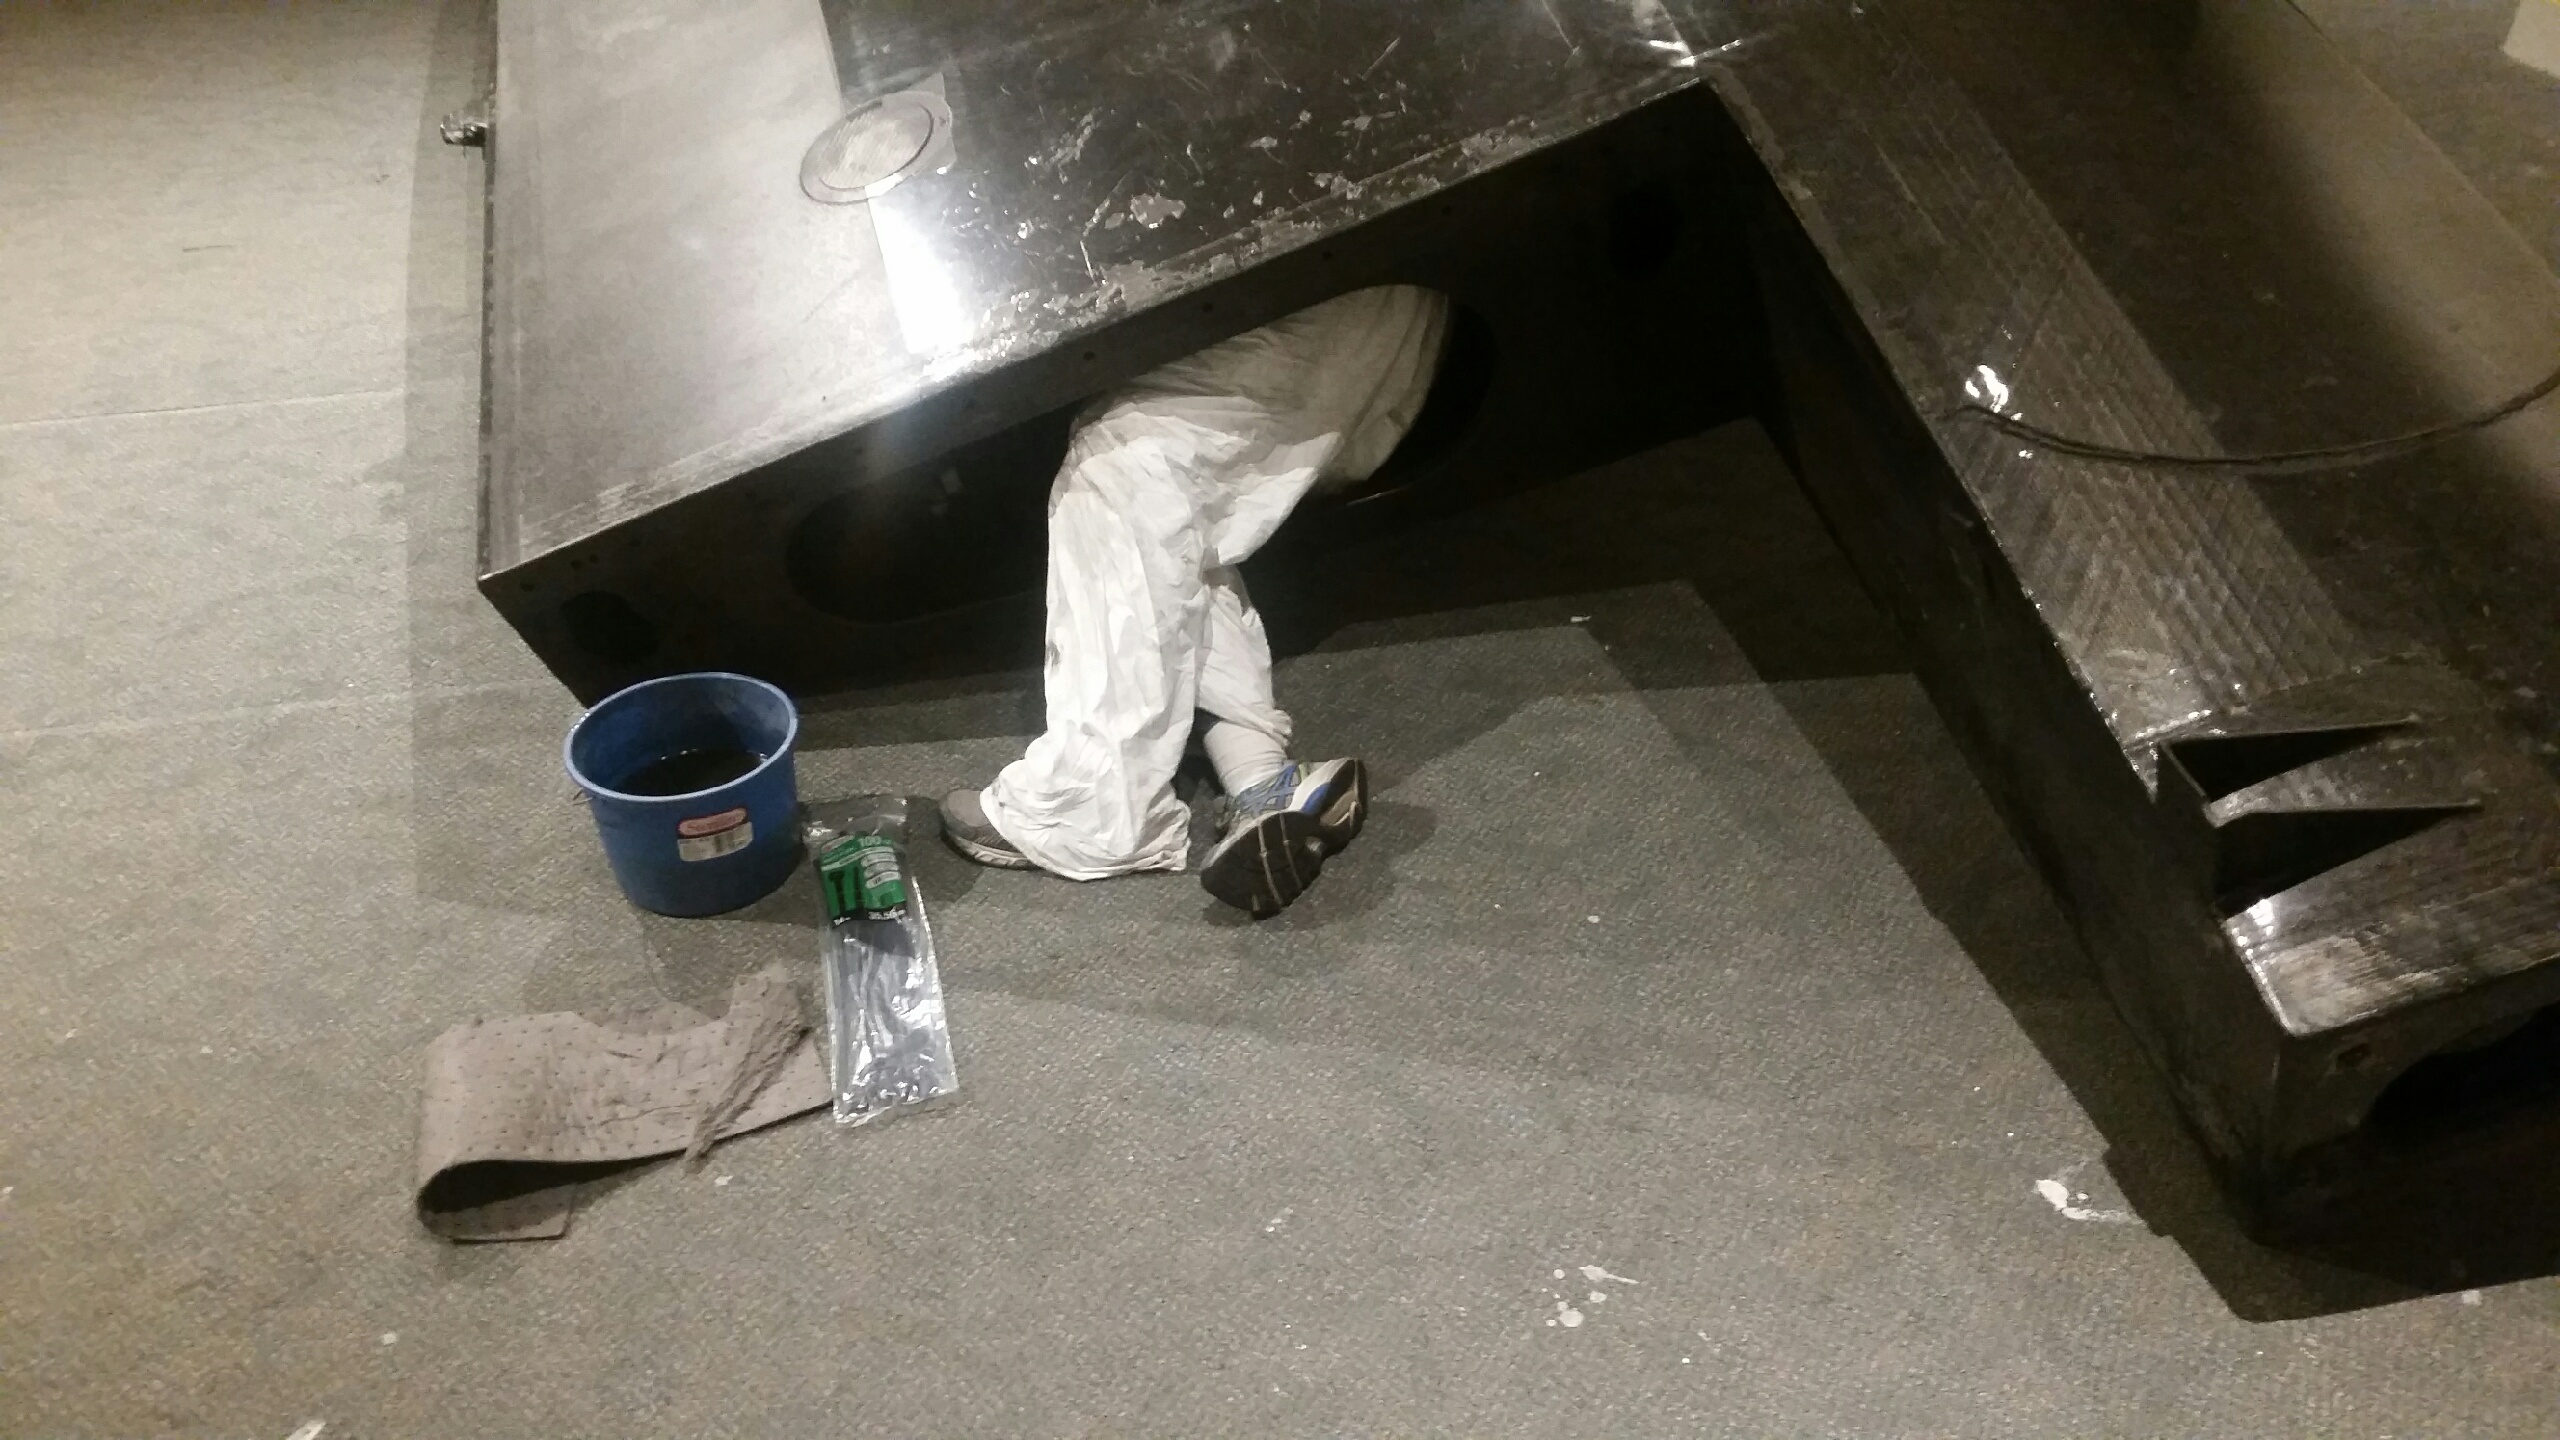
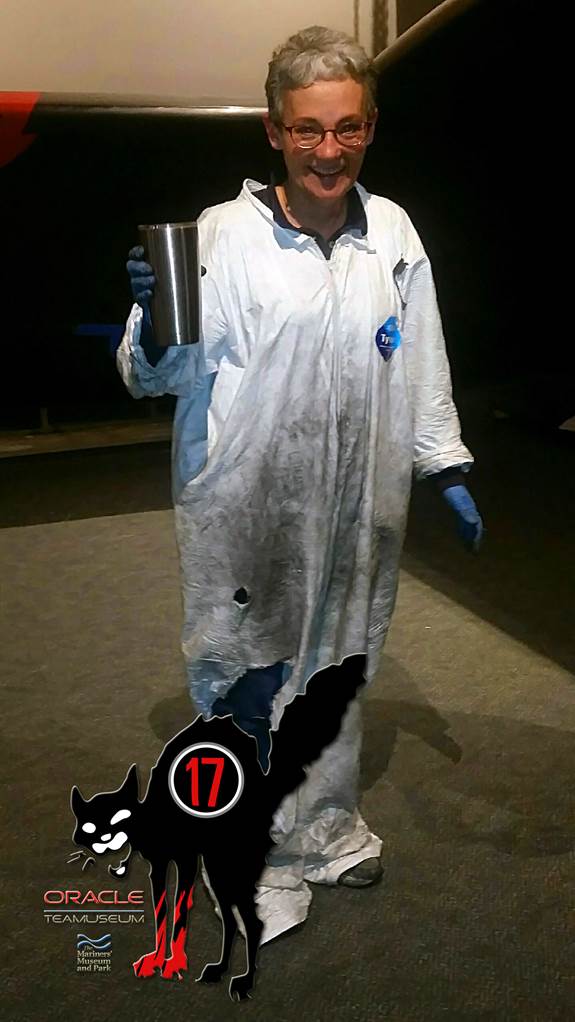
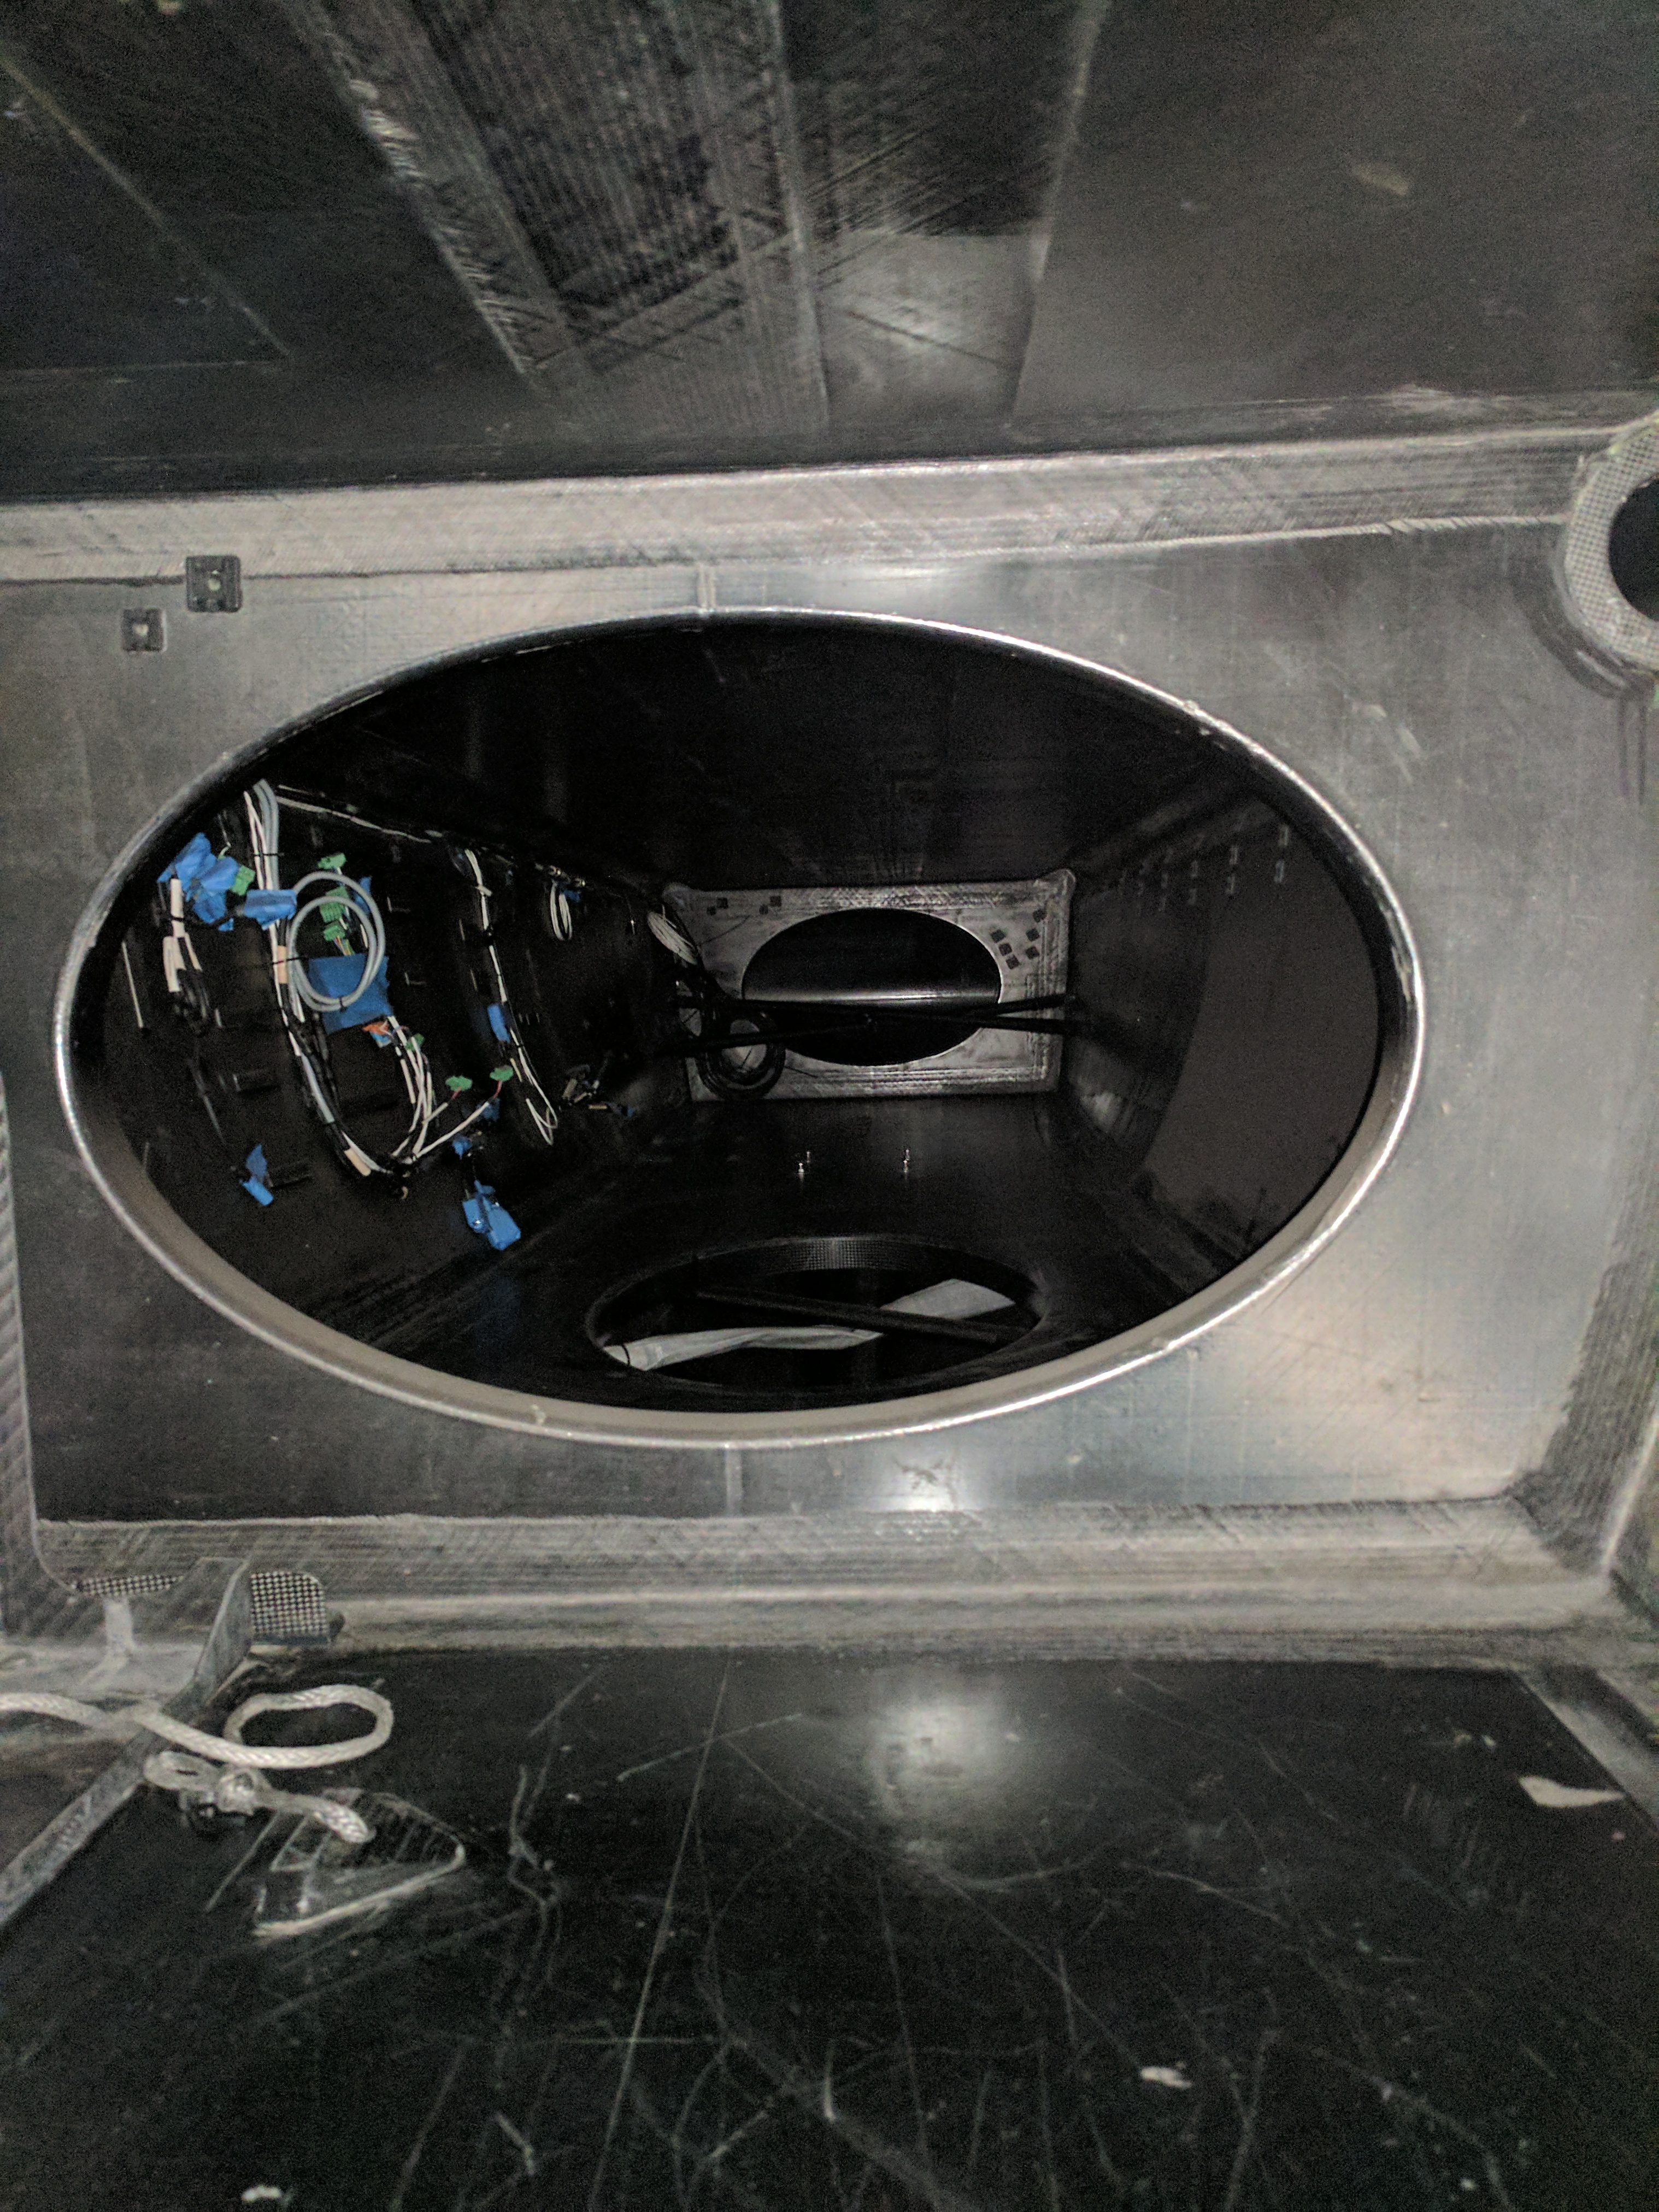
At that point we hit the ground running. I spent nearly a week vacuuming water out of the hulls and central pod and cleaning the boat as best as I was able. Some of the spaces within the platform are really tight and I couldn’t necessarily get a shop vac or other type of cleaning equipment where I needed it so sometimes I just used wet rags or ZEP cloths to wipe everything down. Just today I got into the forward part of the port hull and felt a little dismayed that it still seemed dirty. I could probably clean for another two weeks and still find dirt and hydraulic fluid on the interior surfaces of the boat.
I had a few volunteers spend some time cleaning rust off the non-titanium hardware and conducting an initial sort of the material into like-sized and shaped pieces. I then followed behind them and spent another two or three days sorting and learning the hardware and studying the boat to try and determine what type of hardware went where. This ended up being very helpful later on when my knowledge of the pieces helped me crack the code that enabled us to install the proper hardware into the twenty main connection points that are holding the platform together (eventually I managed to get hundreds of other bolts into place as well).
At the same time all this was going on, Chris and I worked with a few other staff members on tackling the first major step in the assembly process—installing the foils. I’ll discuss that process in my next post!