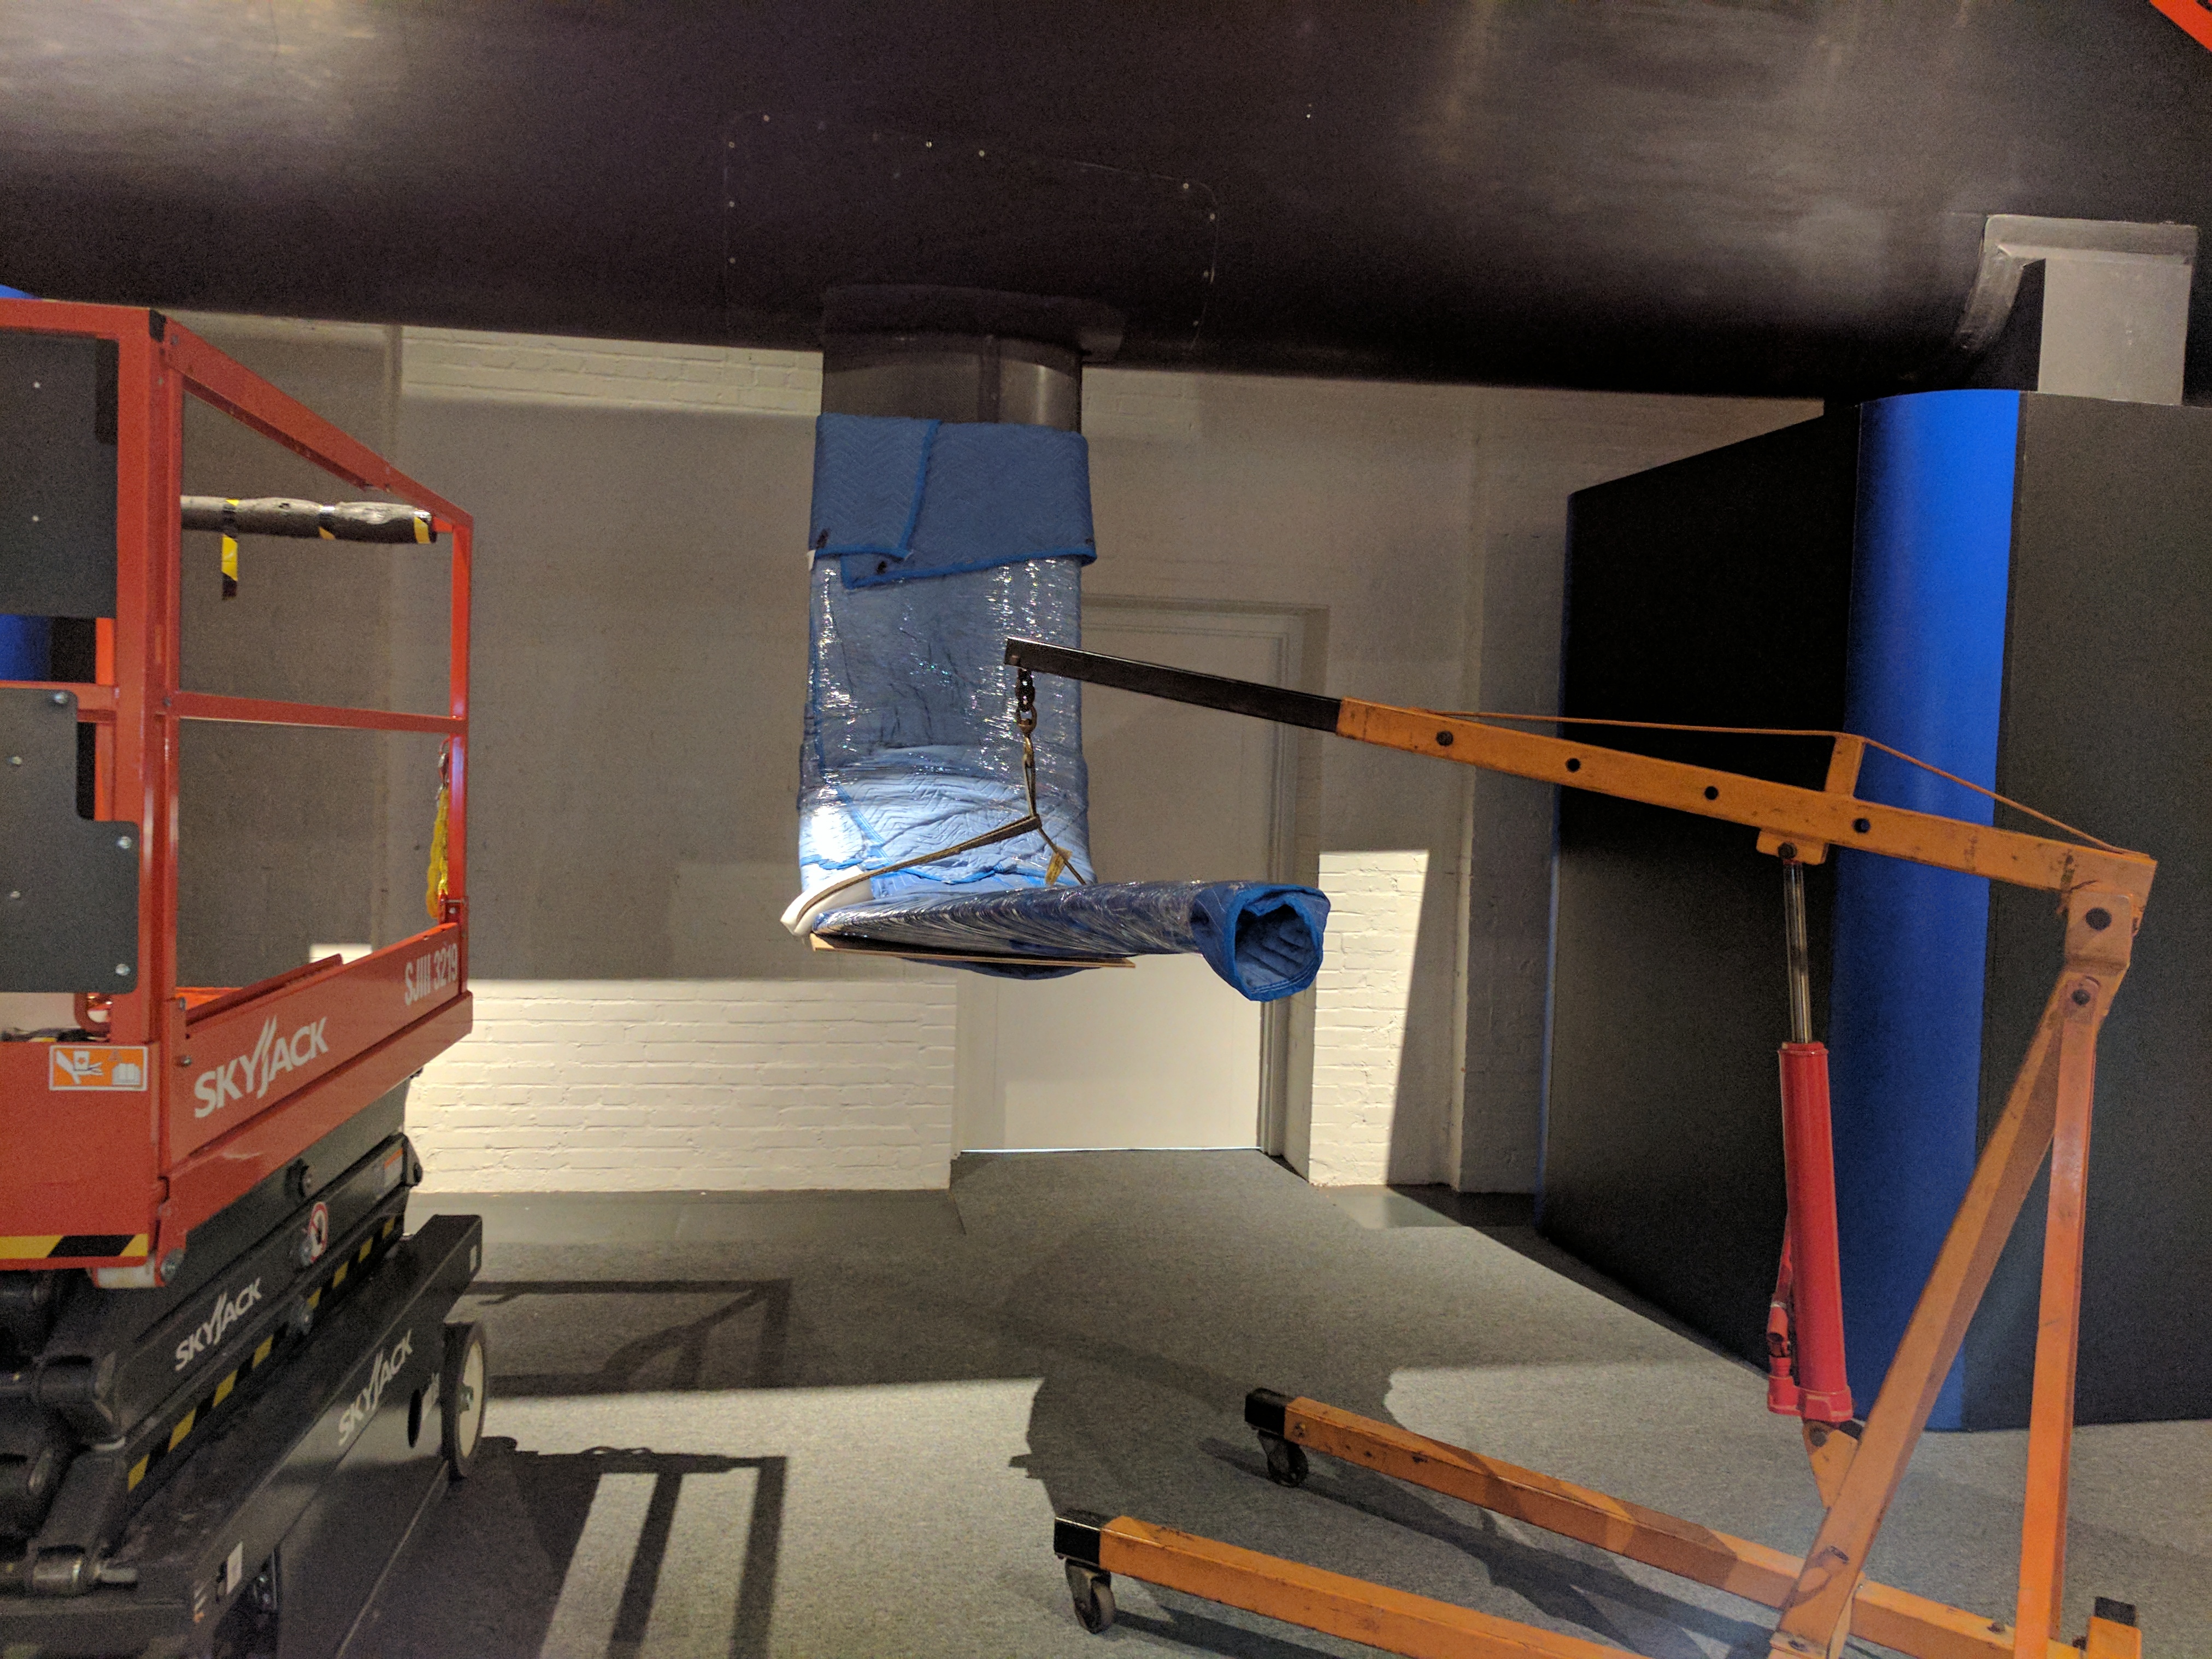
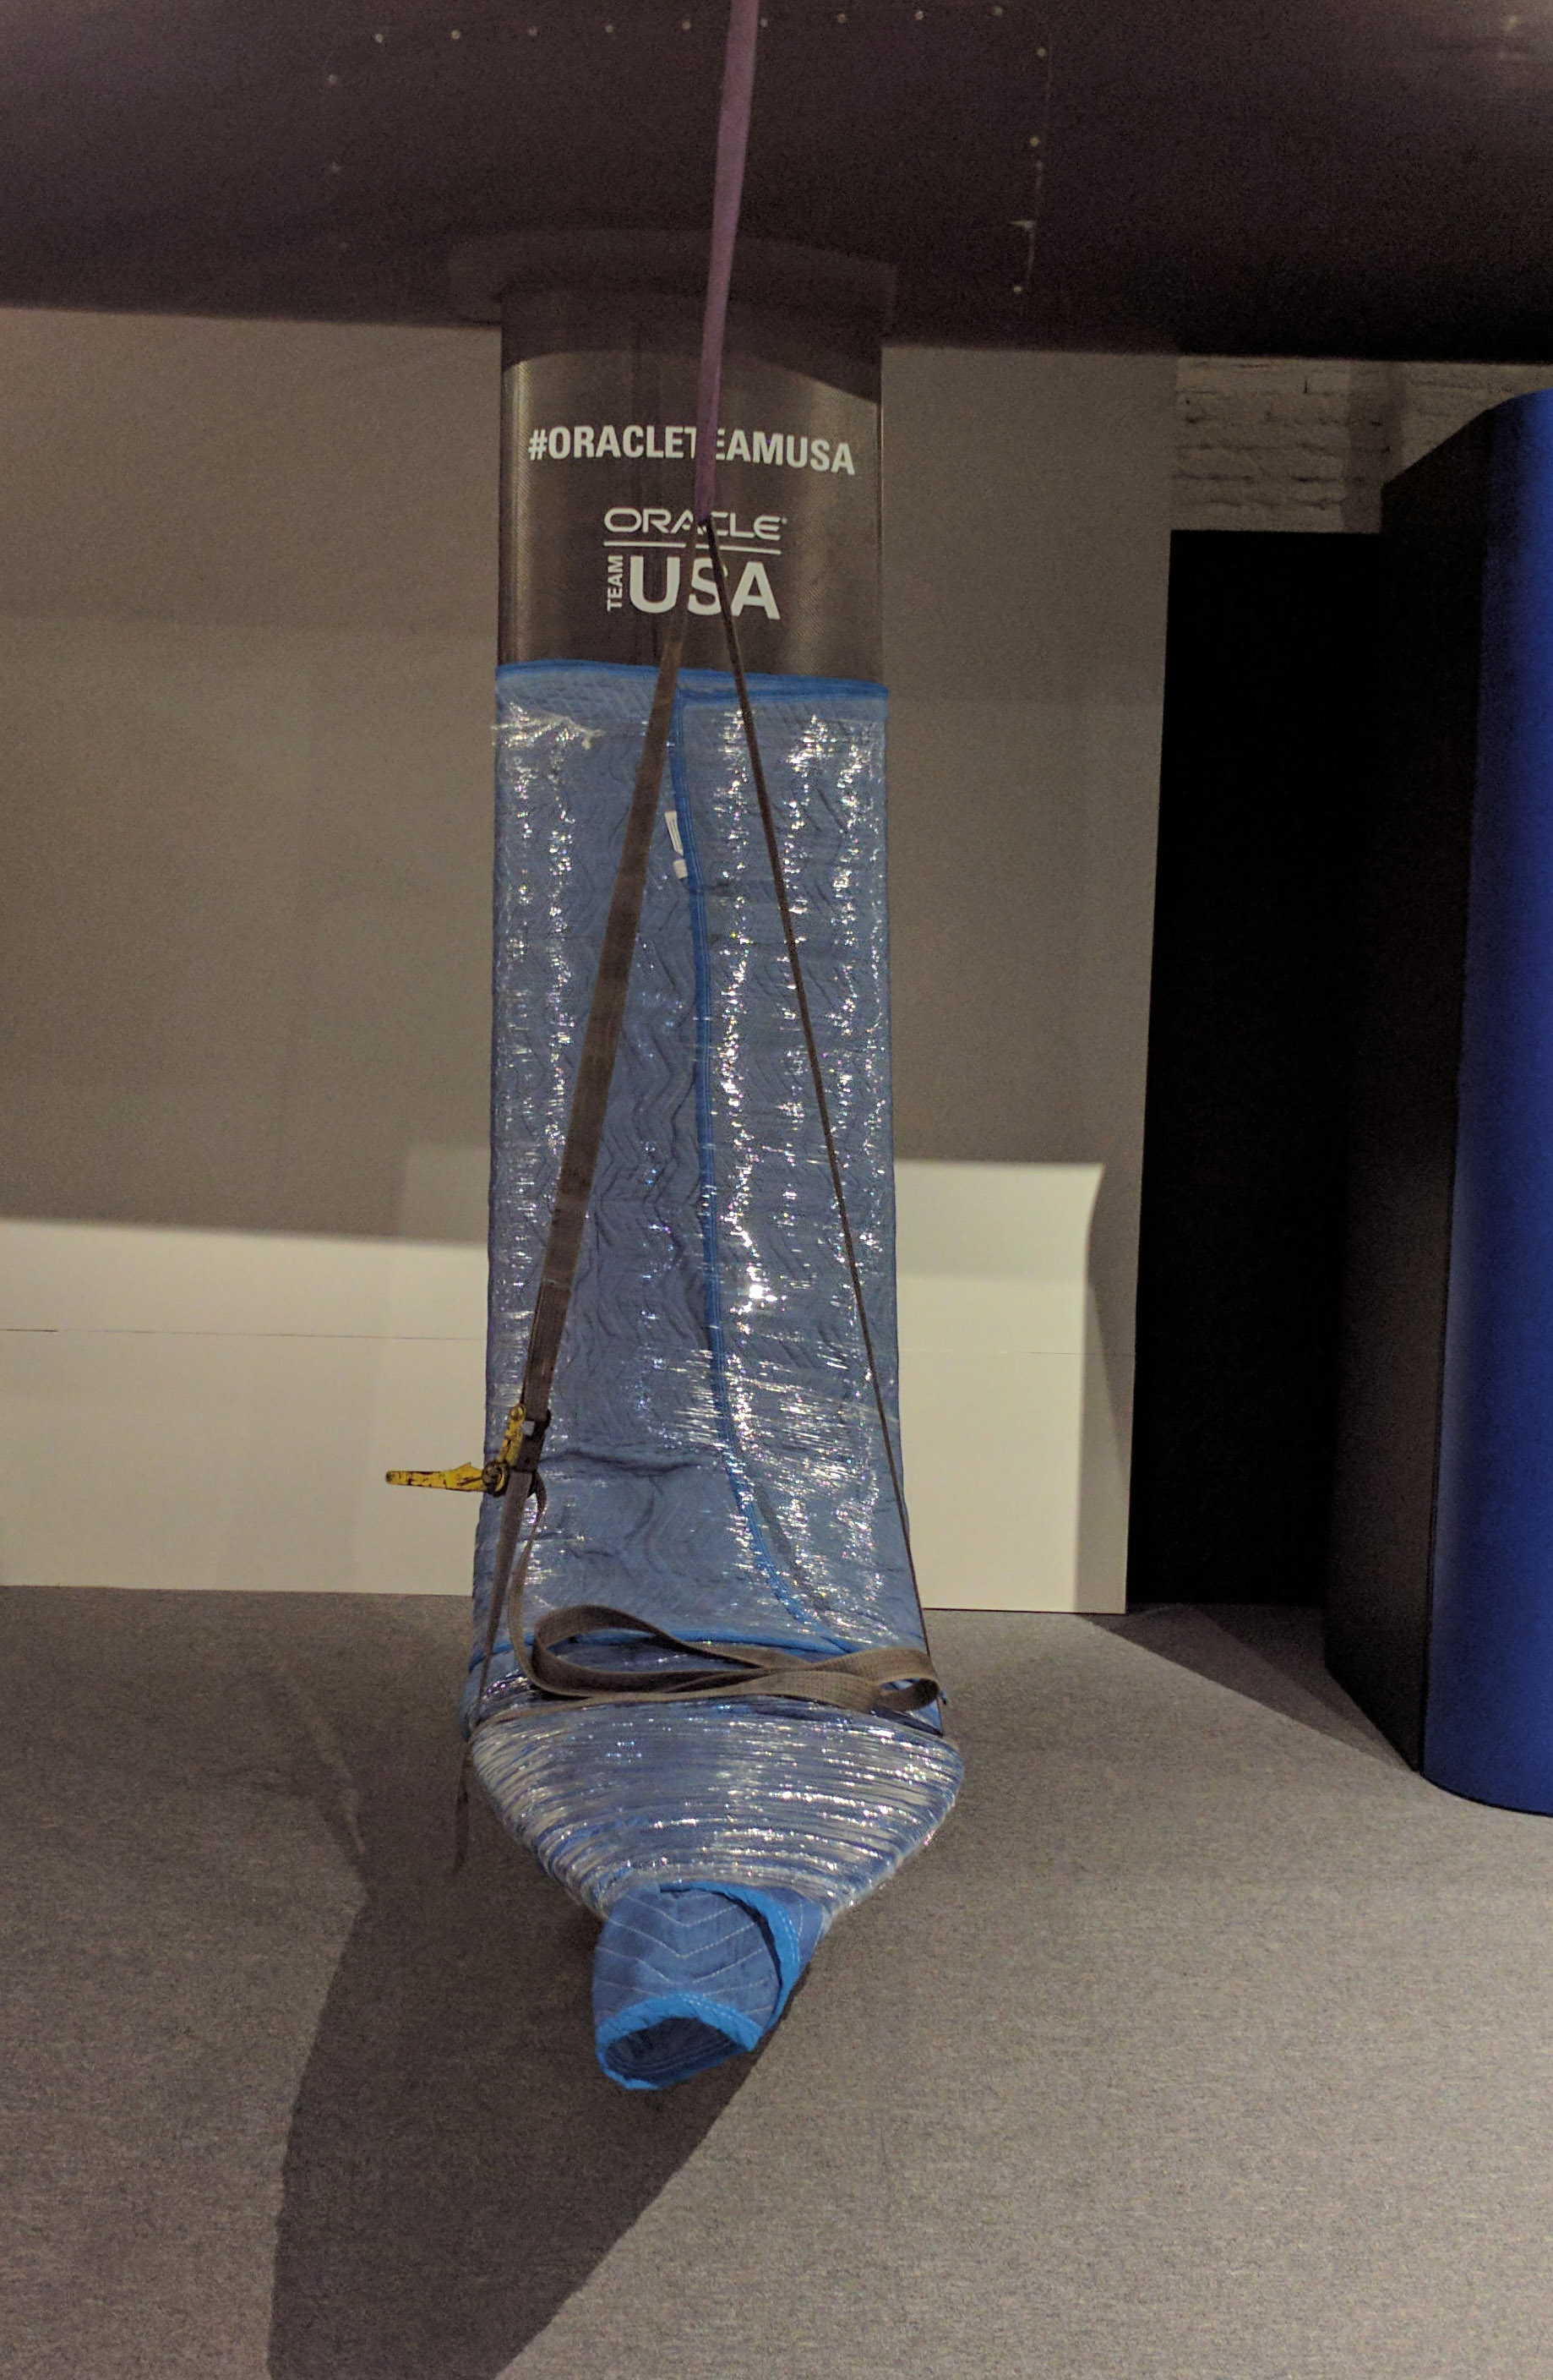
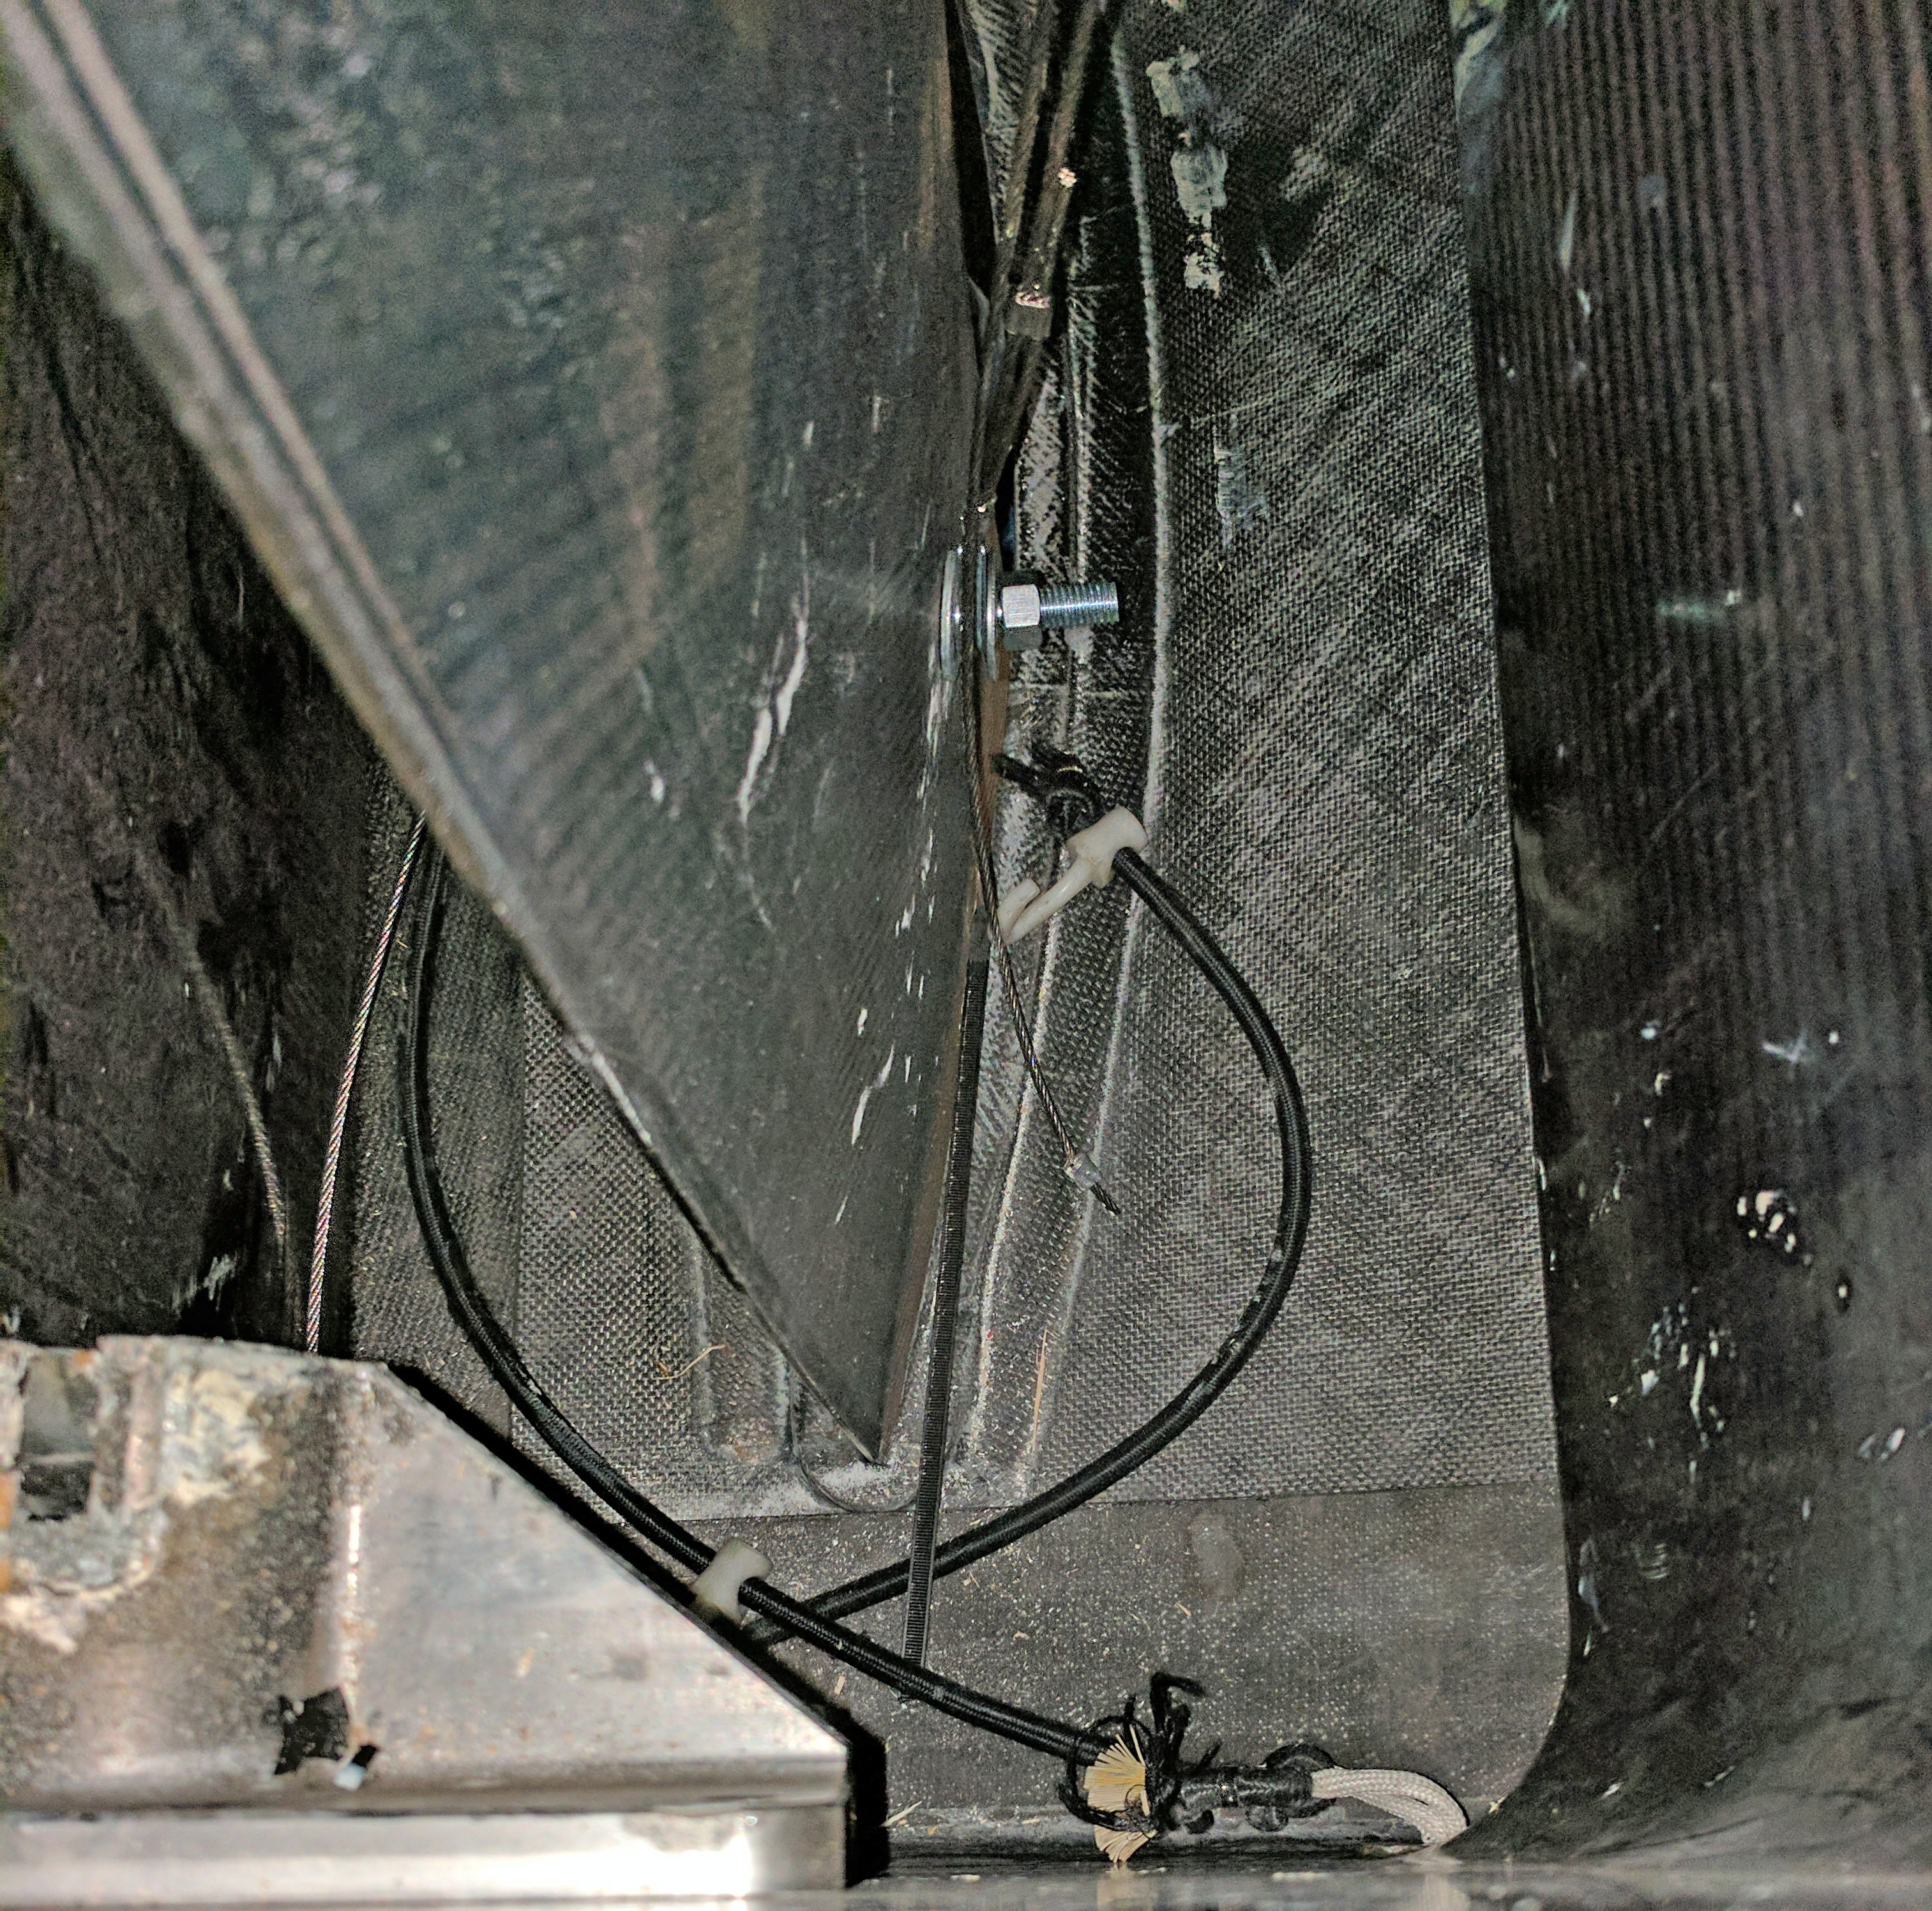
Yesterday we spent most of the day getting the daggerboards into position for the Speed and Innovation in the America’s Cup exhibition. We managed to lift the port foil about three feet using the combination of an engine hoist and a ratchet strap attached to the ceiling (unfortunately the ceiling is preventing us from raising the foil higher). To keep the daggerboard in position Chris devised a way to hang the foil from a hole in the board. With the hole positioned a few inches above the sliding plate at the bottom of the daggerboard well we ran a large bolt through the foil and attached loops of aircraft cable. Those loops are hanging from two two-inch square sections of metal channel that lay across the top of the daggerboard well.
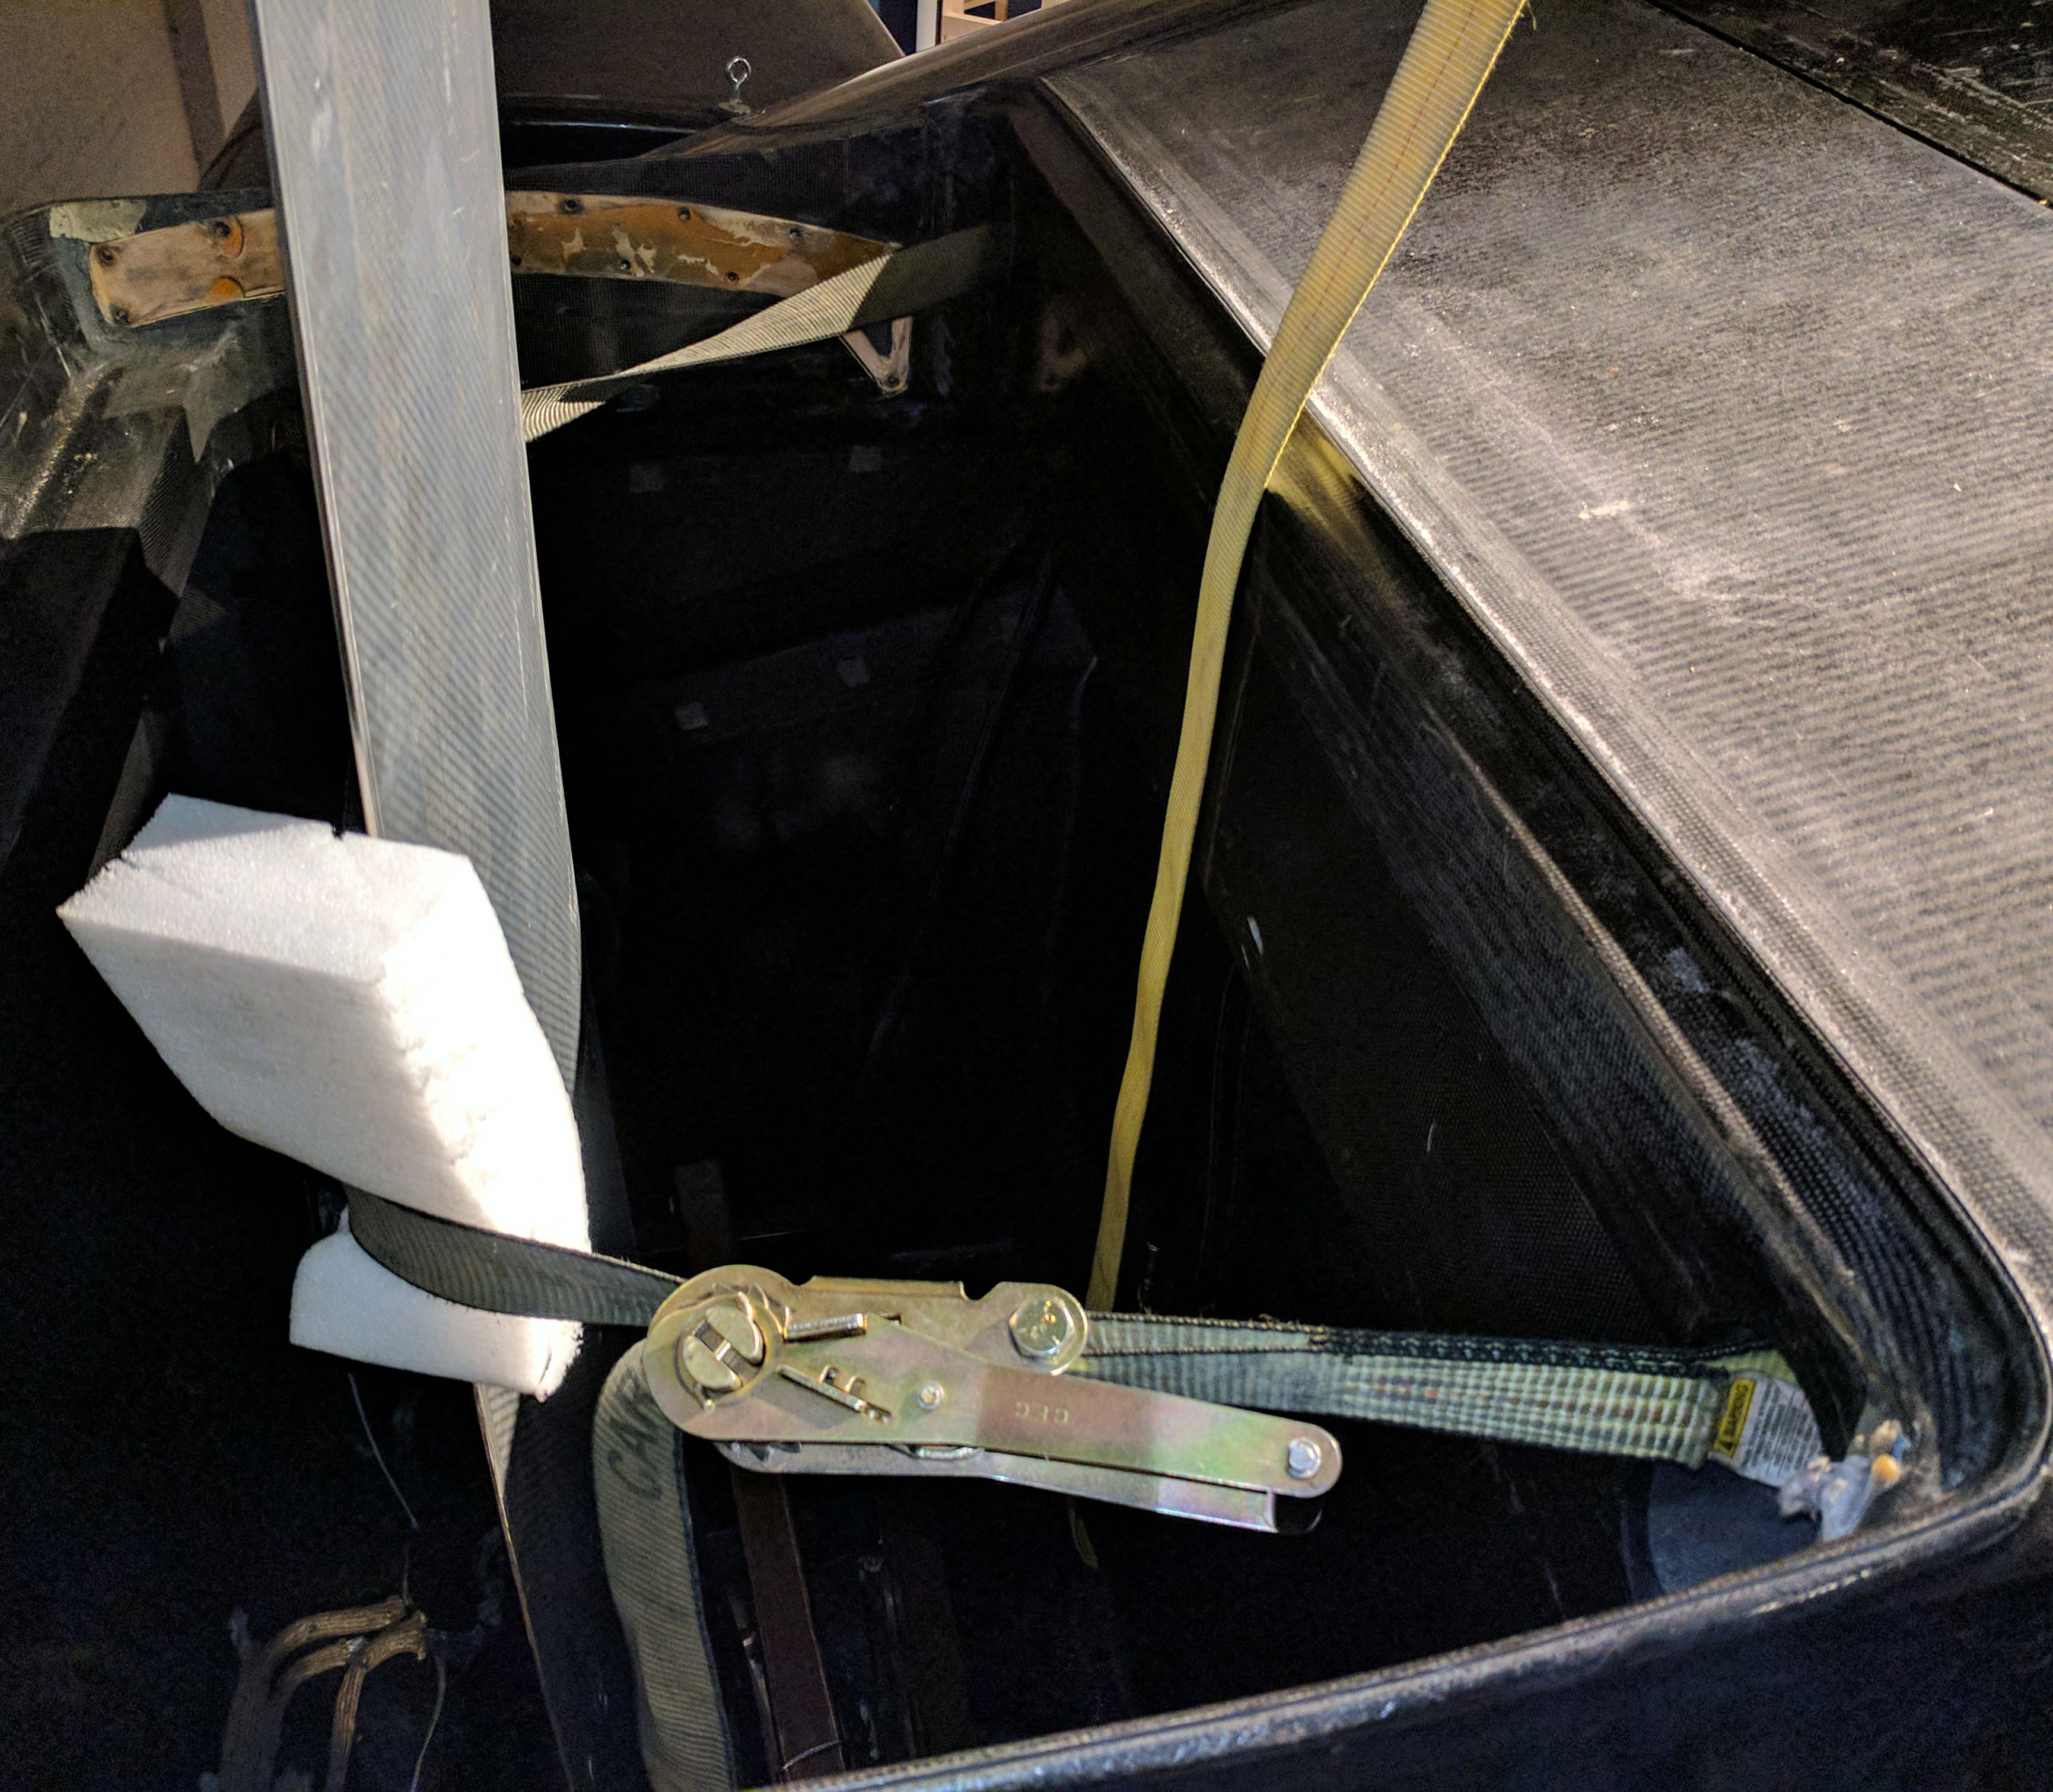
We tried to introduce a little cant to the foil but this caused the daggerboard to press against spots within the well that originally held the systems that moved the board. We weren’t willing to accept that damage that these pressure points were causing so we decided to center the daggerboard in the well. For those of you whose reaction is “awwww… we want to see it canted!” you have to remember the boat is in a Museum now and it’s our job to make sure it lasts forever which means the white glove treatment from now on–we won’t change anything or do anything that might hurt it or cause damage. Centering the board was accomplished by running a ratchet strap through the holes where the hydraulic rams that controlled the cant of the board used to be (which, of course, meant that I had to crawl through the forward crossbeam on my stomach to reach the connection point between the crossbeam and the hull). The addition of the strap helped pull the top of the daggerboard toward the forward crossbeam which centered it in the well and eliminated the pressure points on the board.
We are going to refine the positioning of the board so we can easily discuss rake in the exhibition and add a little padding to stabilize and protect the daggerboard. Once this is done a secondary cable will attach it to the ceiling. The starboard daggerboard will remain positioned at the floor and will be held in place with a specially designed mount (which will carry the weight of the board) and a cable connected to the ceiling.
We will be installing railings around both foils to prevent injuries to our visitors. Right now the port foil is at decapitation height for someone my size and the starboard foil has already taken out at least four ankles… hence all the padding!