Turret Season is officially over! Last week we changed the solution in the turret tank and hooked it back up to its electrolytic reduction (ER) system. This is a long and exhausting process which takes about a week to complete. Let’s look at the steps involved in readying the turret for the off-season.
Thursday, A week out:
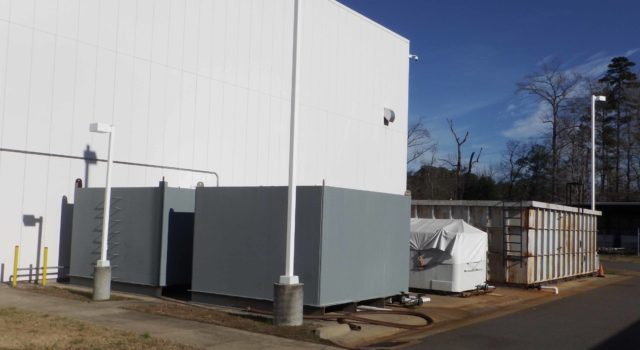
The turret tank holds 90,000 gallons of solution. We start building up water a week before filling so that we will have enough on hand. Did you know that we have outdoor tanks behind the lab which can hold all of the old solution or the new water?
Monday, three days to go:
At the end of the season we fully drain the tank so that we can clean up all the muck at the bottom. At the end of each work day we shovel up the loose concretion from where we were working, but there is always a bit remaining. Additionally, concretion and corrosion products have spalled off the turret thanks to the ER system. ER helps to passivate the turret’s metal and encourage the concretion clinging to the surface to separate from the object. All of this is shoveled up and removed so that the chloride-rich debris doesn’t release chlorides back into solution. We don’t want to put salts back into the turret!
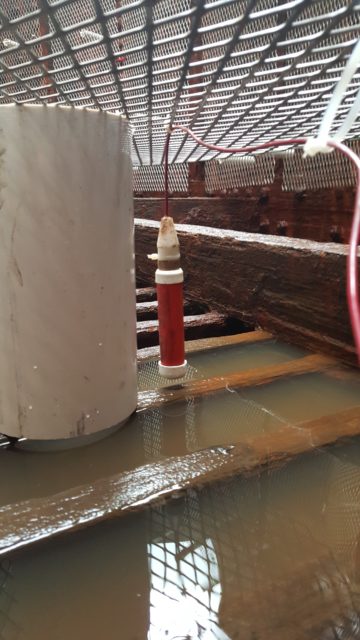
New reference electrodes are made so that they are ready to be hooked up on fill day. These electrodes monitor what the turret is doing in its bath. The ER system is regulated by ensuring that these electrodes’ readings are stable and in the appropriate range. We need 14 of them to make sure that the whole turret is protected.
Tuesday, two days to go:
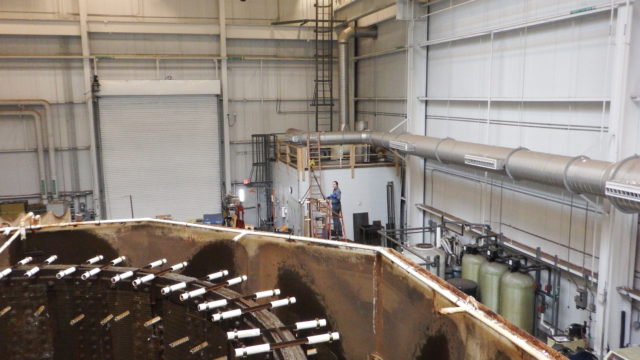
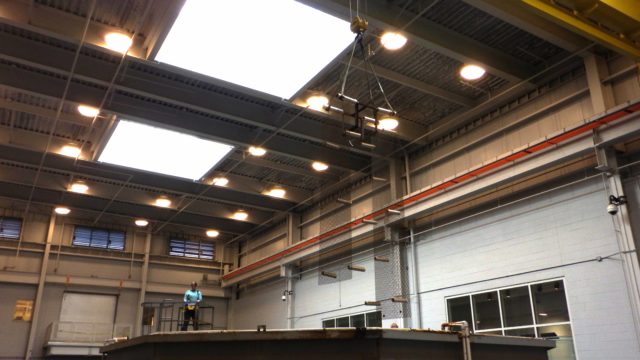
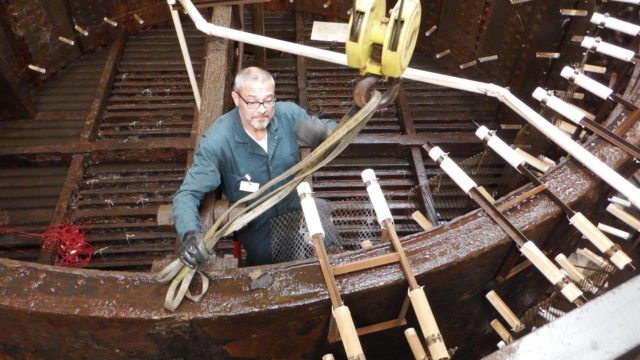
We use steel mesh sheets to cover as much surface area of the turret as possible. These anodes are part of the ER system. They are linked together with wire and attached to a rectifier along with the turret. The anodes have a positive charge and the turret has a negative charge. This encourages the negative chloride ions to migrate out of the iron and into solution since they are attracted to the positively charged anode sheets. Since the anode sheets are large and heavy, we use the overhead crane to put them into position.
Wednesday, one day to go:
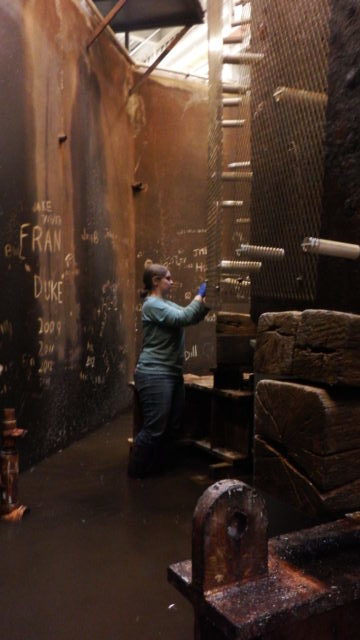
All of the anodes are connected. The turret’s wiring is also attached today. The reference electrodes are installed around the turret’s walls and under the roof. Then comes the most important part: checking that the anodes are all connected and that the turret isn’t making contact with the anode. If the turret is accidentally connected to the anode the whole system will fail.
Thursday, Fill Day!:
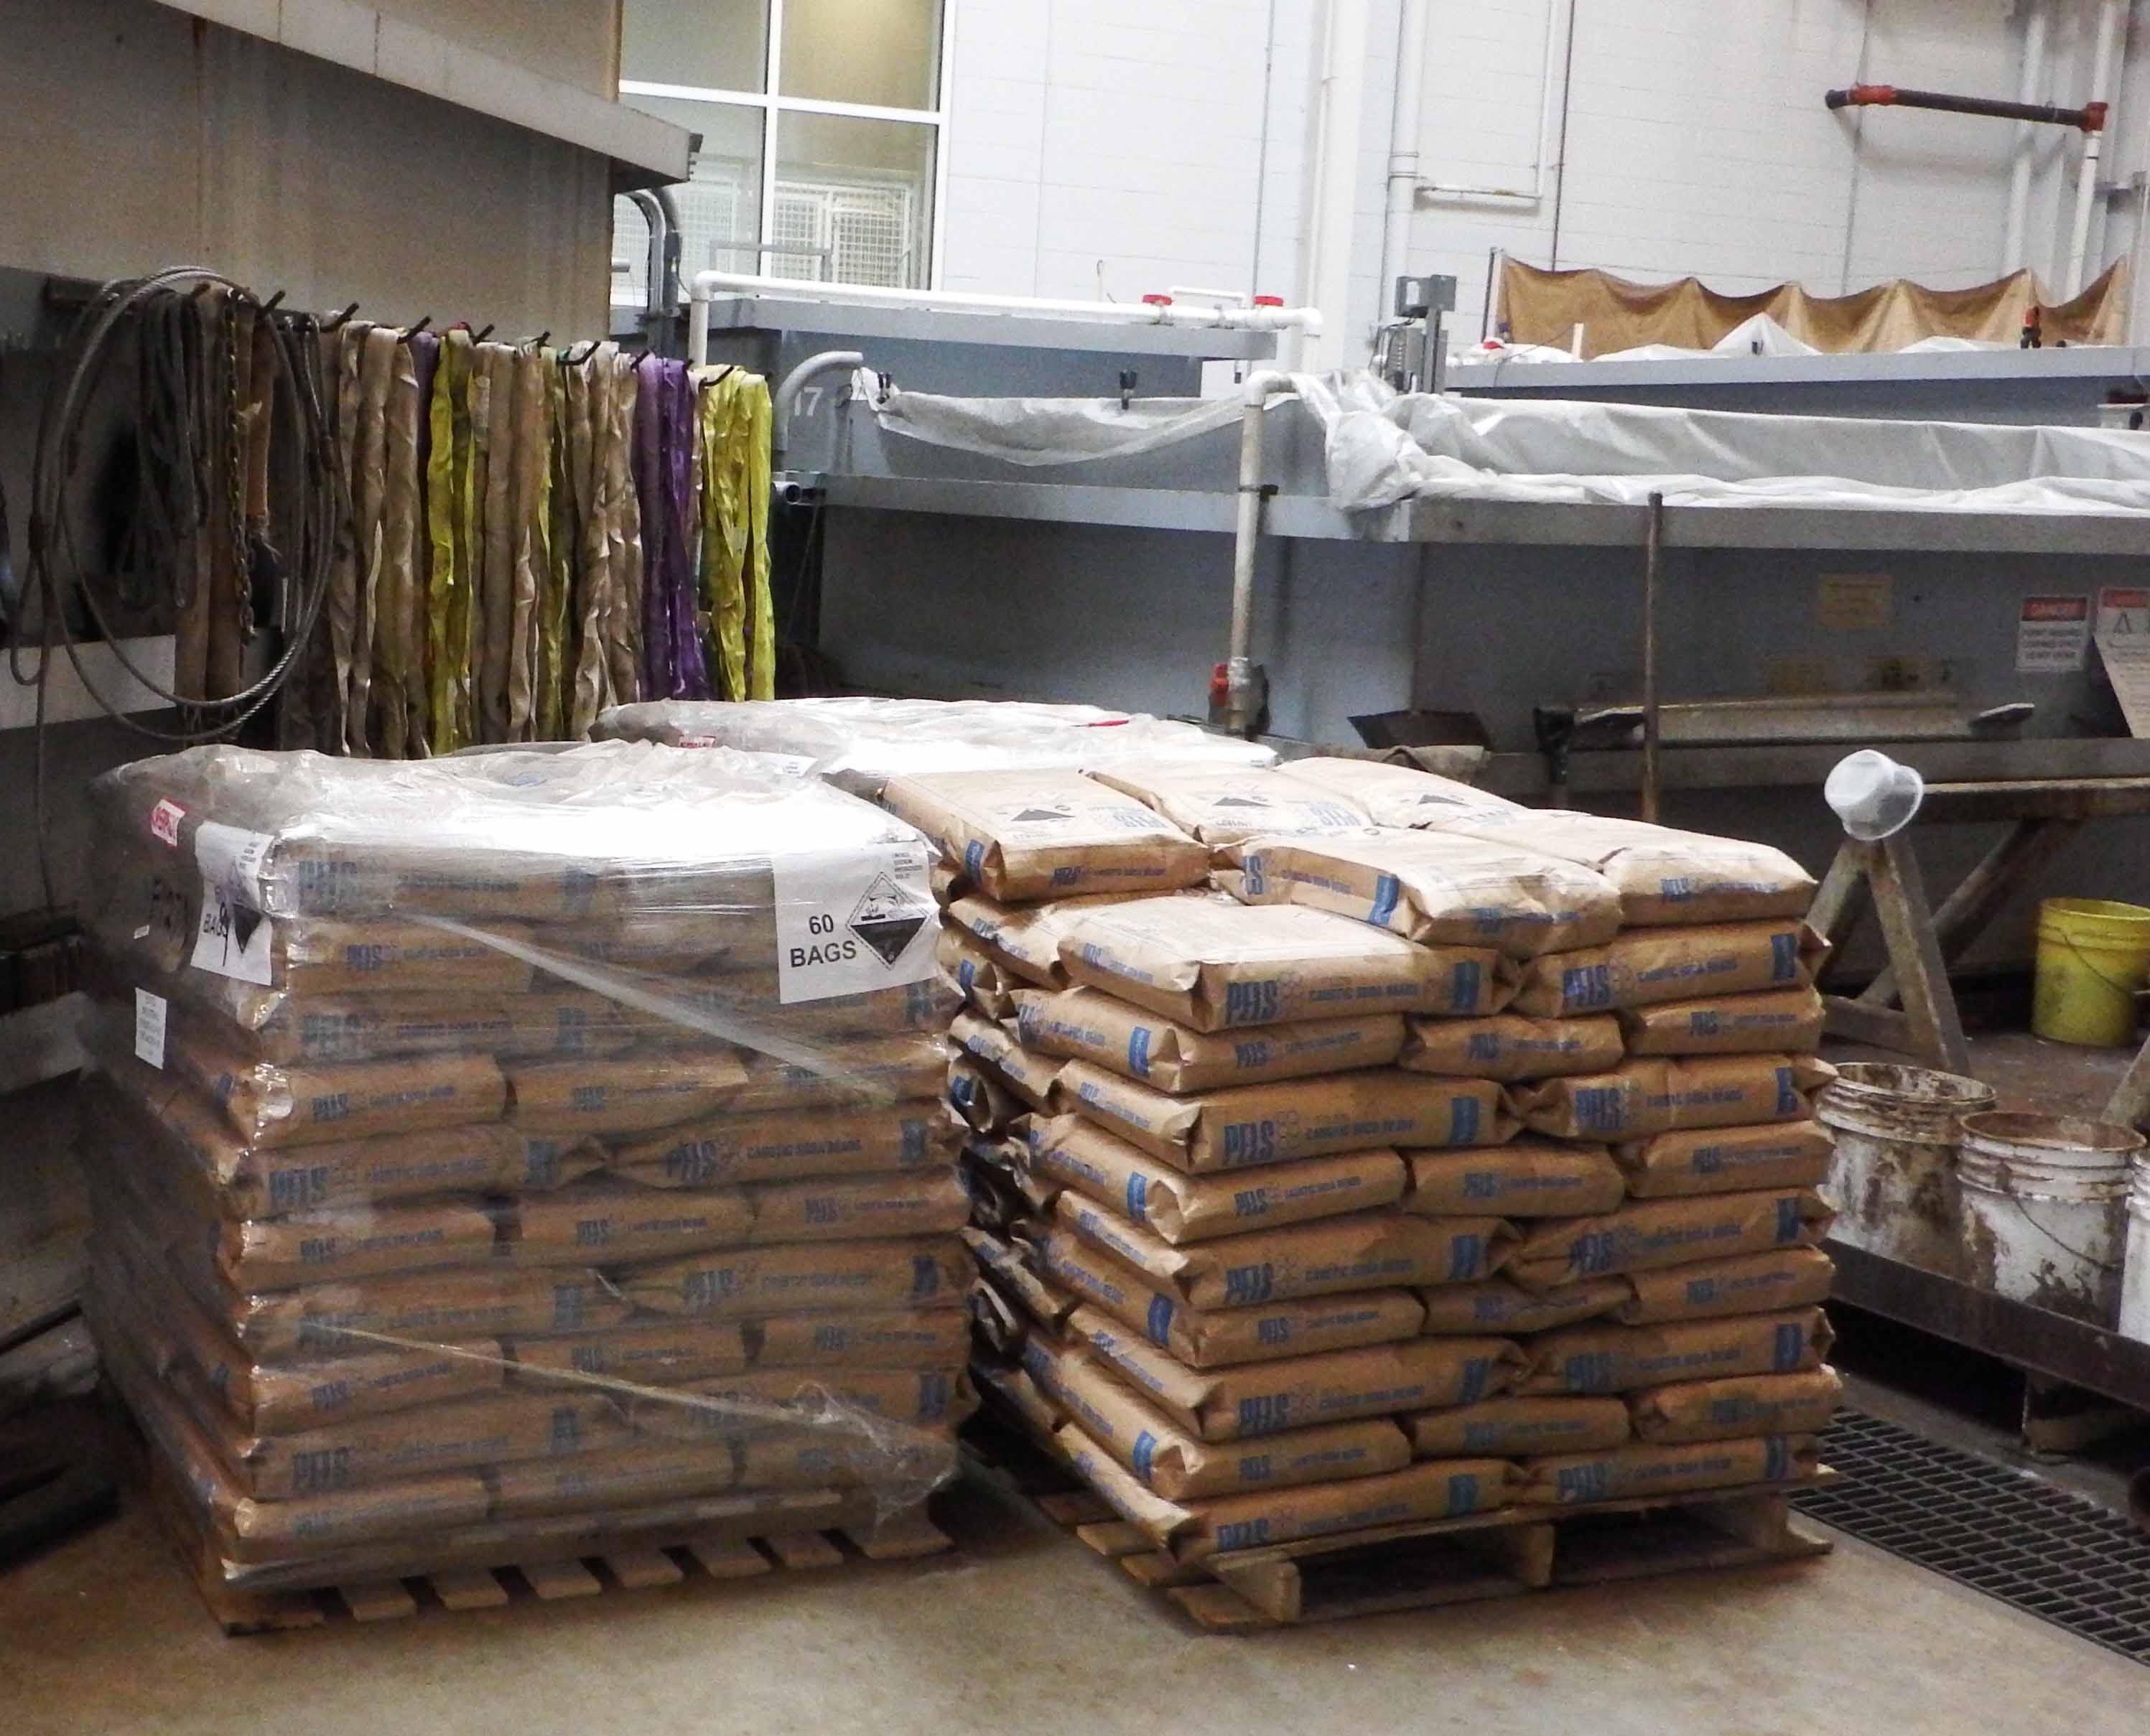
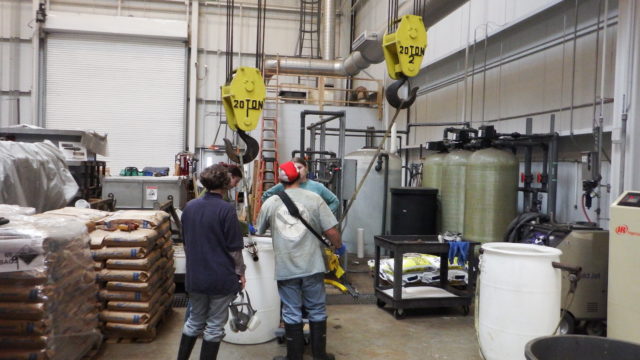
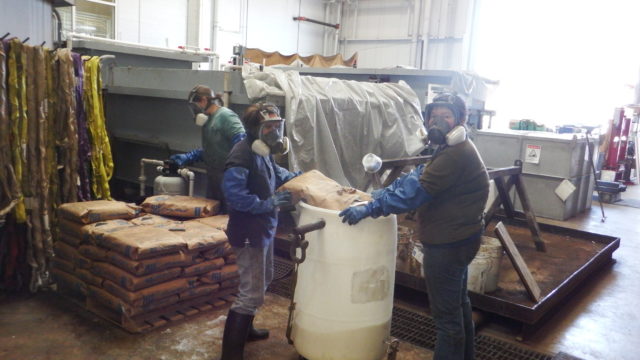
Now that everything is in place and the water’s ready to go, it’s time to fill. We wave goodbye to the turret and close the hatch door. As the tank slowly fills with water we being to add the sodium hydroxide. We must wear long gloves and full face mask respirators while filling because the hydroxide is very caustic. All told, 150 50 lb. bags are added to the solution using the overhead cranes. The entire fill process takes about 5 hours from starting the water to cleaning up.
Friday, and beyond:
Once everything is complete, the ER system is turned on. We will monitor the potential from the reference electrodes and adjust the voltage so that the turret is protected in the solution until it is time to drain the tank and work on the turret again!
