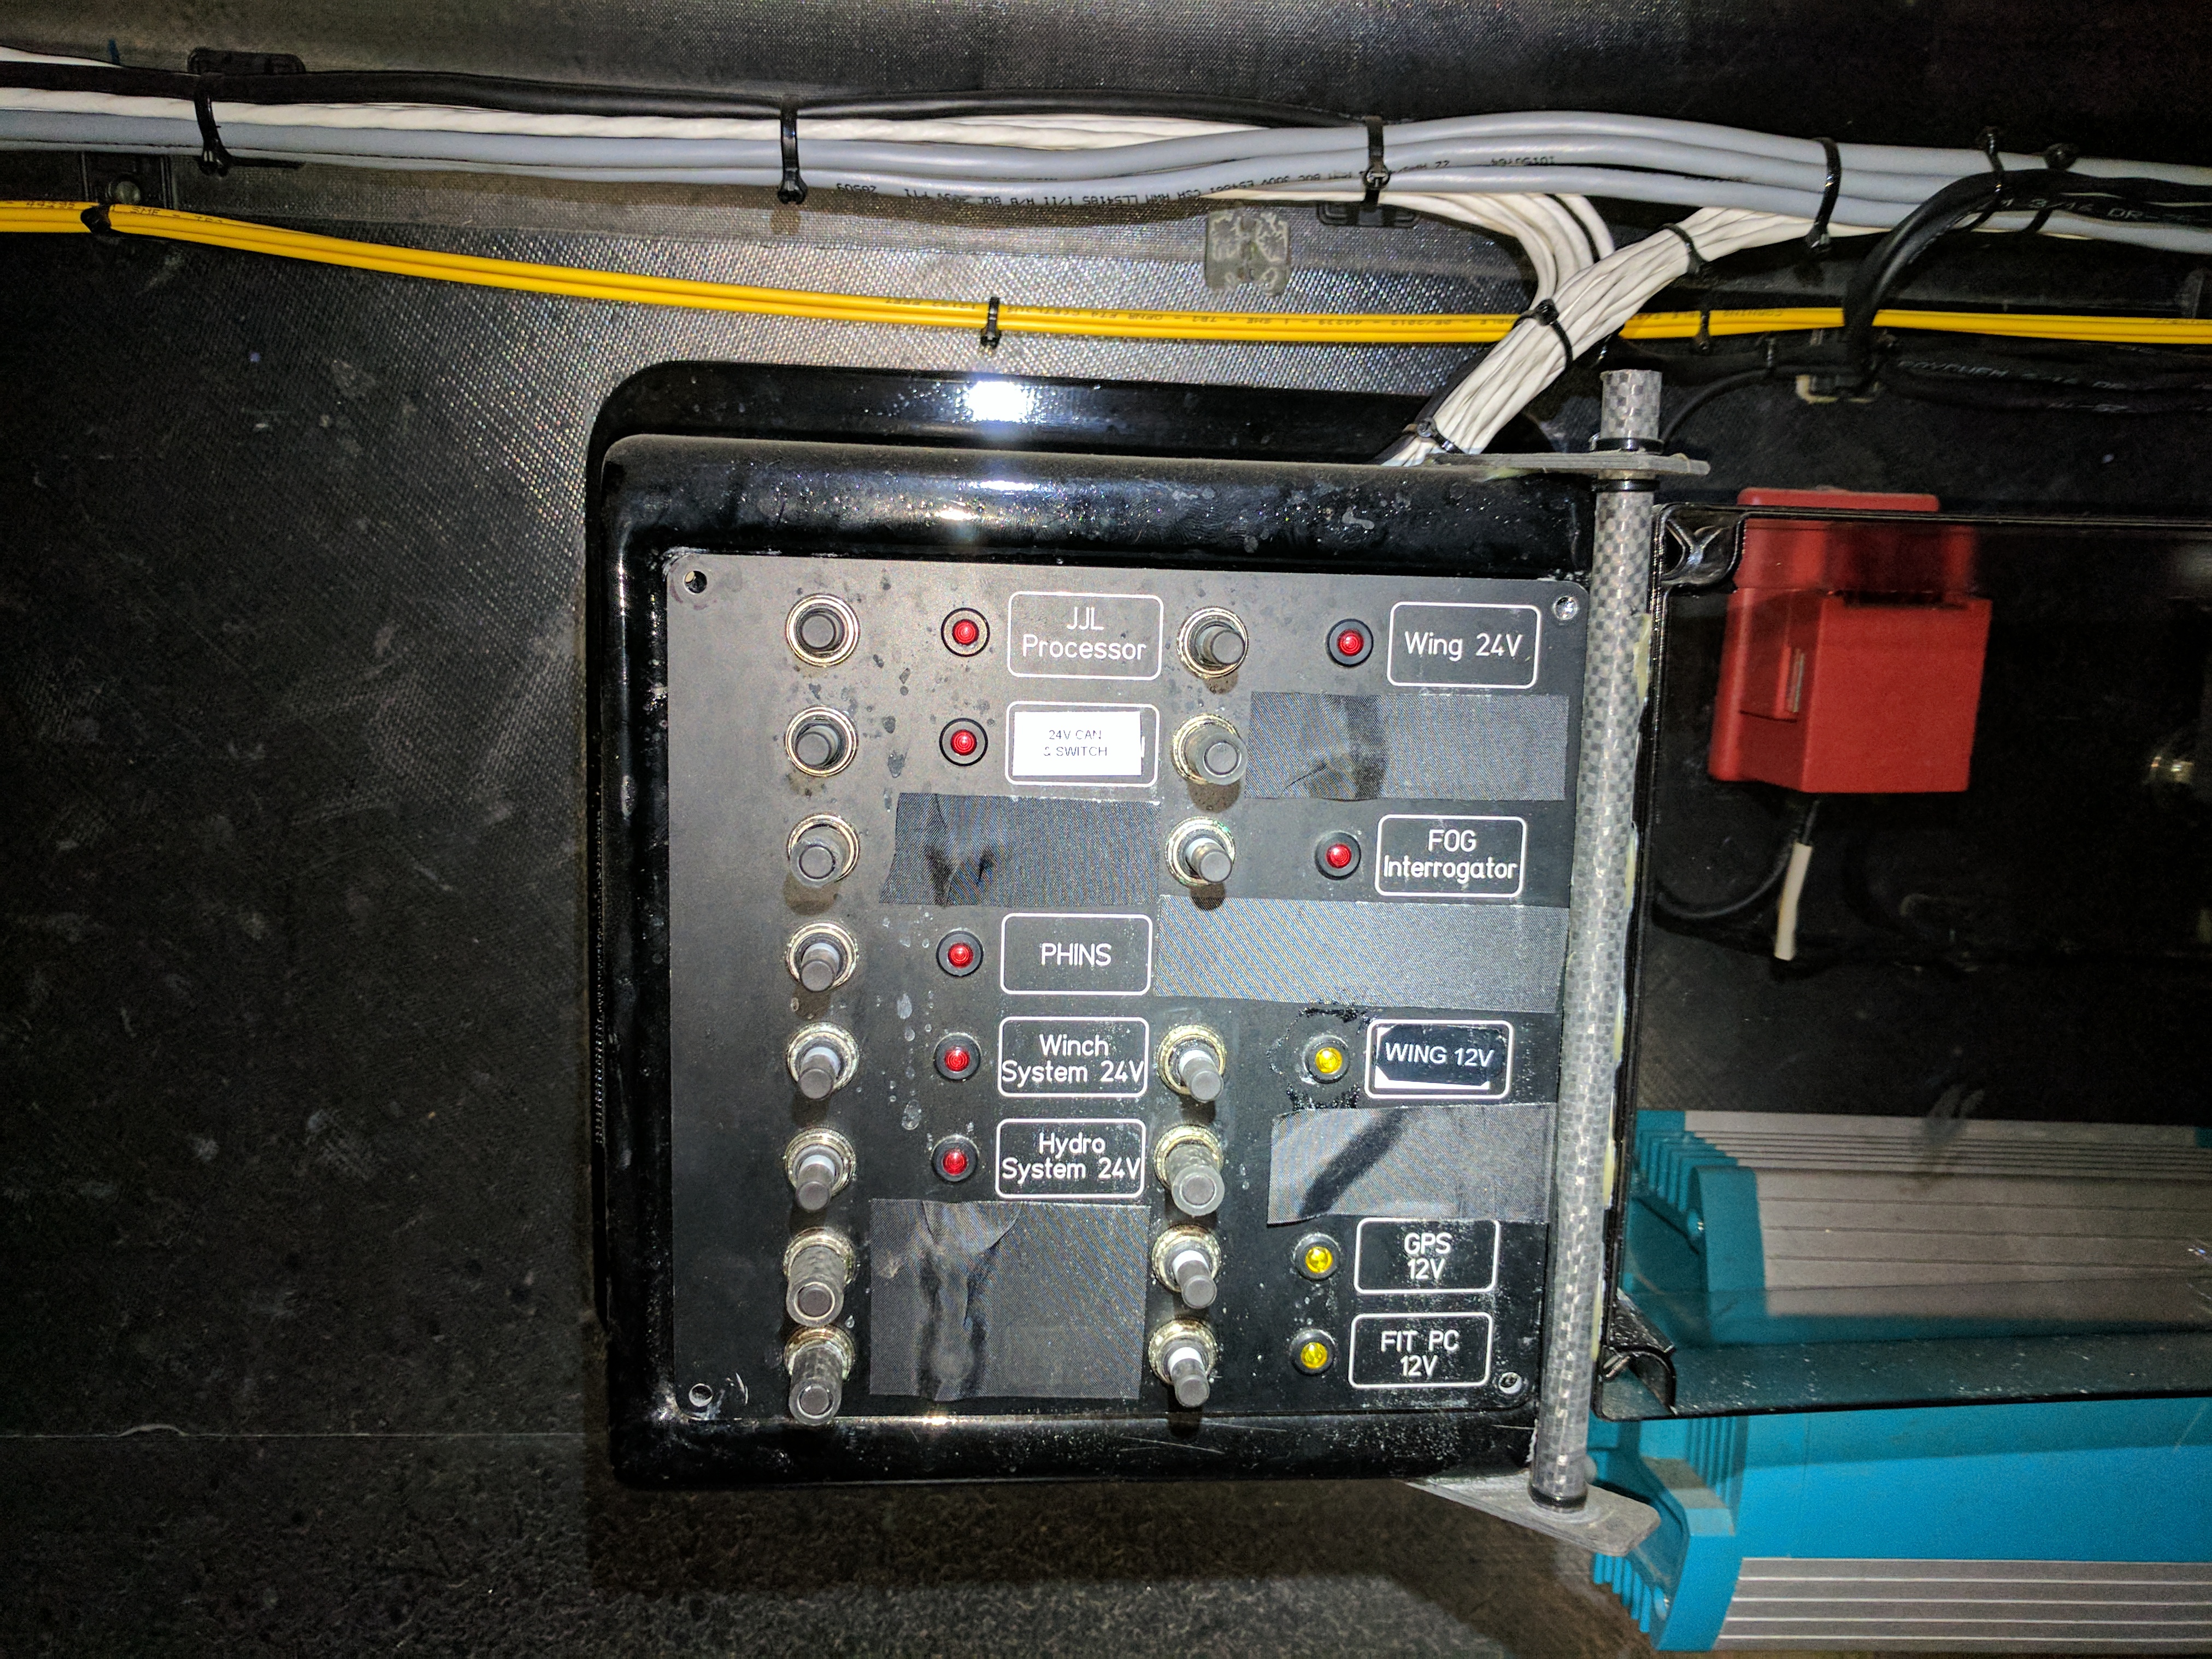
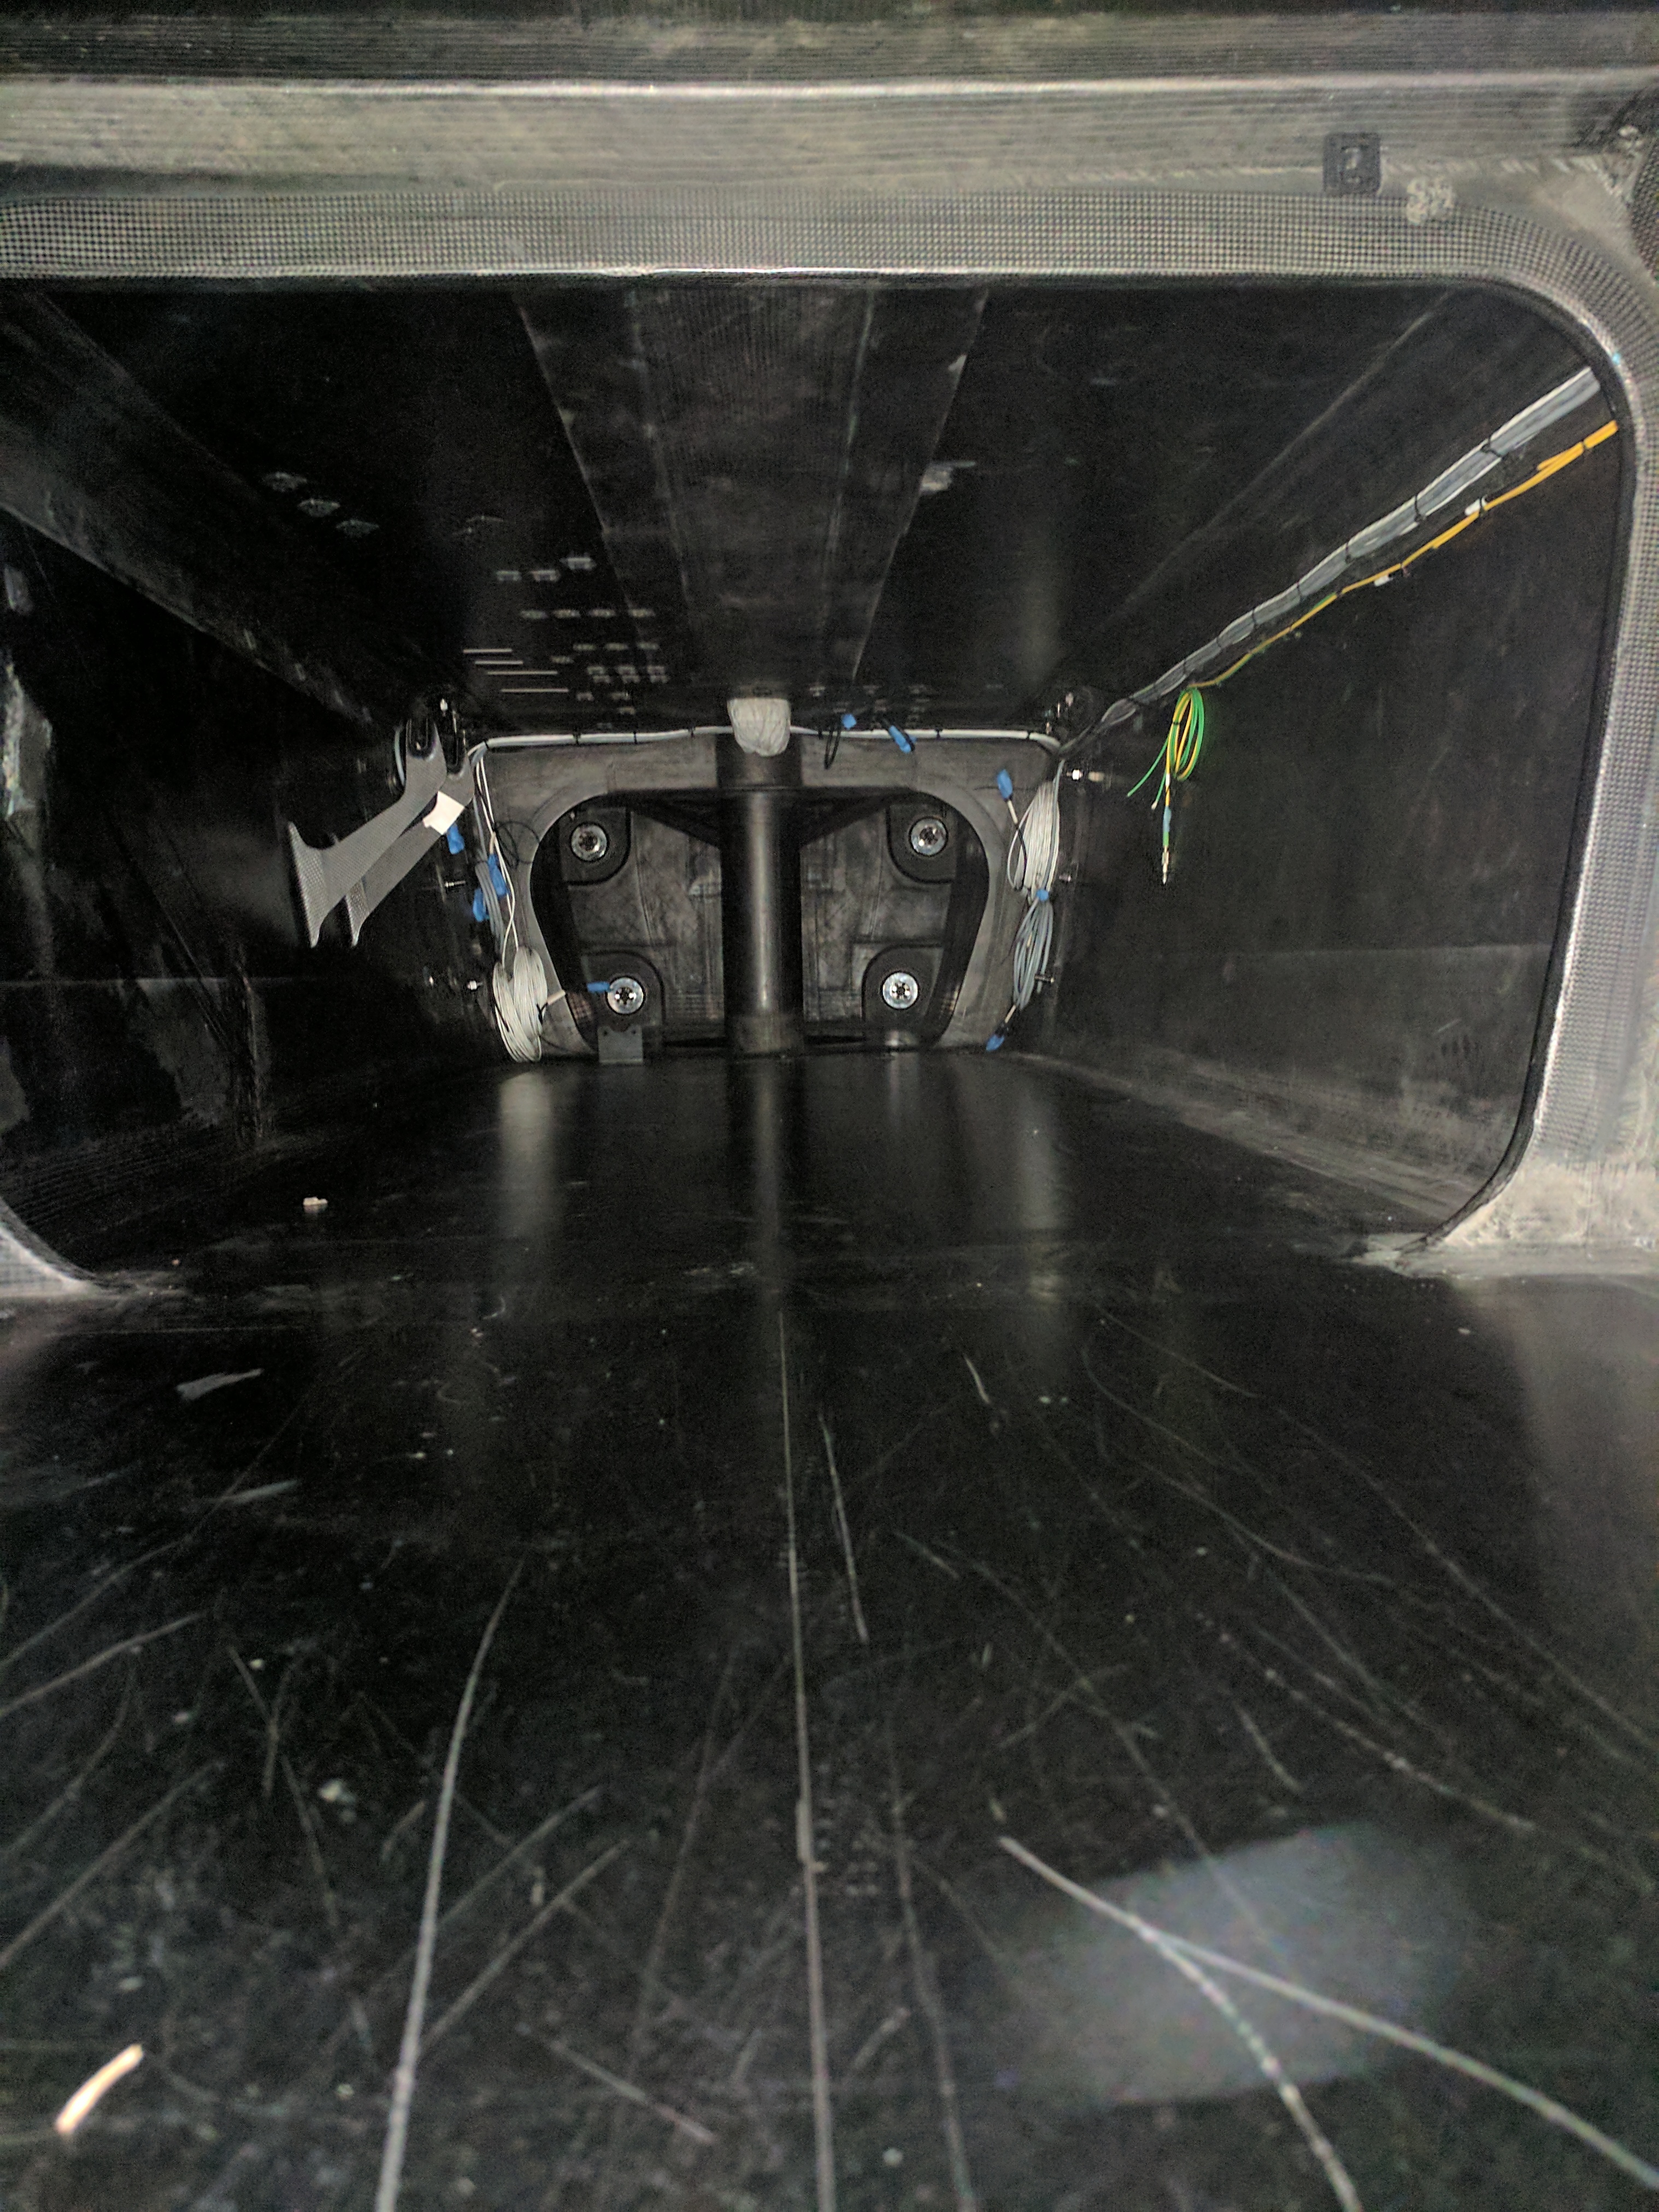
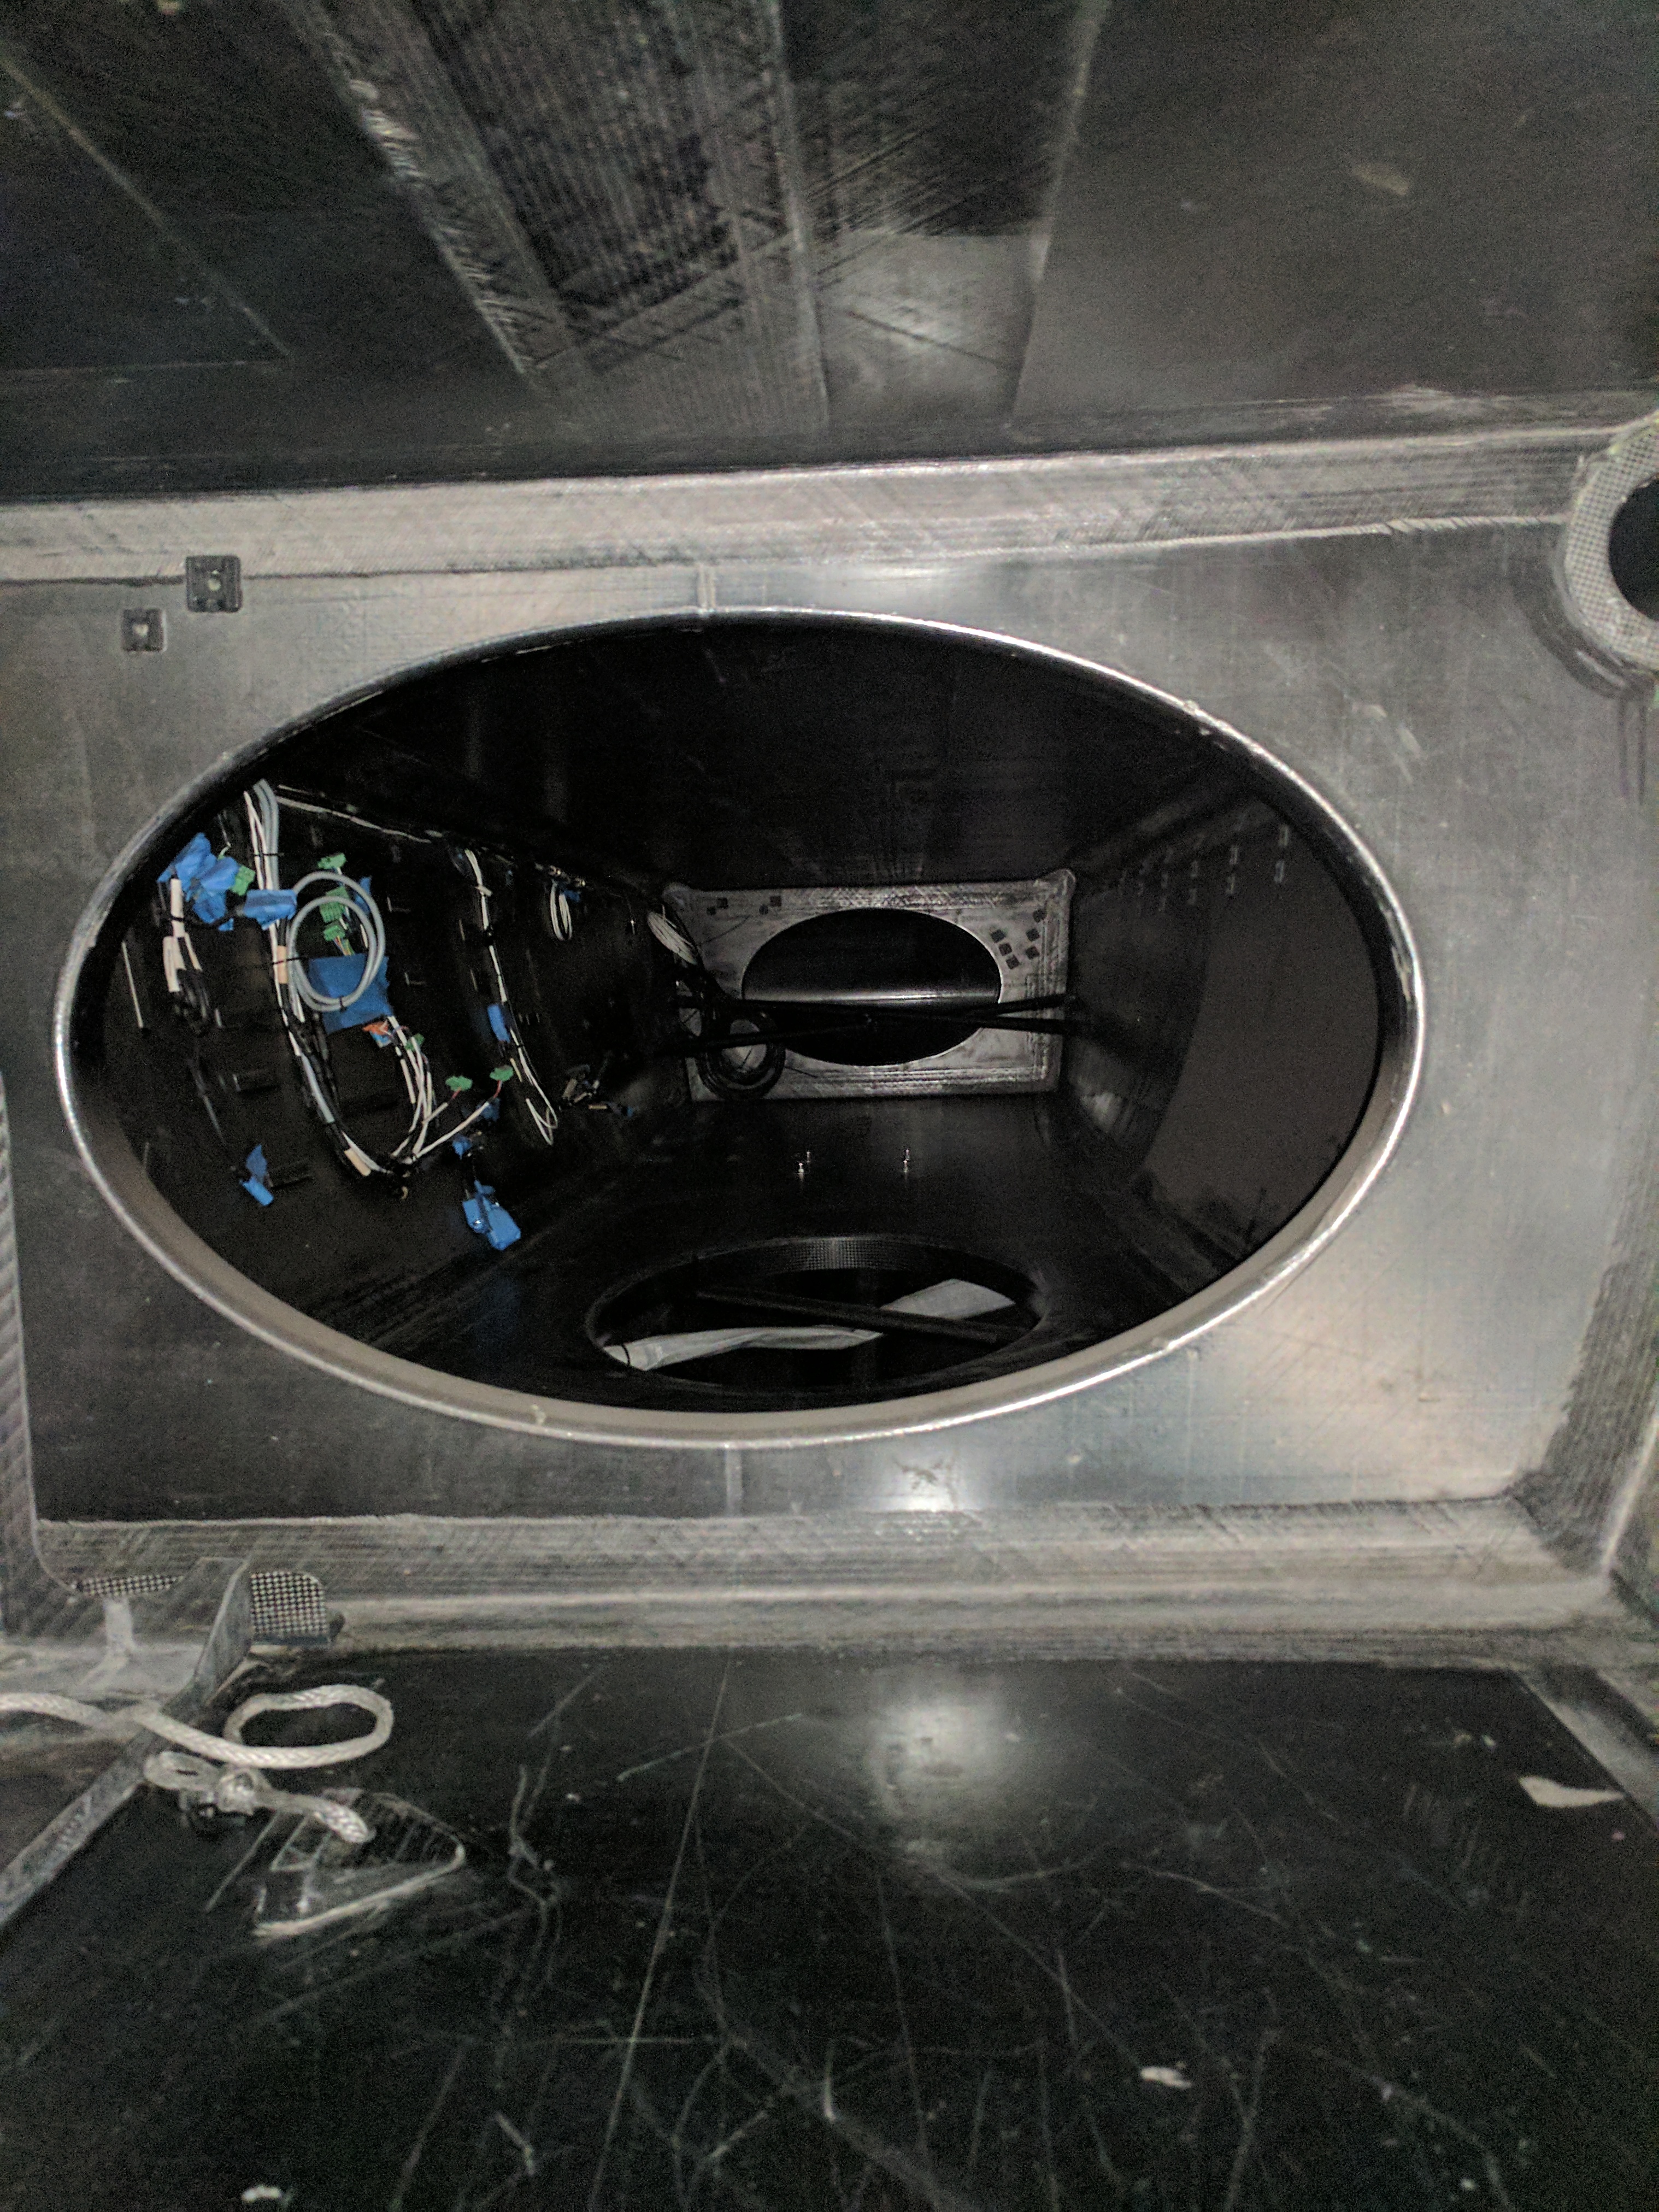
The next step in our assembly plan for the AC72 was the mounting of the central pod. The central pod is the structure that connects the forward and aft crossbeams. The design of the central pod effectively extended the boat’s wingspan and reduced drag. Tom Speer, an aerodynamics specialist with OTUSA, believes it was this particular structure that made USA 17 faster than New Zealand’s Aotearoa. This is also the only place in the platform where we can see some of the systems used to operate the boat—namely an electrical panel and the one spot where a lot of the cabling remains in place.
Mounting the central pod proved to be quite a challenge for the Mariners’ team because it had to remain perfectly aligned with the forward crossbeam in order seat correctly. Since we were hanging the pod from a gantry lift and a chain fall attached to the ceiling we were able to make minute changes in leveling and cant to port or starboard (the same way we had to manipulate the hulls in order to match up the connection points). Despite this we could not get the pod to seat all the way into the crossbeam. We could get it within 5” of the seating point and it would stop dead. No amount of pushing or pulling would make it move.
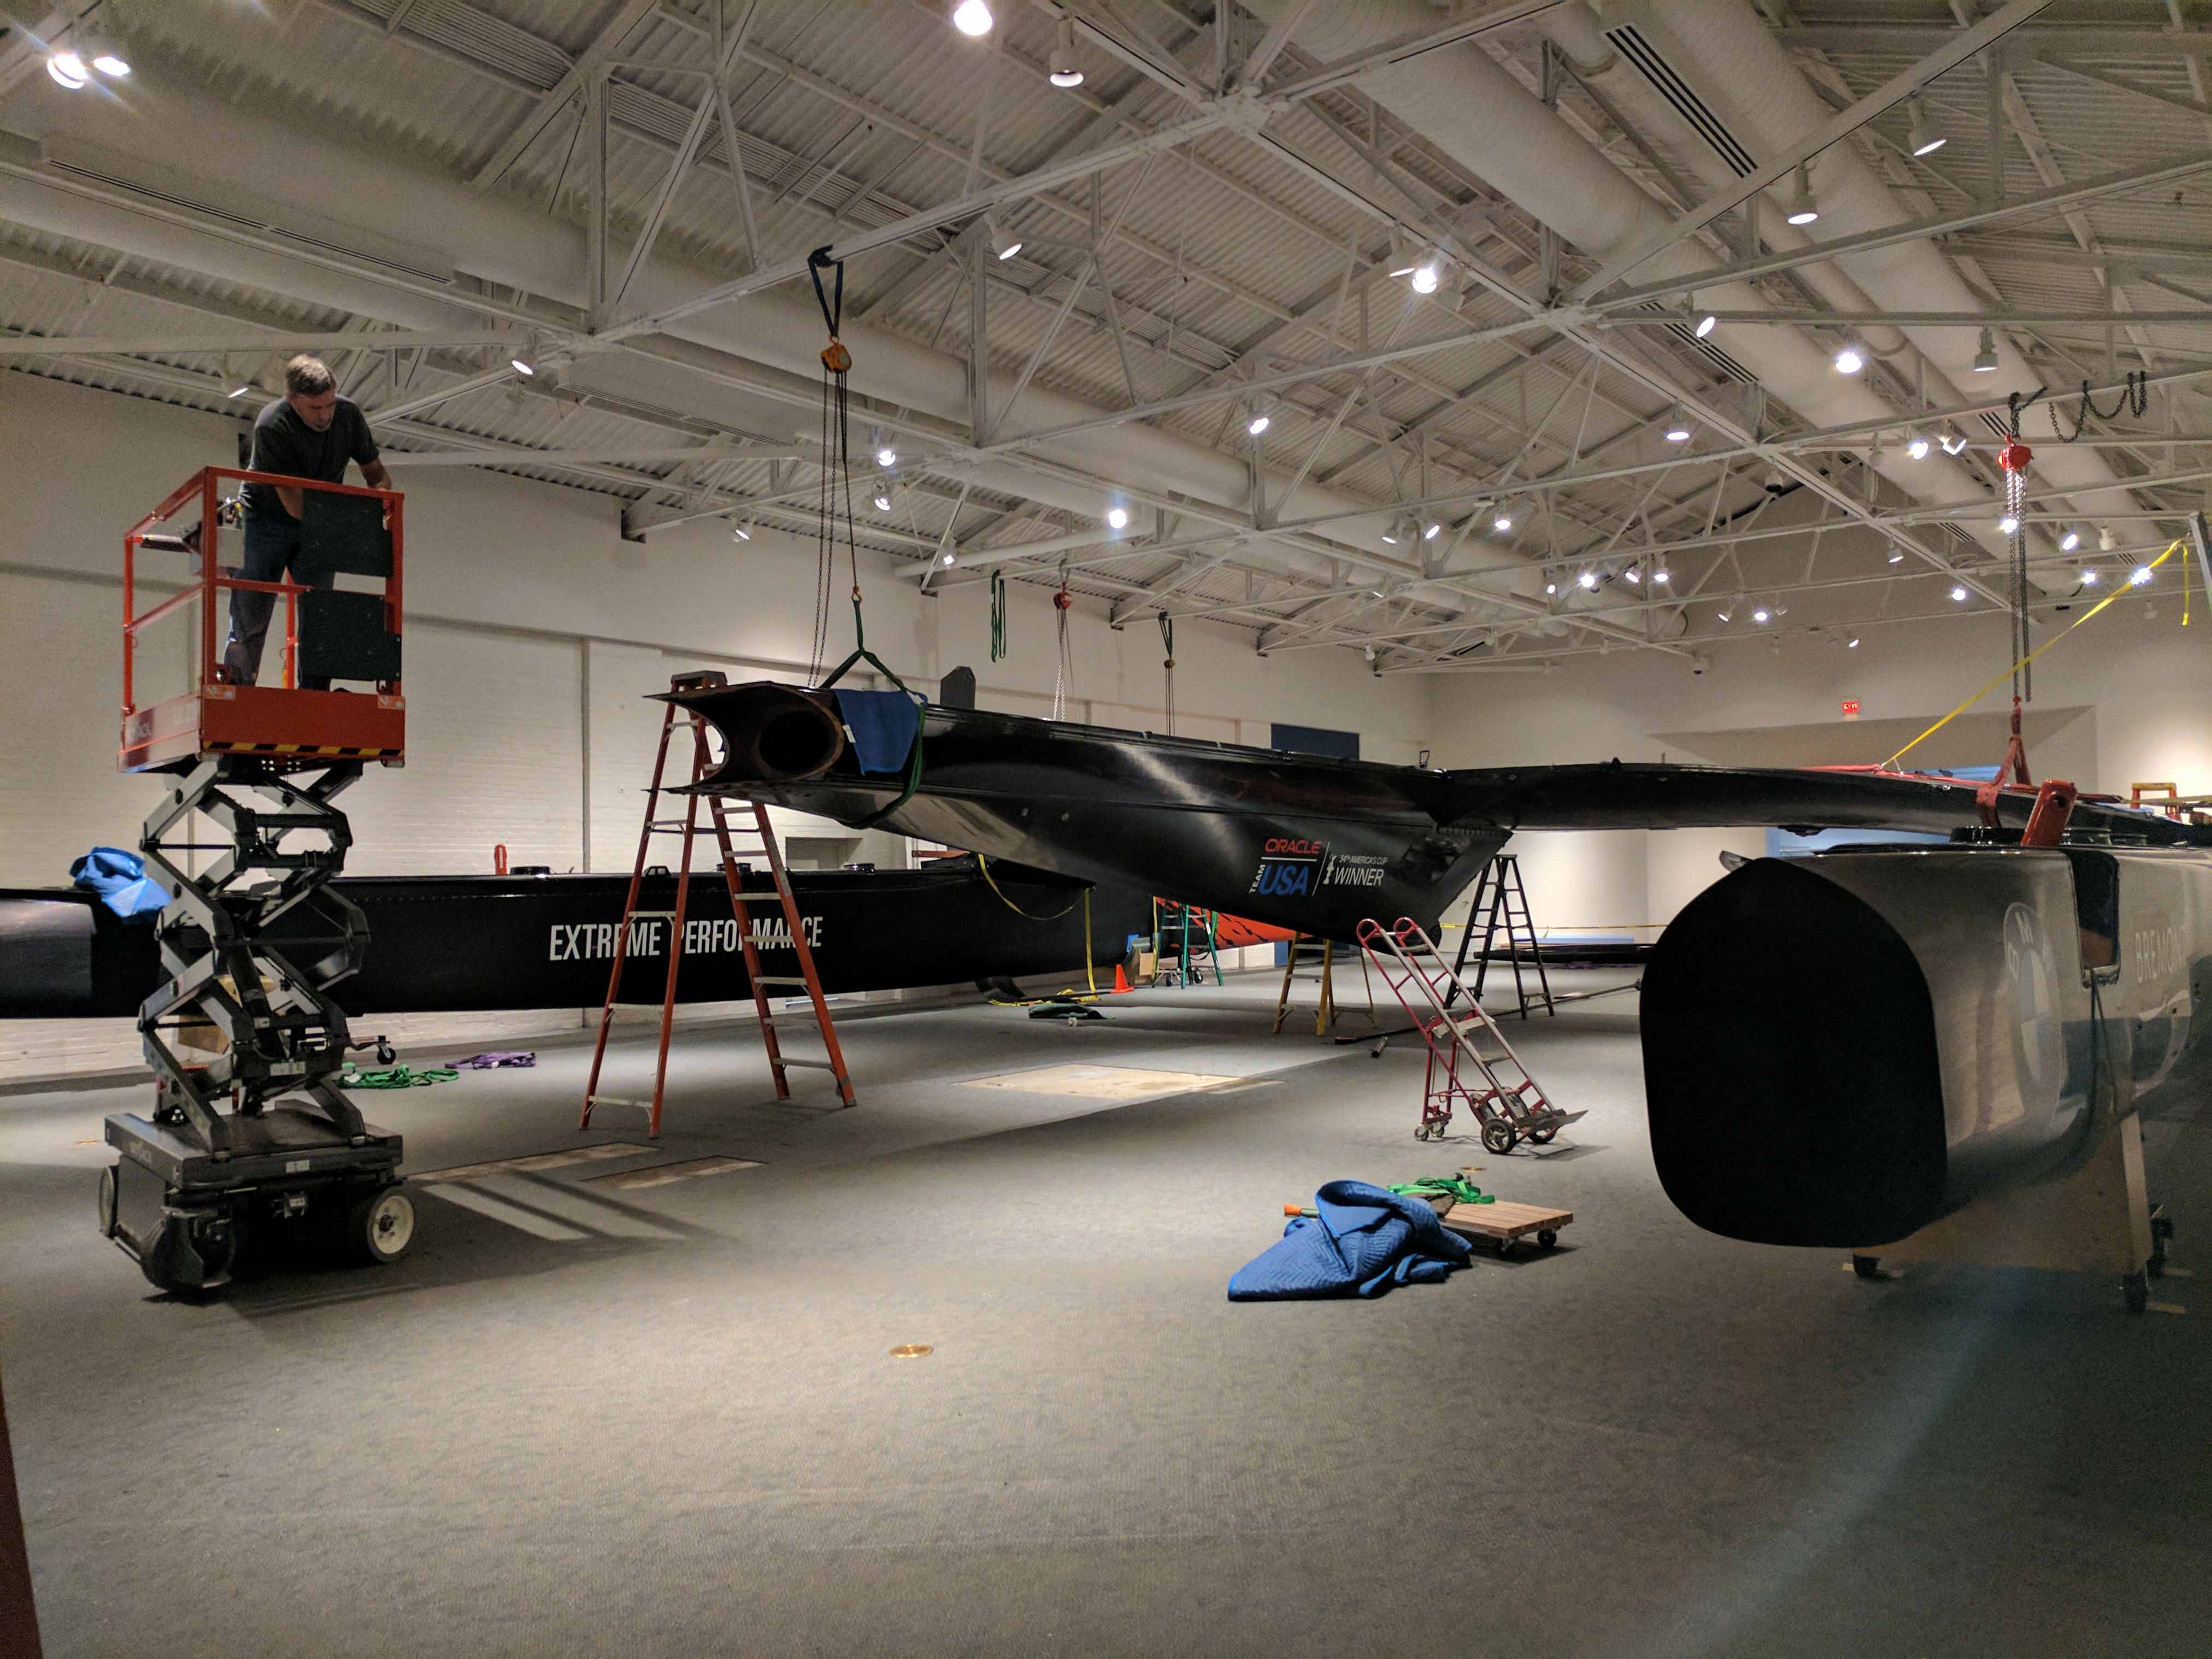
It was obvious that the fit was so tight that it needed a little help to slide into place. Help came in the form of an application of paste wax and a shot of silicone. Staff pushed the gantry until the pod stopped and we coaxed it the rest of the way into position with a large ratchet strap that ran from the mast step on the top of the pod and around the forward crossbeam to the bobstay connection point. The addition of the more slippery wax and silicone allowed the ratchet strap to slowly pull the central pod forward until it was perfectly seated in the forward crossbeam.
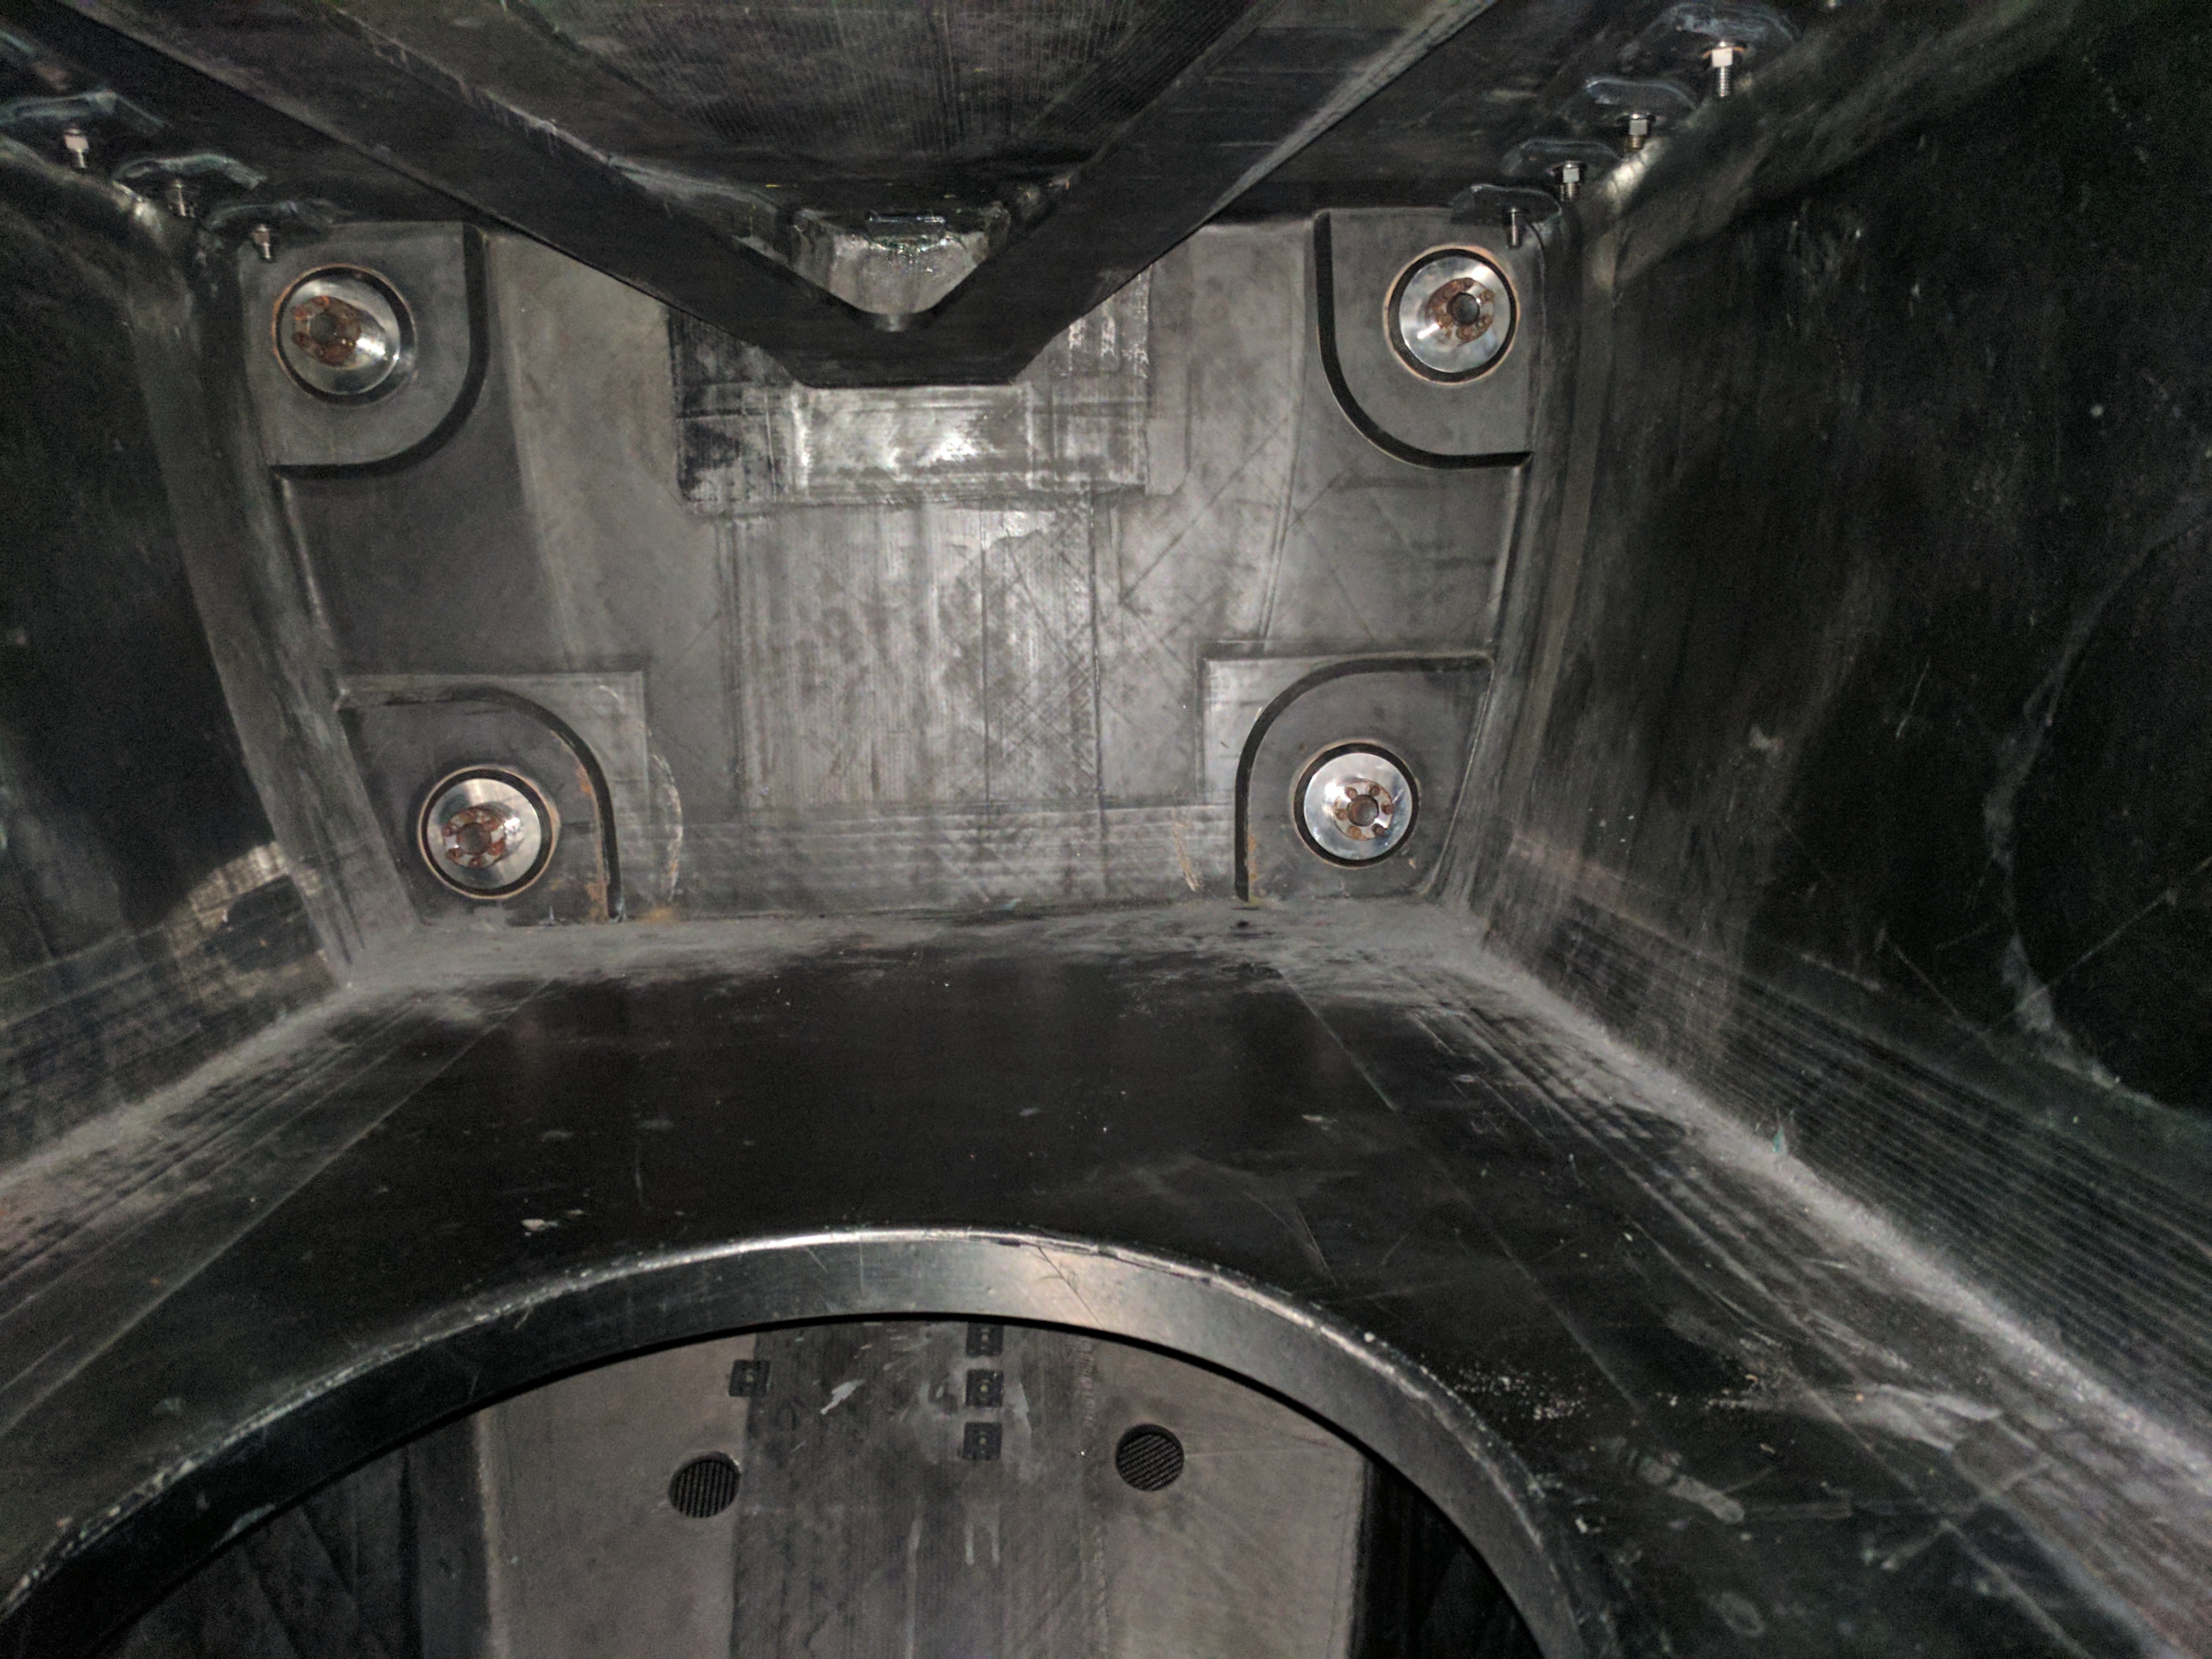
The hardware used to connect the two structures were 68 titanium bolts. Installing the hardware took two of us—me on the inside of the pod and someone else on the outside (Lyles or my husband Todd). It was a little more interesting because we had to change hardware in and out to meet the specific requirements of some of the holes (because they were up against bulkheads or other structures or needed to have a slightly different overall or shank length). Because of a bulkhead slightly forward of the mast step I had to crawl into four different compartments in order to access all of the bolt locations.
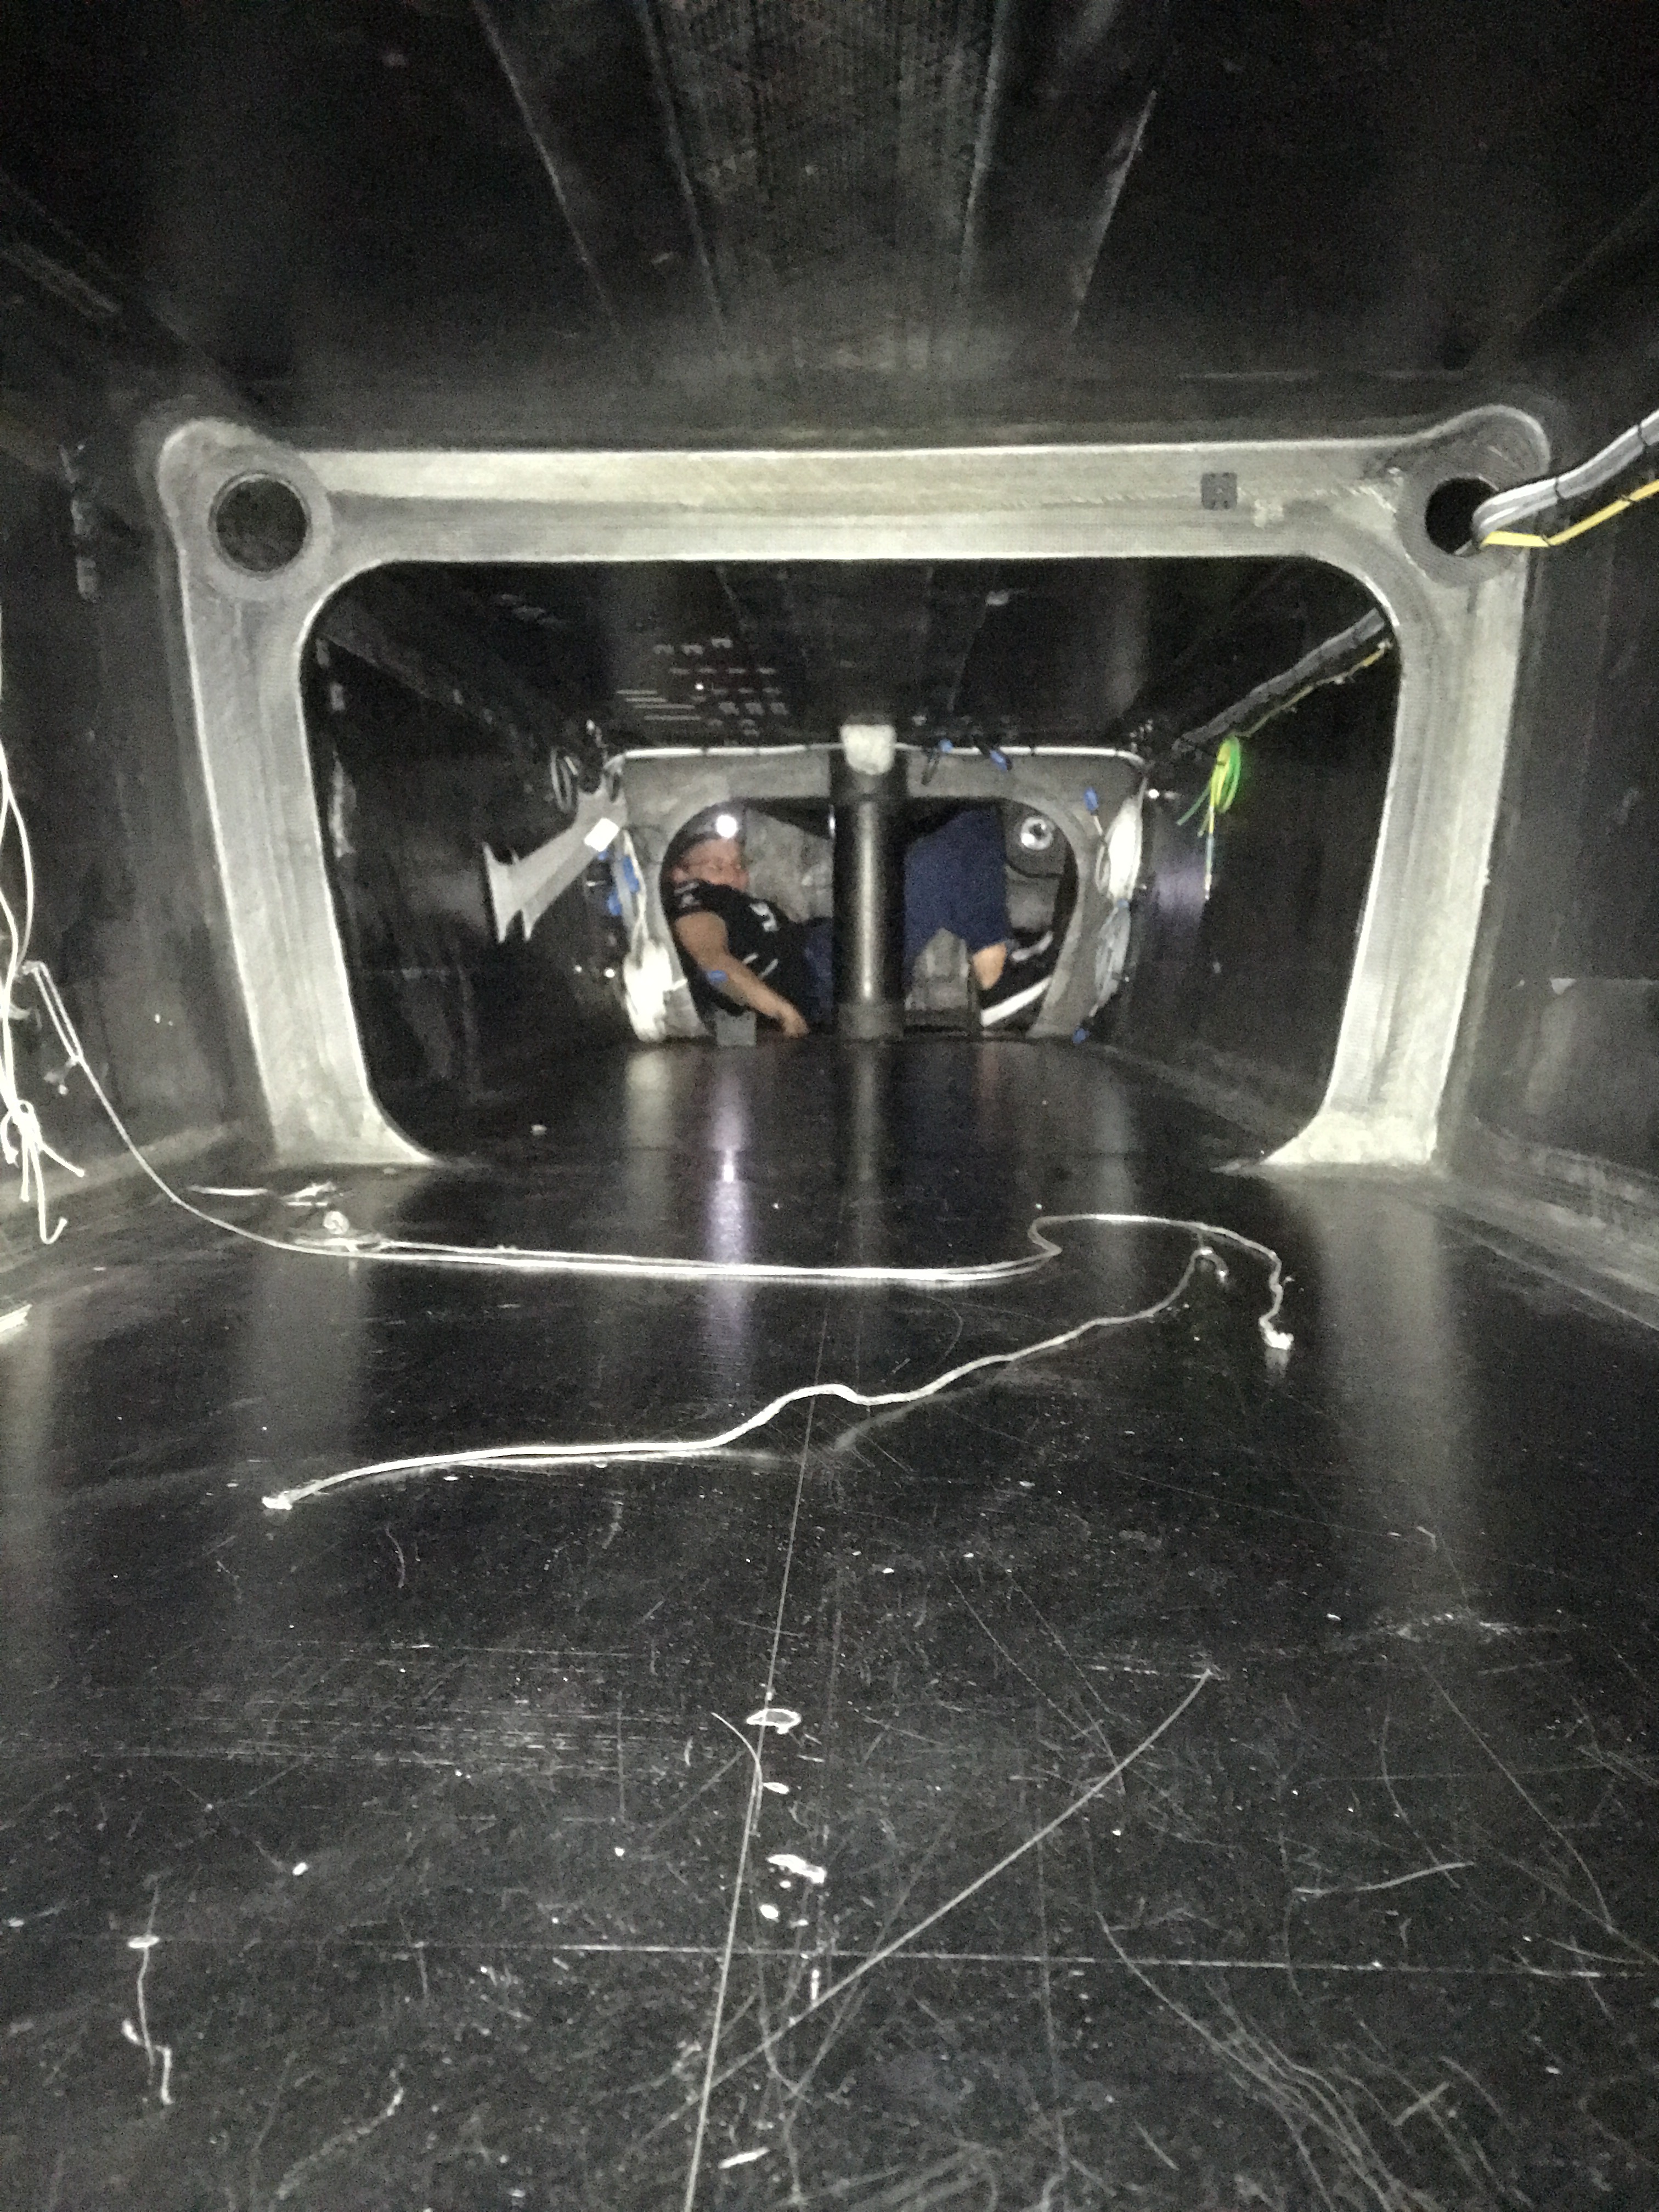
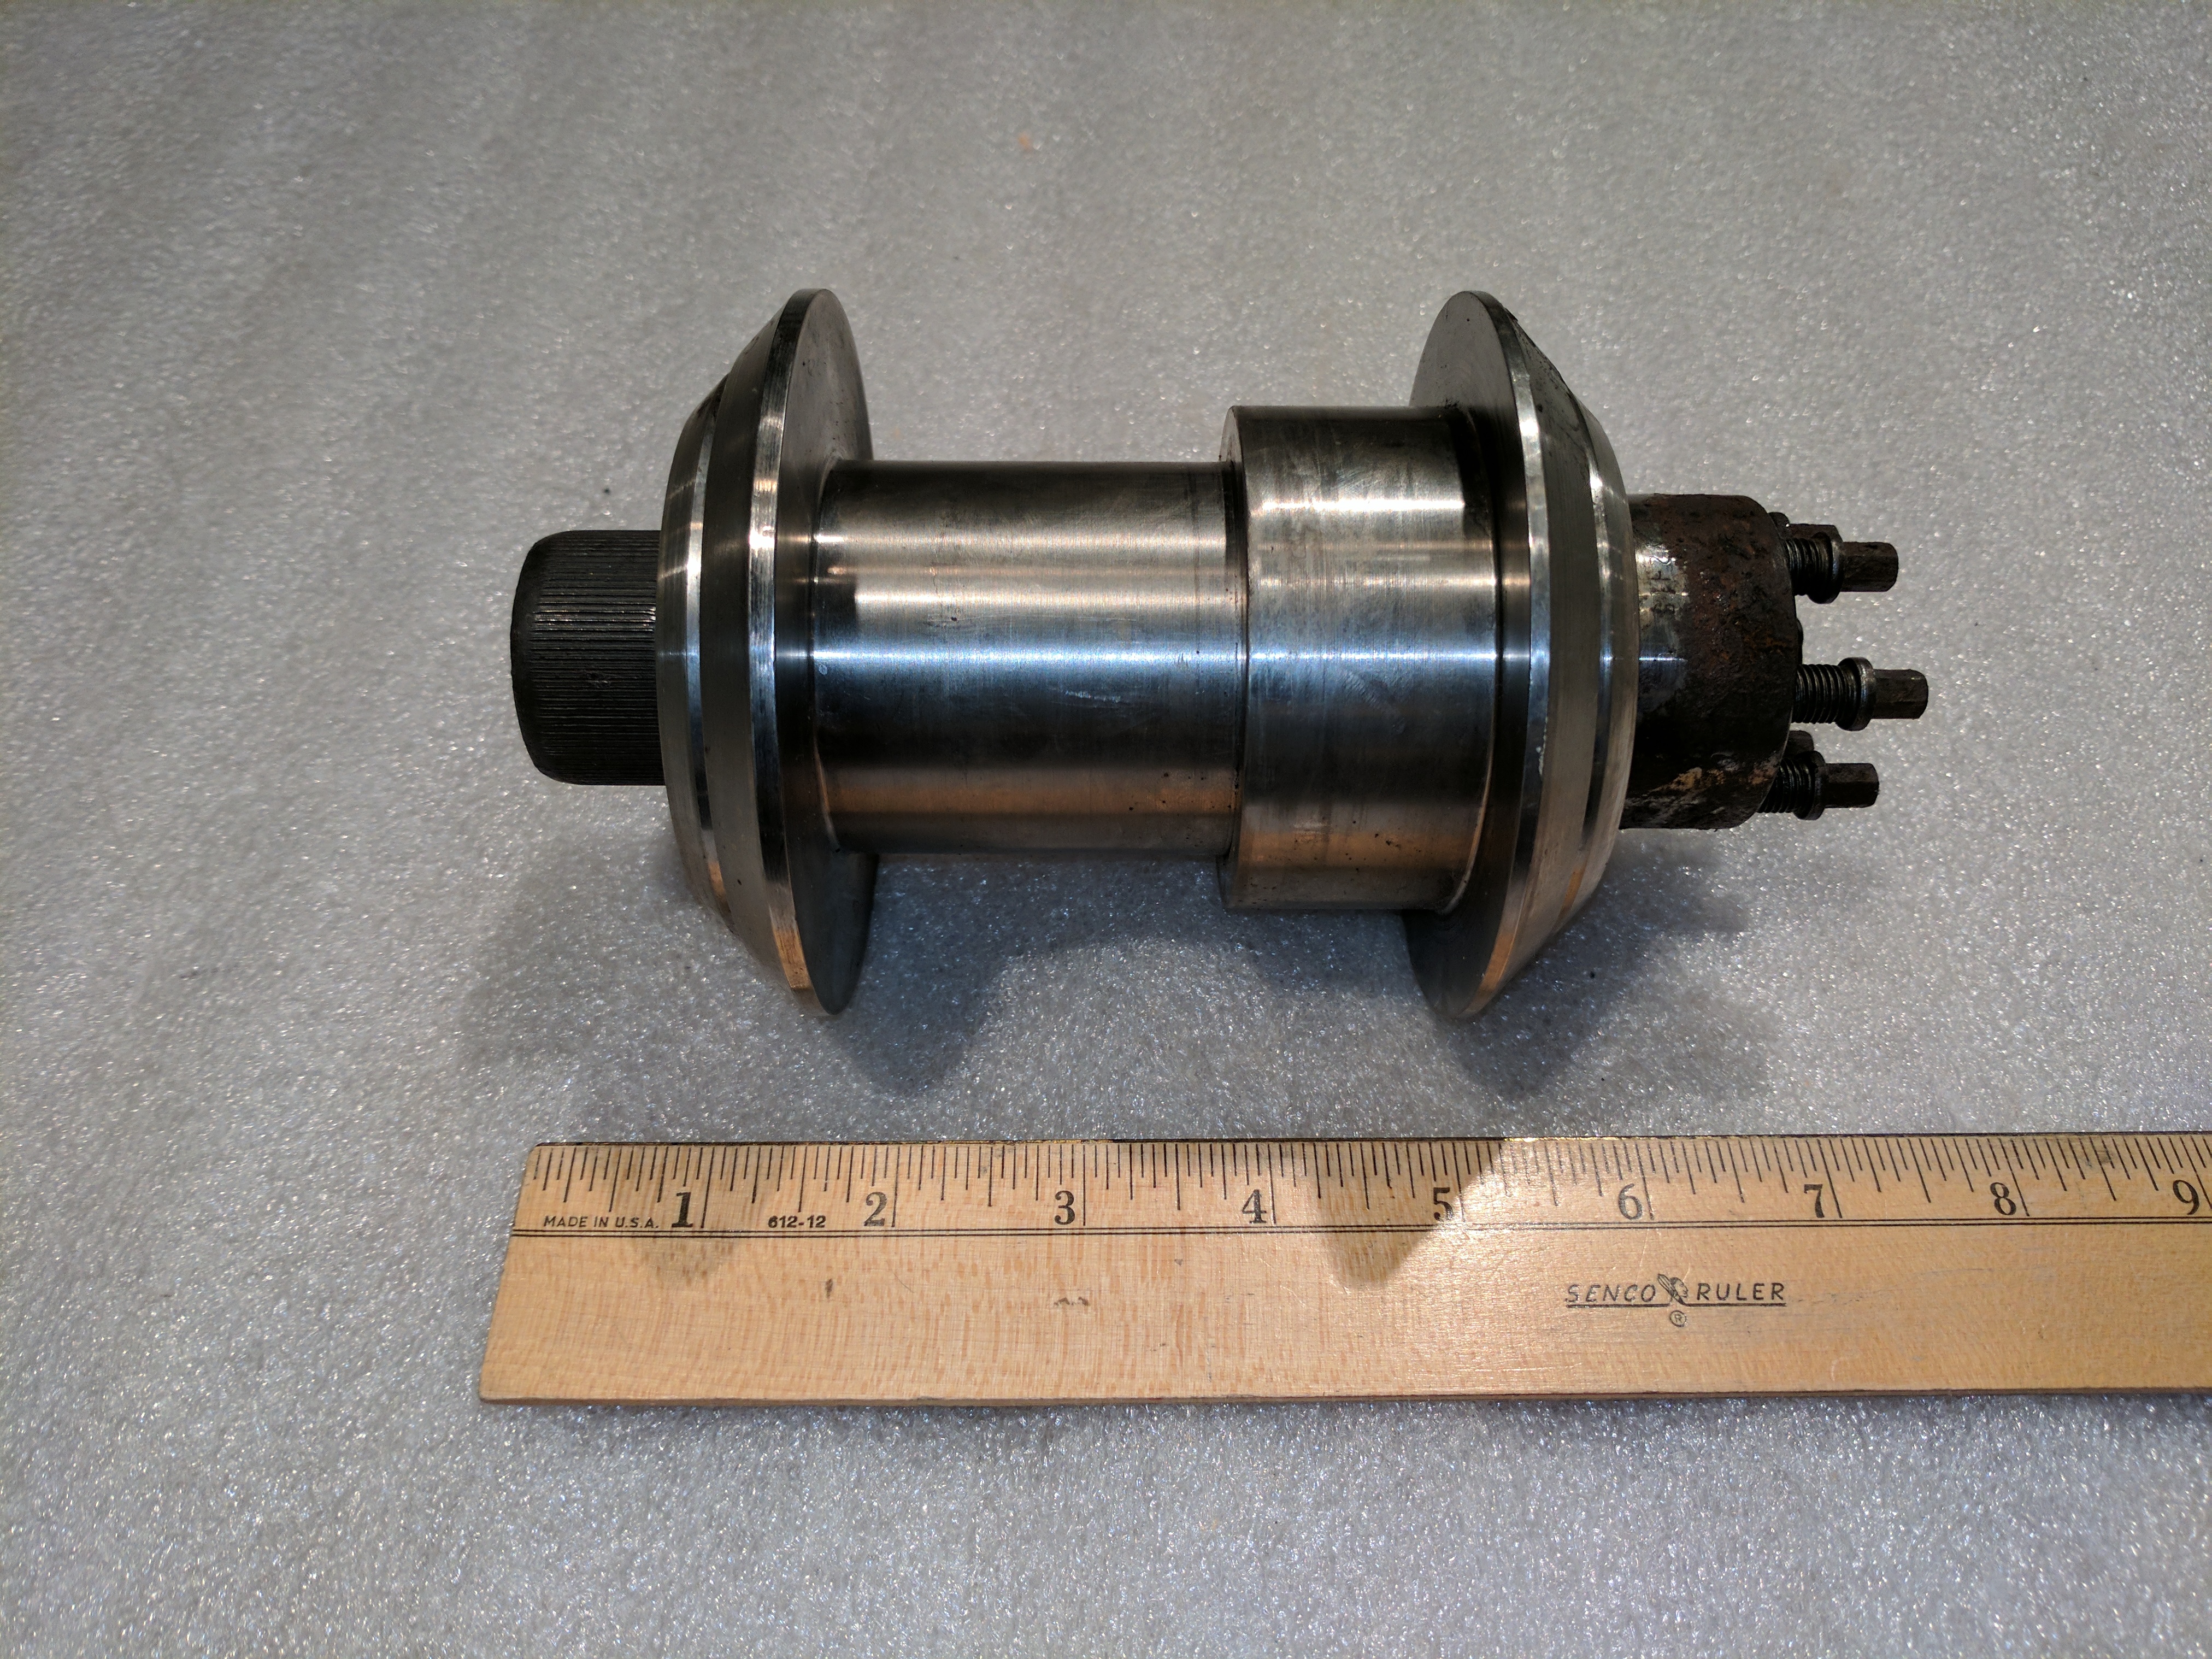
The main connection point between the central pod and forward crossbeam has four HUGE titanium male and female collared bushings that seated one within the other (if the smaller bolt assemblies were capable of withstanding 50,000 pounds of pressure I’d love to know what these puppies can put up with). Rather than a large nut on the end of the bolt, which would require a great deal of torque to tighten, there were multi-jackbolt tensioners (Superbolt). These were really nice because I doubt that as a 5’ 115lb girl I would have been strong enough to tighten the nut down well—not to mention the fact that I had to do it in confined quarters while straddling an open hatchway. The MJT’s made it a real breeze.