In this blog post we’ll continue the discussion about one of USS Monitor’s gun cleaning tools, and the conservation treatment it has undergone.

Review
In Part I, I discussed the purpose of the gun tool and how the treatment plan for the gun tool was developed. Part II delved into what steps were taken to preserve the textile found on the iron handle. I also touched on the importance of removing salts from marine archaeological objects and how the desalination process was adjusted for a composite organic & inorganic object. Finally, I explained how we stabilize waterlogged wood in conservation.
Freeze-Drying
When we last left the gun tool, it was being stabilized by bulking the waterlogged wood cells with polyethylene glycol (PEG). Once waterlogged wood objects are sufficiently stabilized by PEG, the next step is drying. Generally, waterlogged objects are vacuum freeze-dried, a process where water is removed from the object through sublimation (when the solid ice in the object is converted directly to a vapor). Freeze-drying is a standard method in conservation because this process minimizes shrinkage, distortion, and collapse of the object, compared to air-drying at room temperature.
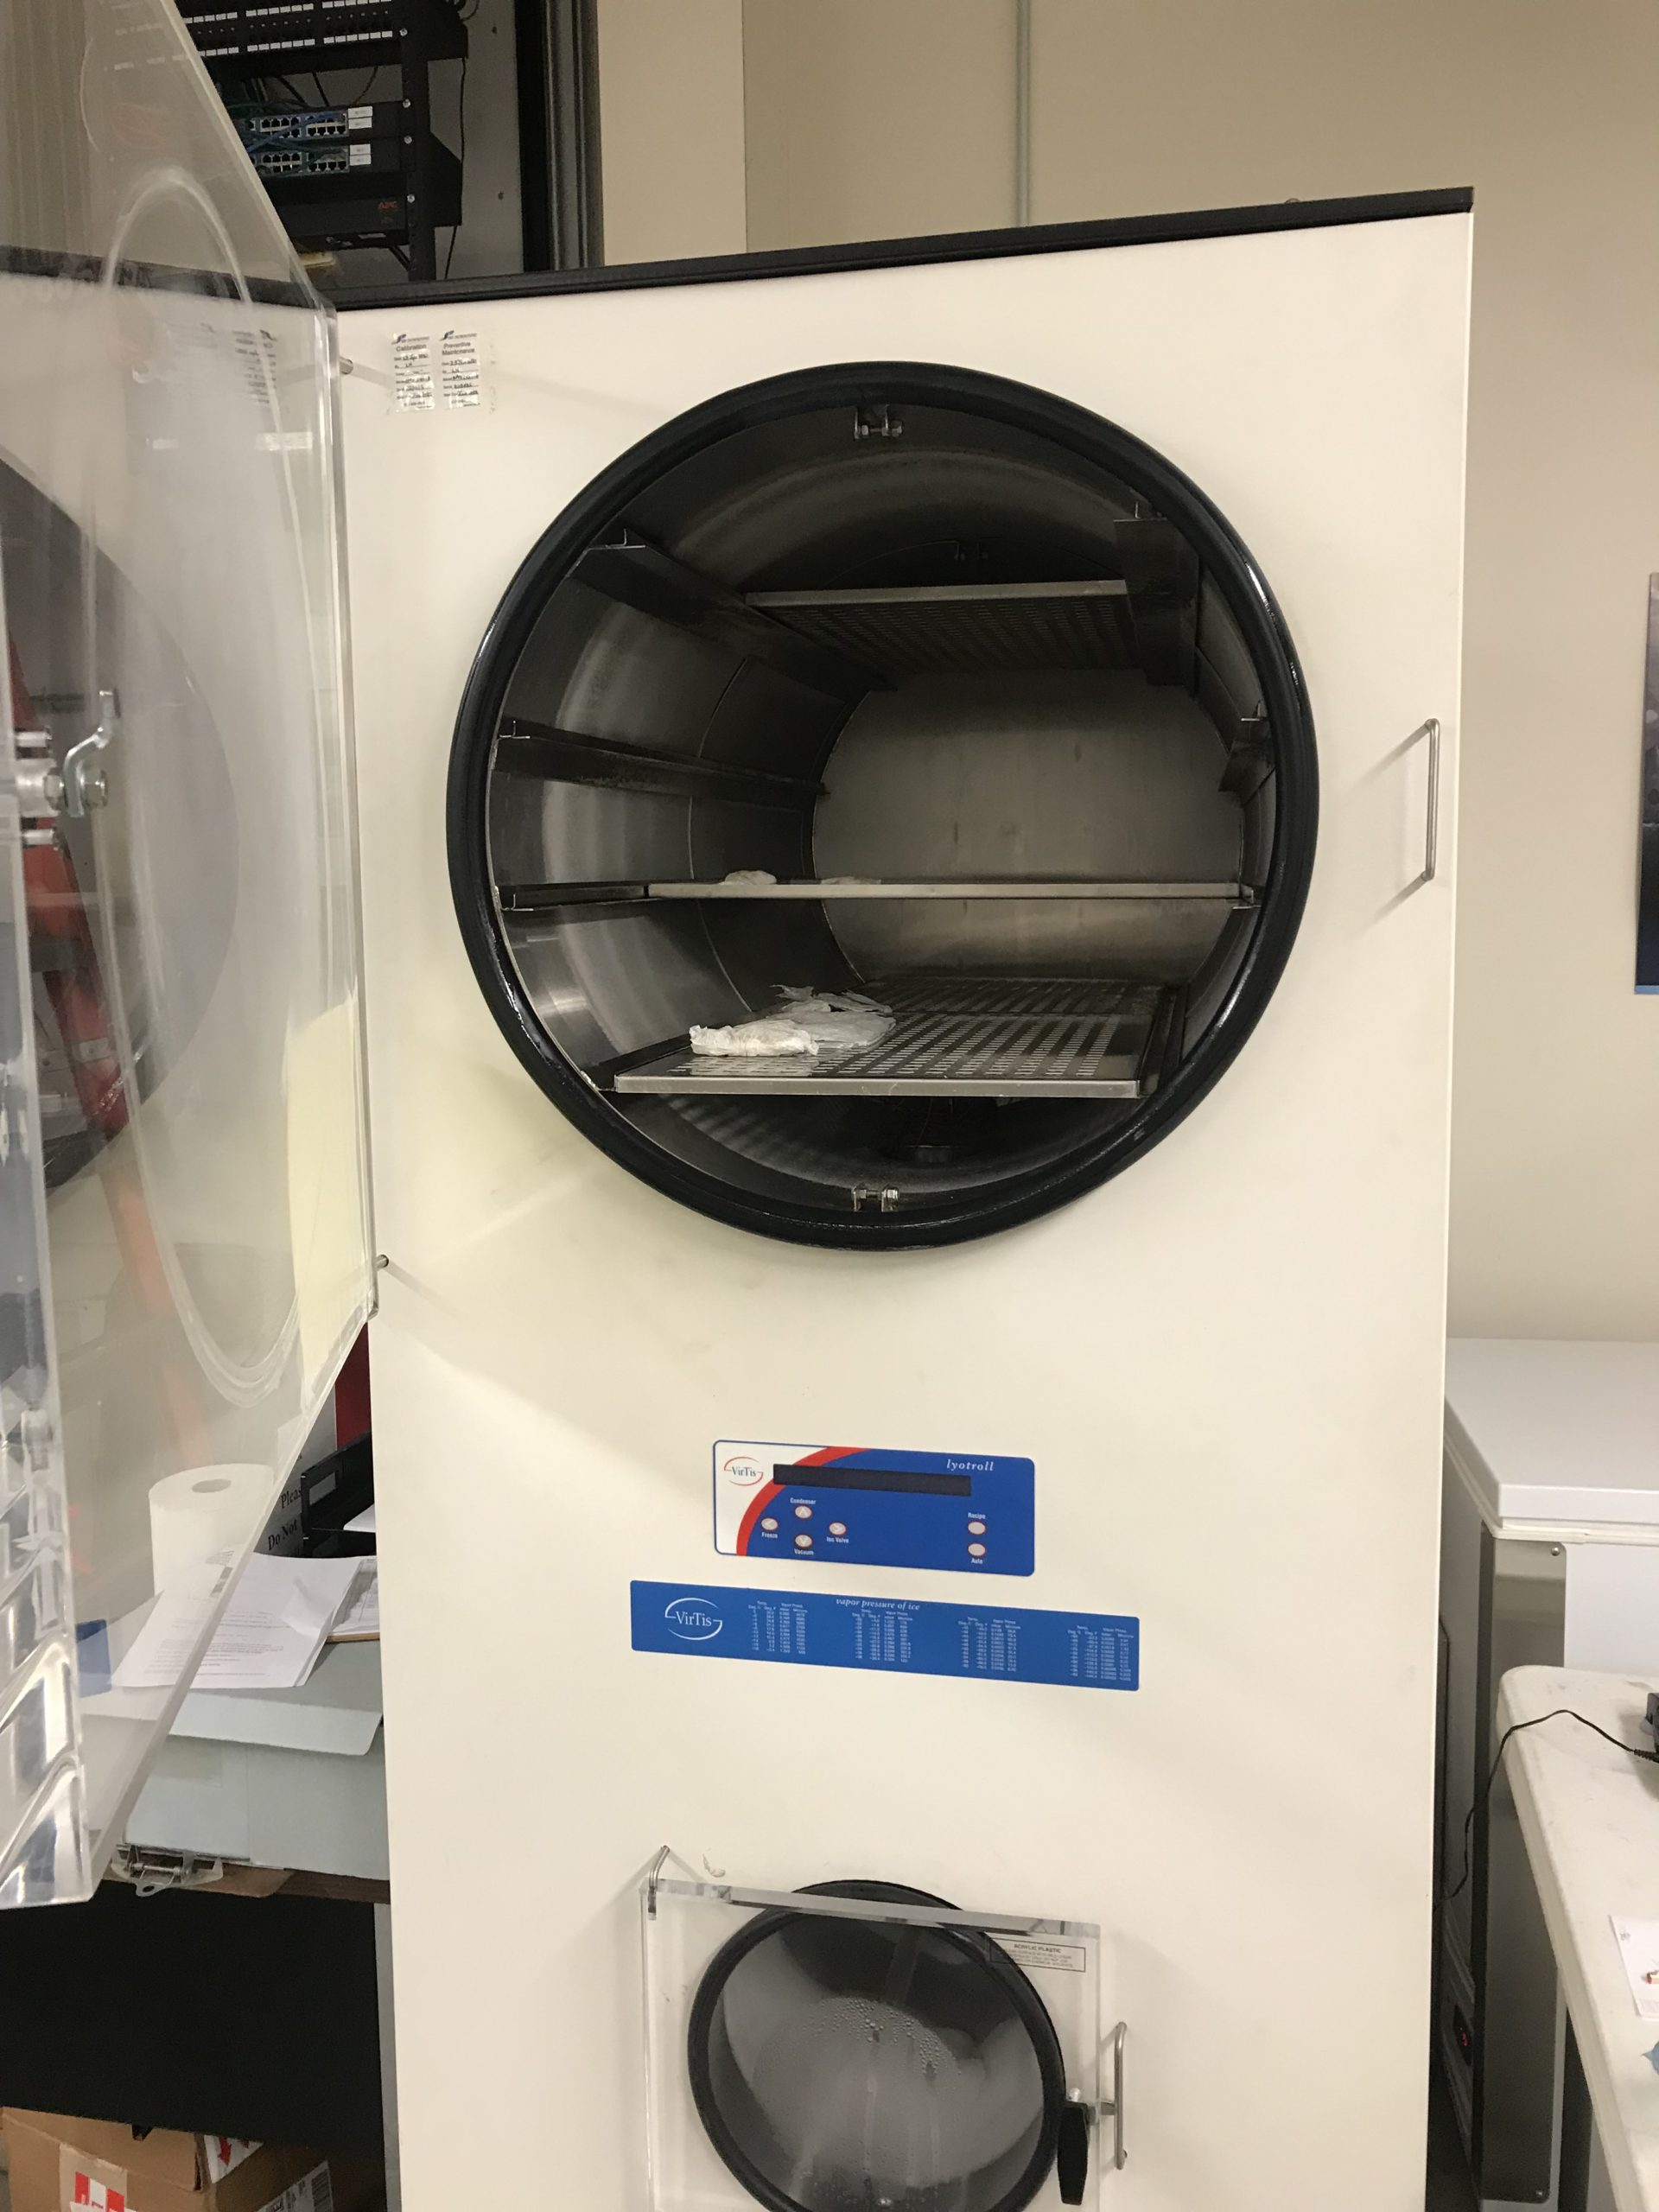
The Conservation team has a freeze dryer that is used for the majority of our waterlogged objects. Before entering the freeze dryer, waterlogged objects must be prepped for this process.
Prepping for Freeze-Drying
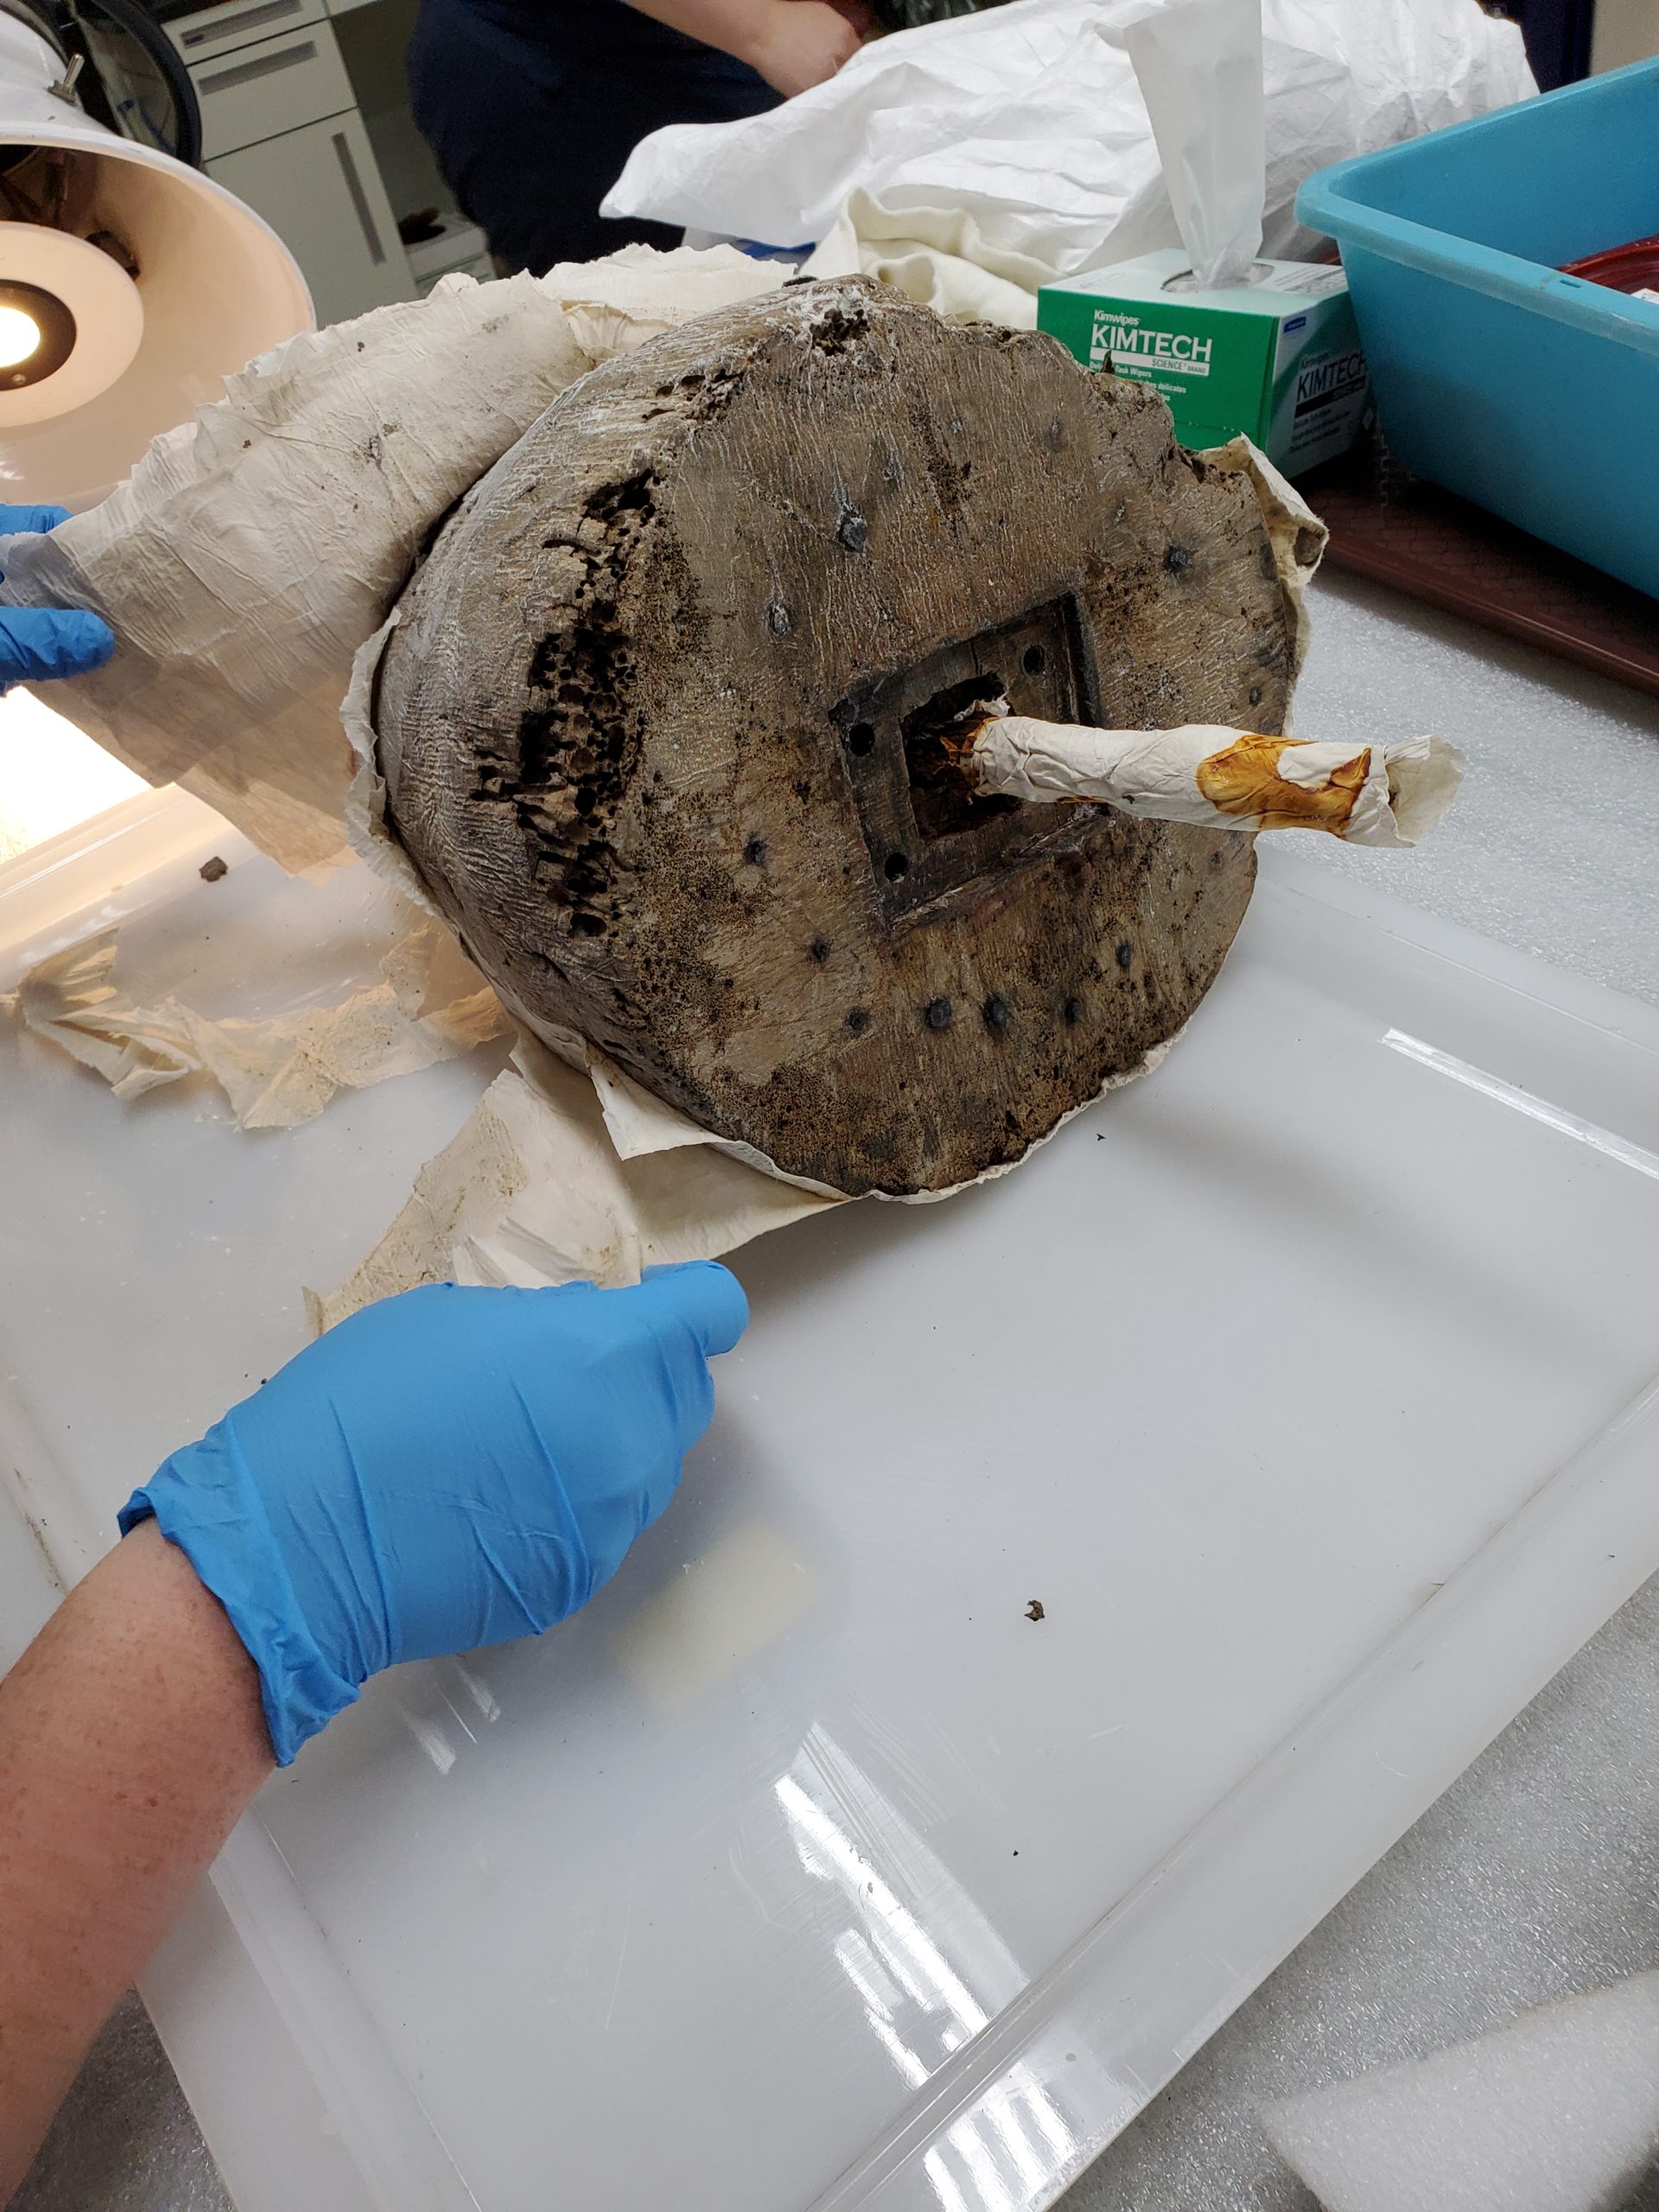
For the gun tool, first I rinsed the object in deionized water, to remove any excess PEG on the surface. Next, I wrapped the organic components (wood and textile) in Kimwipes™ , a thin delicate paper that absorbs excess PEG from the object surface. Then, the object is wrapped in plastic wrap to trap in moisture while the object is freezing. Once the gun tool was prepped, it was first placed in refrigerated storage for 24 hours, and then freezer storage.
Initially, the plan was to only leave the gun tool in freezer storage for a few days. However, this was mid-March of 2020, and as you might guess, all of my conservation treatments got put on hold while the museum was closed due to the pandemic. However, once I was able to return to the Museum regularly, it was into the freeze dryer!

The freeze-drying process is measured by weight change of the object. Regularly the object is removed from the freeze dryer and weighed. Once the weight stabilizes, it is considered dry and freeze-drying is complete.
Surface Cleaning
Once the gun tool finished freeze-drying, I brought it upstairs to the Clean Lab. There I removed the Kimwipes™ that were wrapped around the object, removing excess PEG along the way. I felt like I was unwrapping a mummy but Elsa says to her it feels like unwrapping presents on Christmas morning.
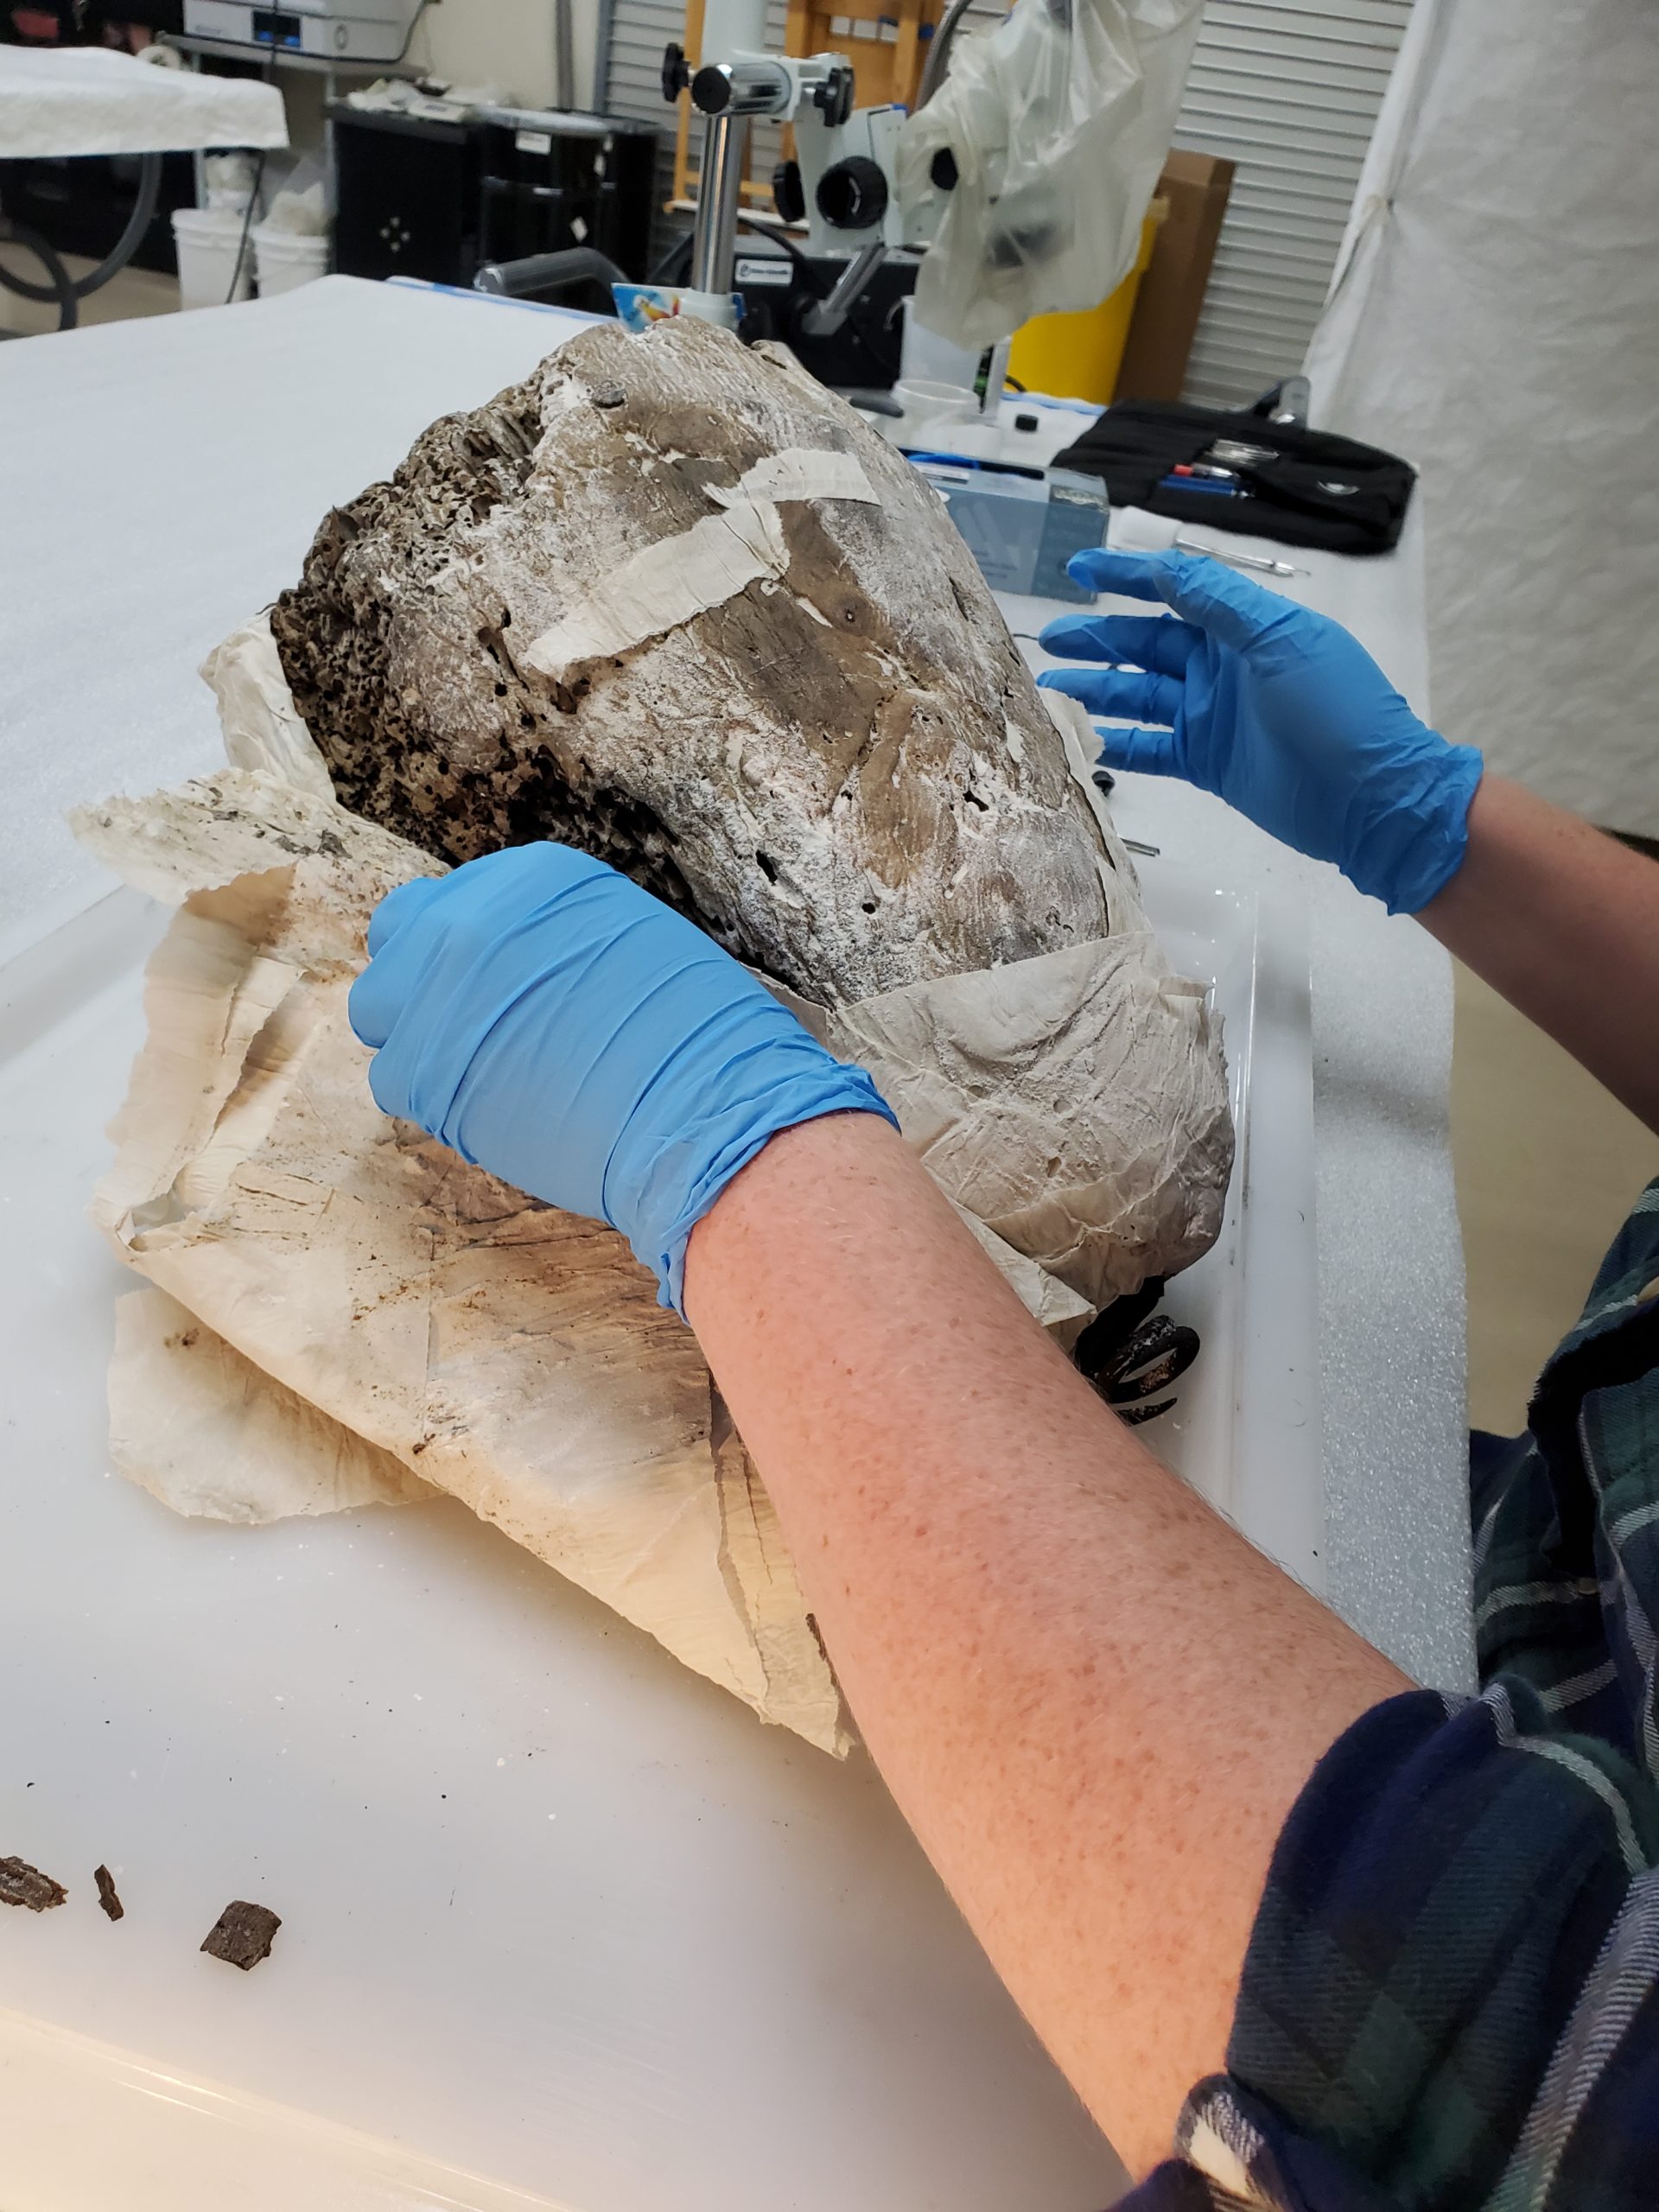
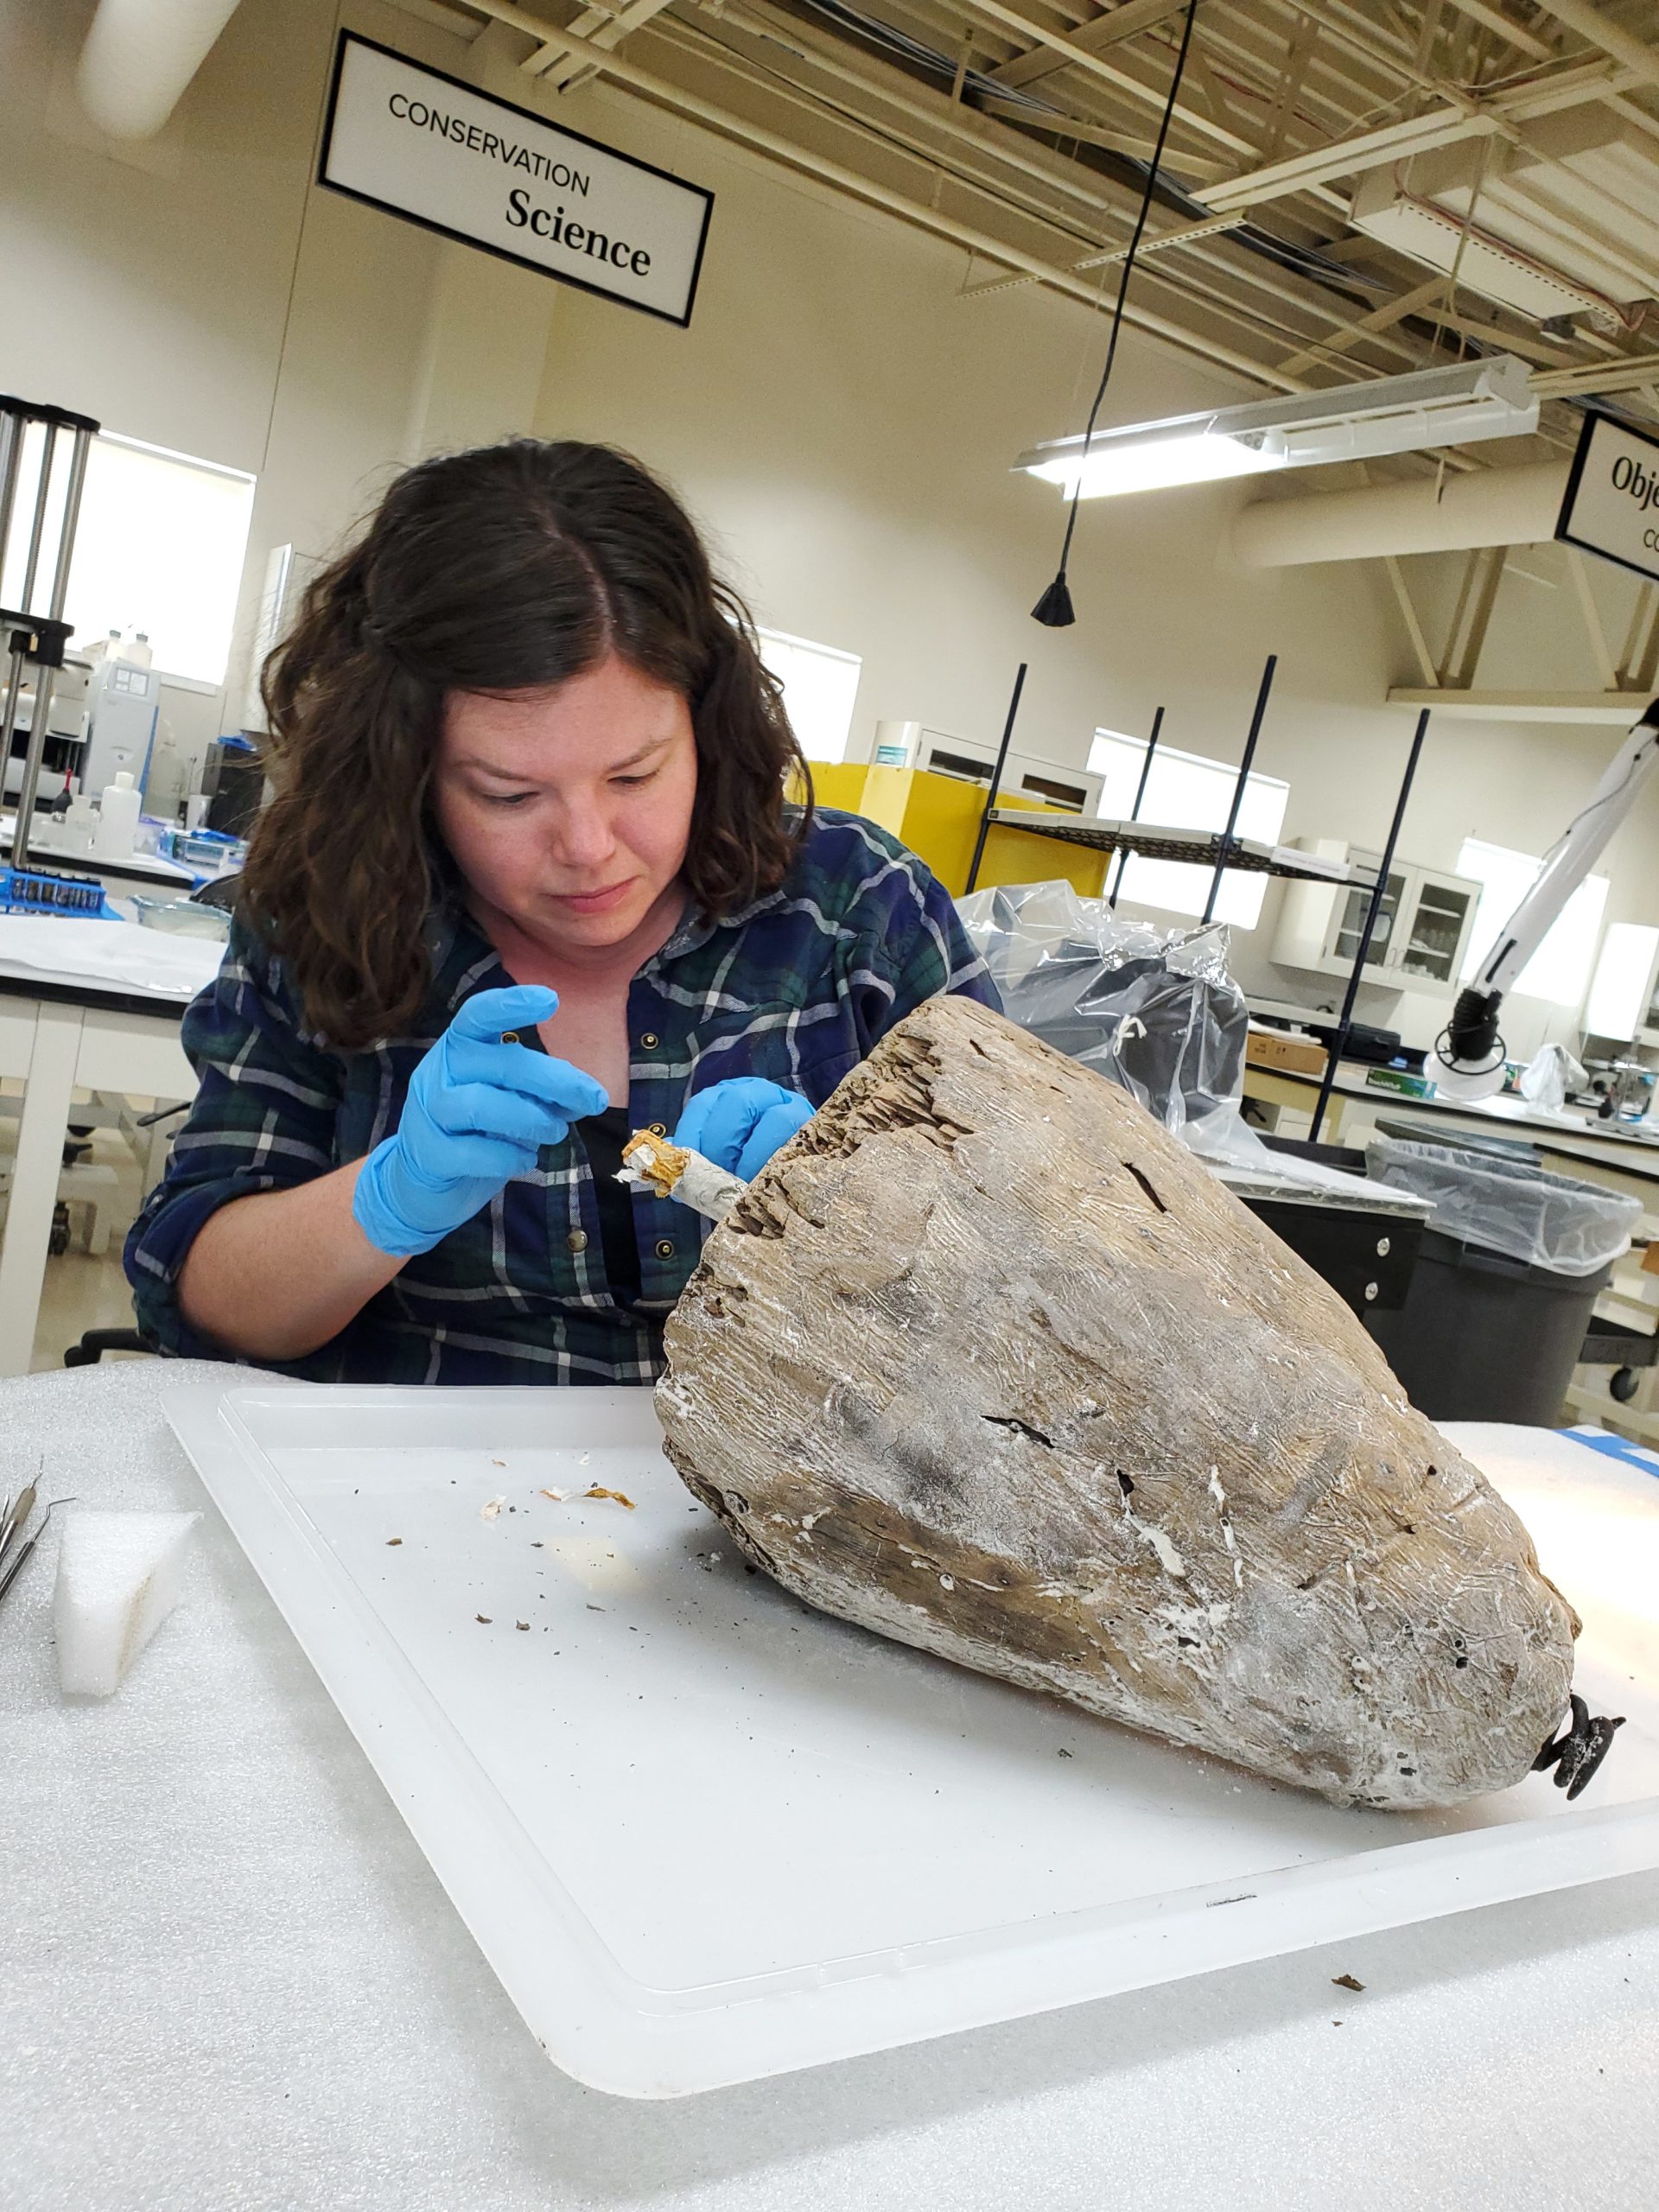
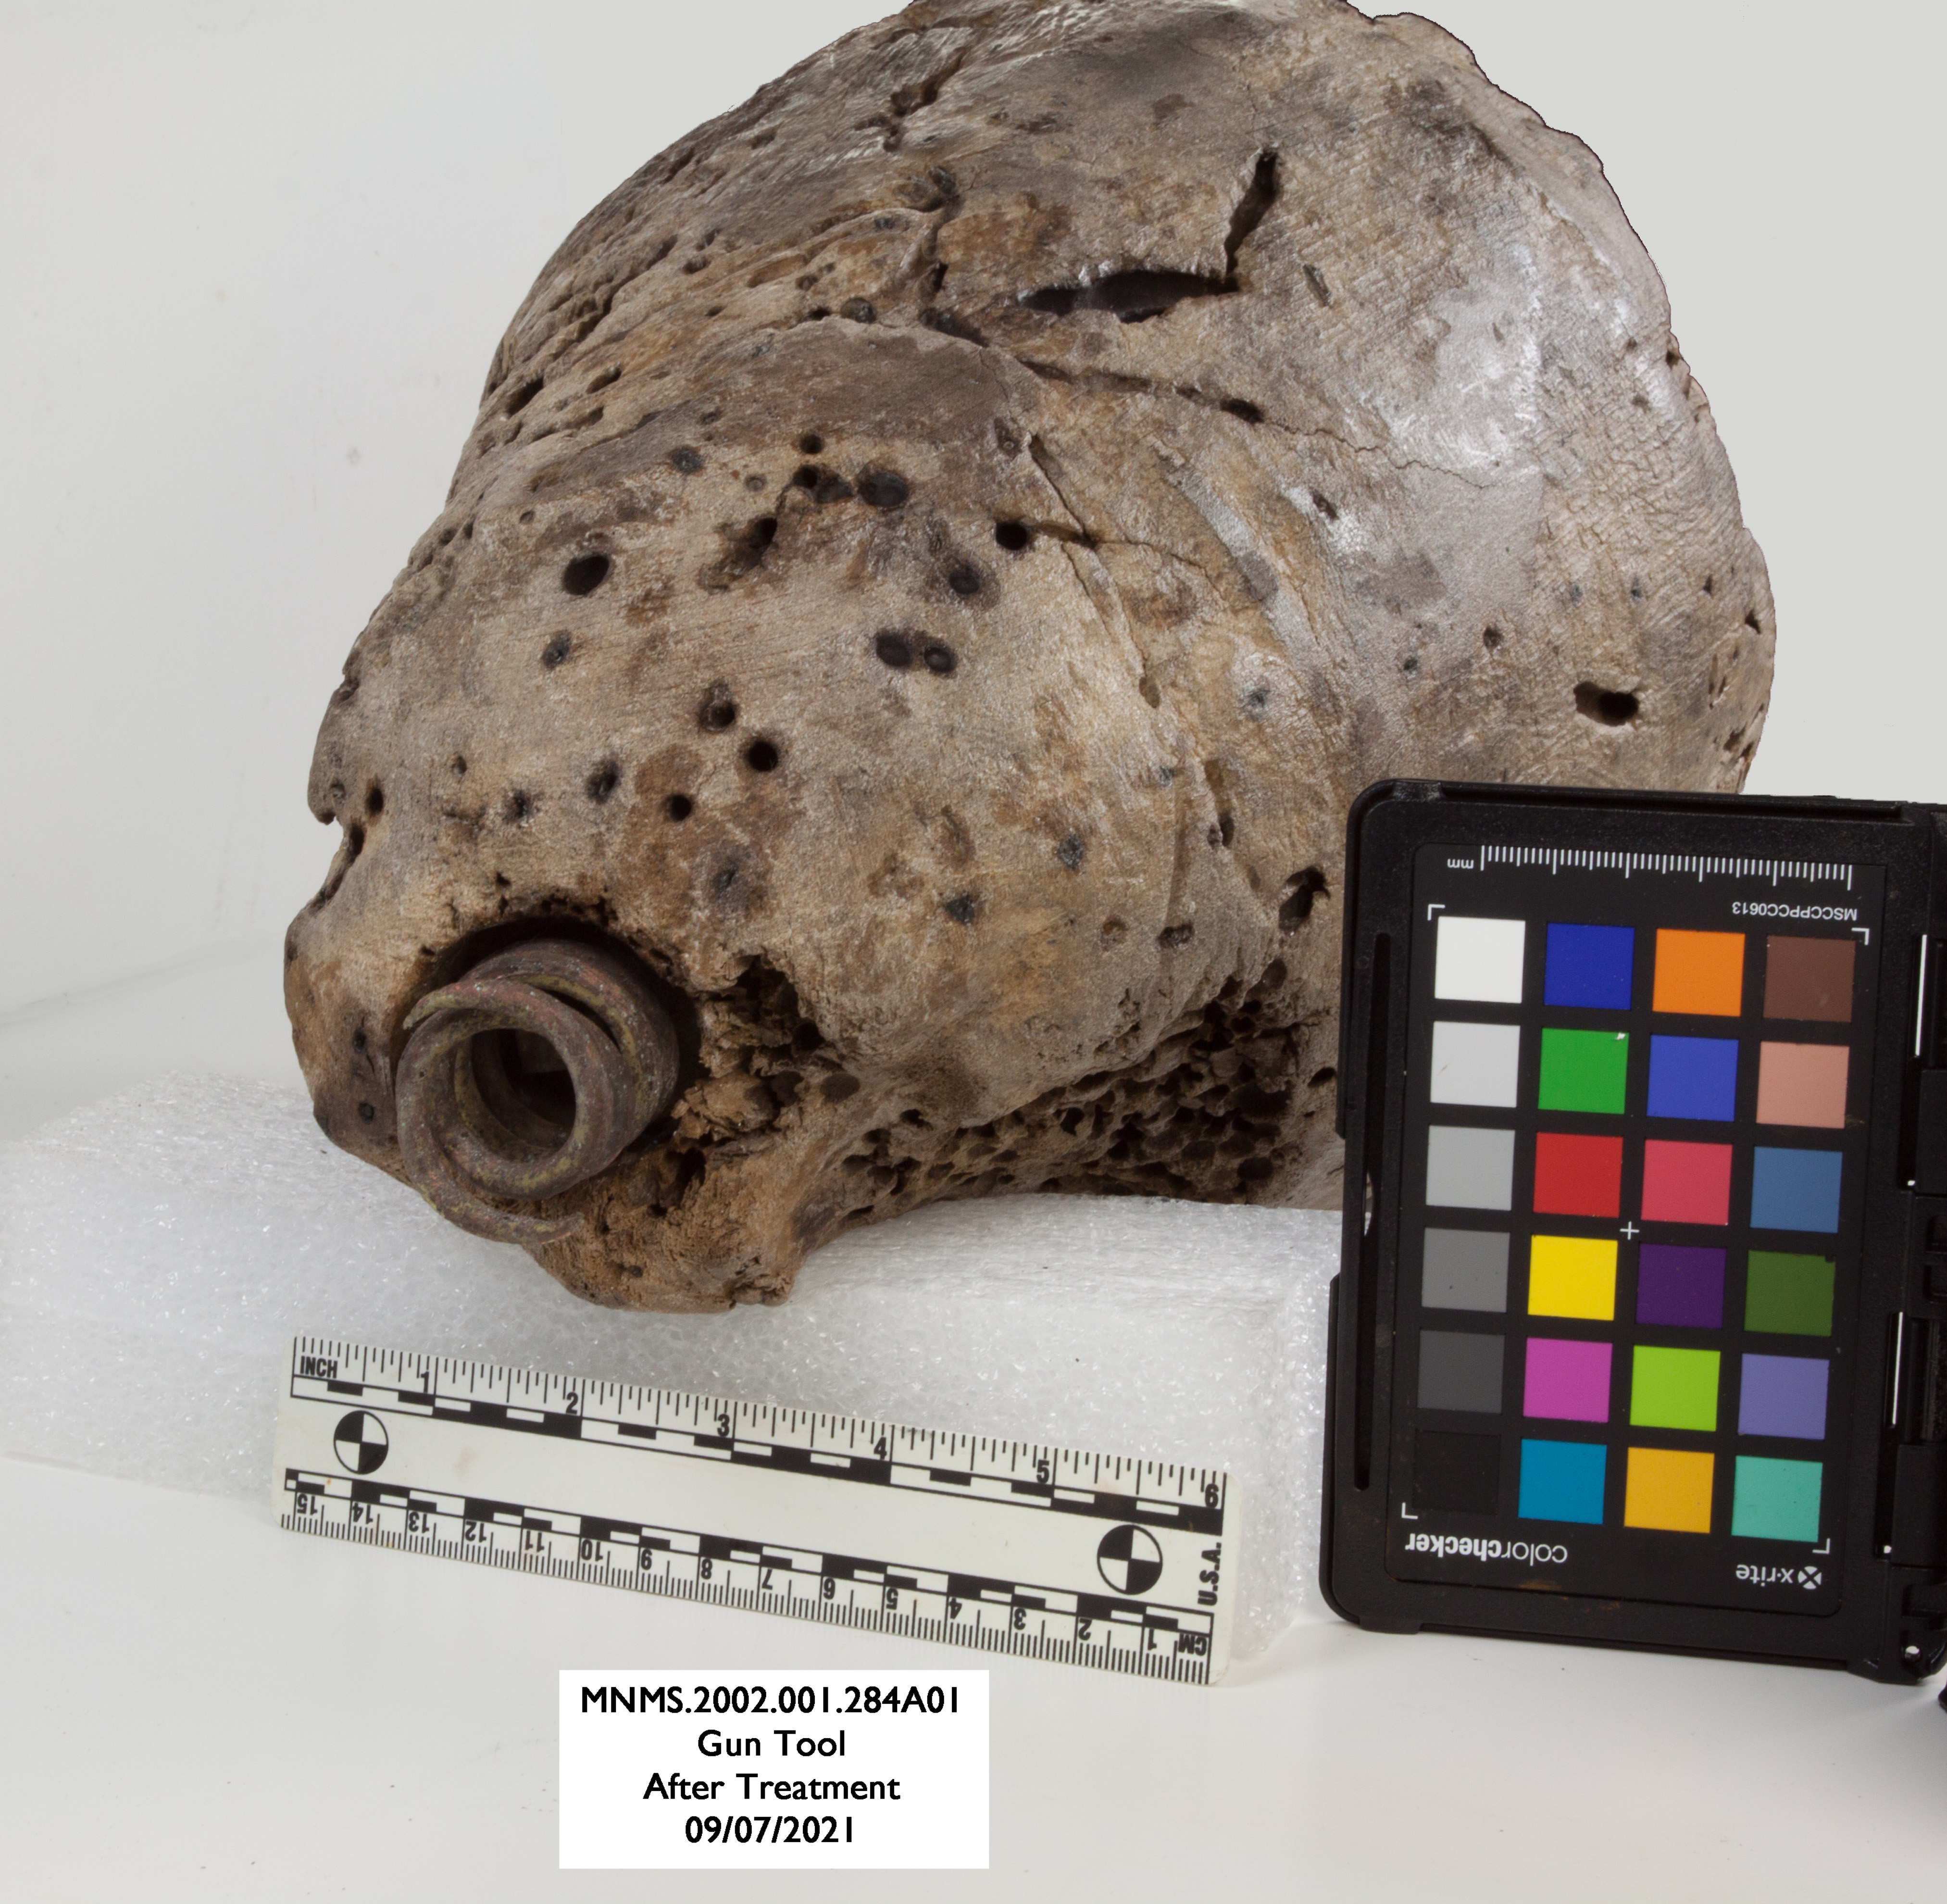
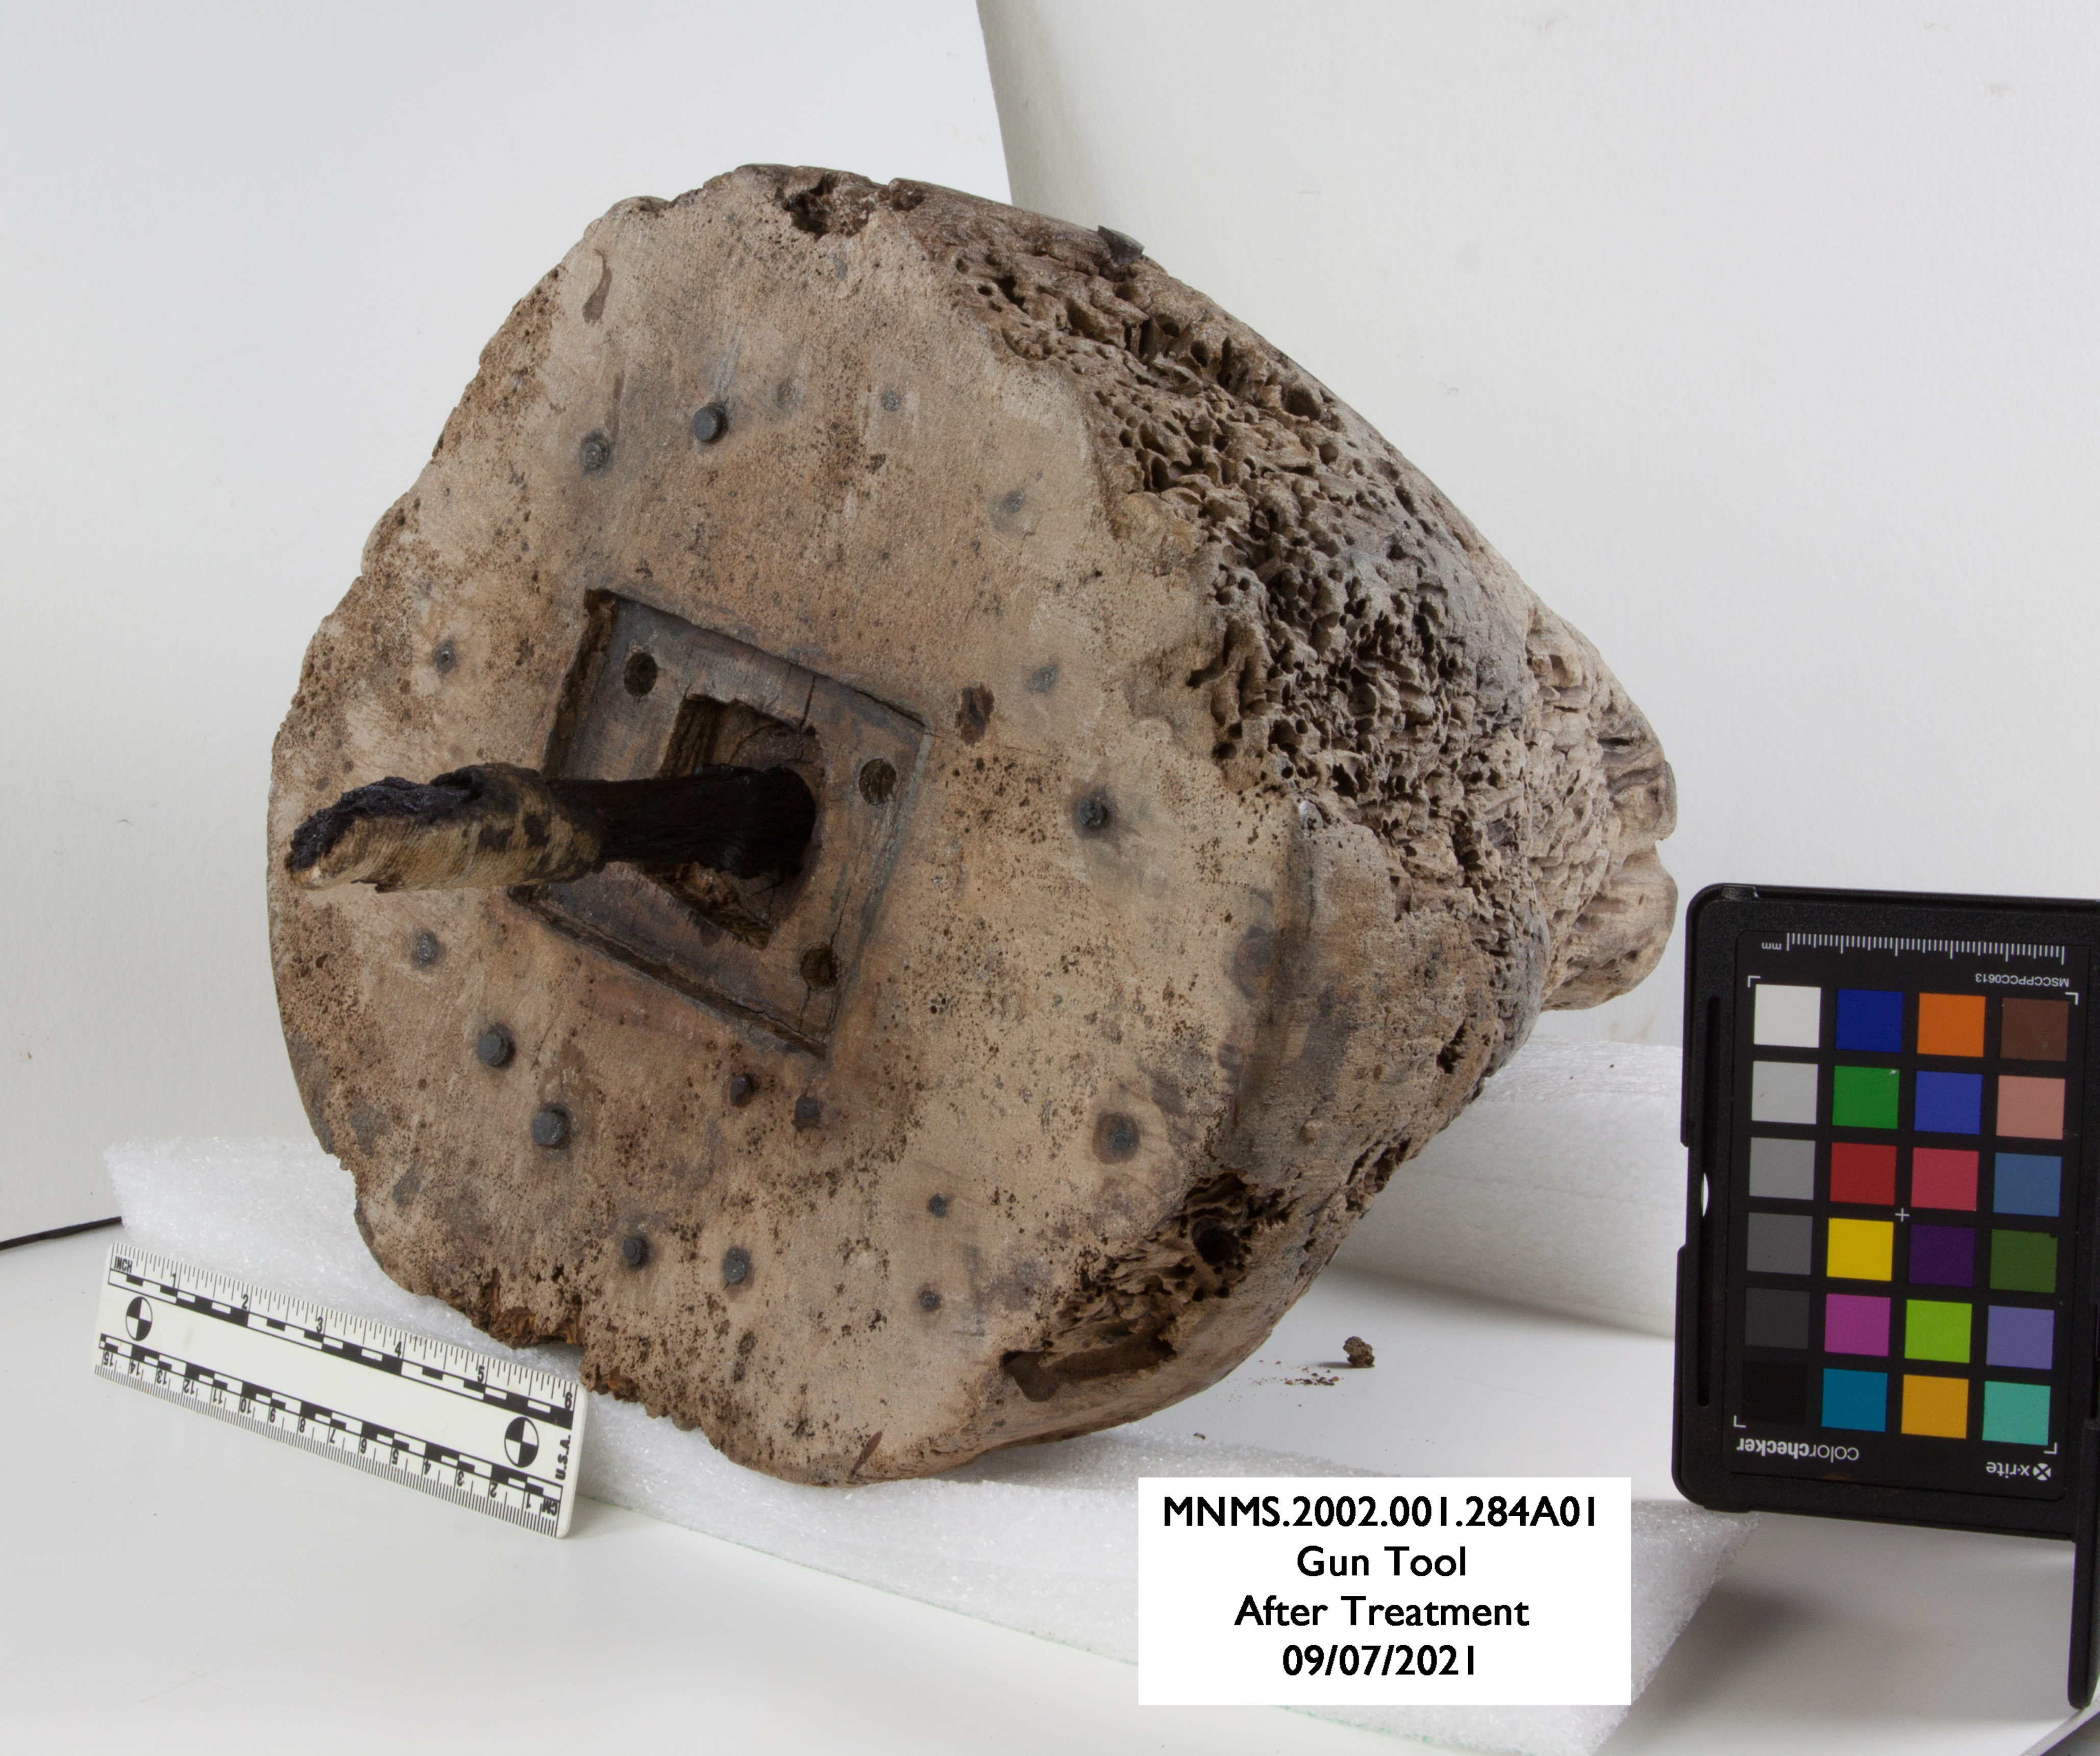
Once the gun was unwrapped it was time to examine it. Fortunately, the freeze-drying process went wonderfully, and the wood, textile, and iron all looked great. From here the next steps were to clean off any excess PEG and do a little surface cleaning on the iron and copper components.

Next, I removed excess PEG from the wood surface by brushing the surface with a dry brush. The copper worm was chemically cleaned to remove corrosion products. The iron handle was given a protective coating to help prevent corrosion in the future.

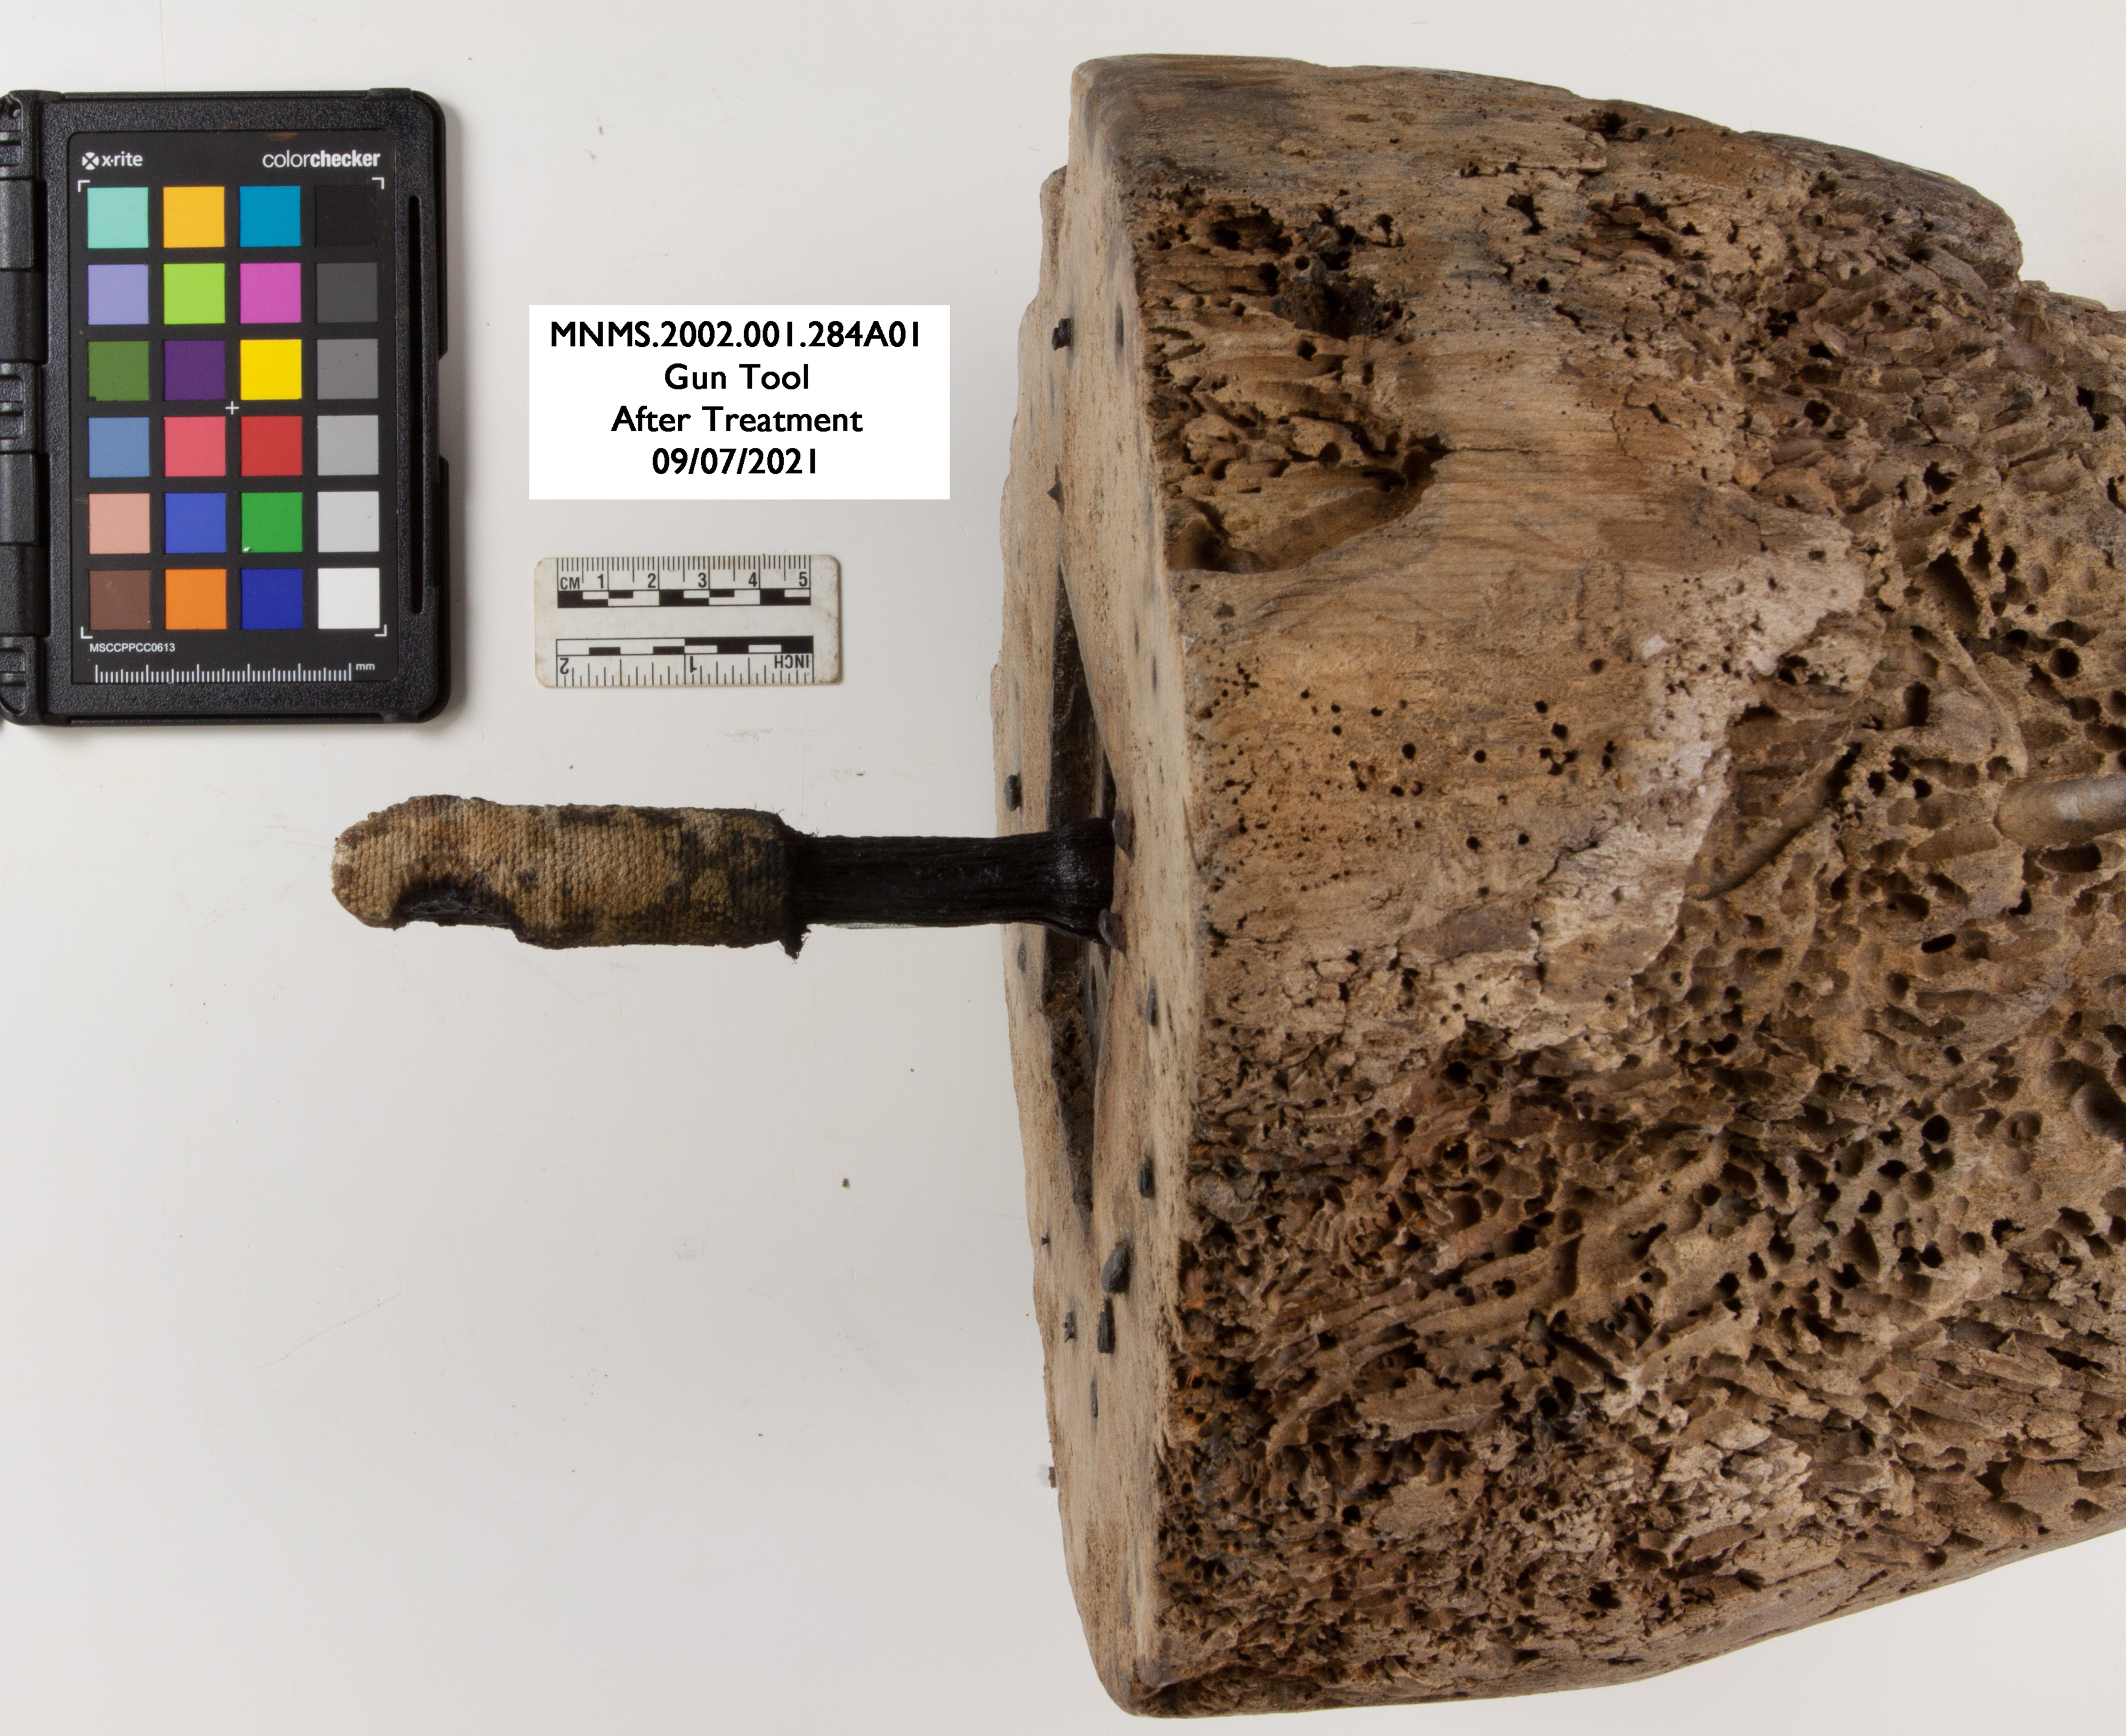
These final steps complete the treatment for this gun tool. It then went to our collections manager, who made it a custom box for storage. For now, the gun tool will stay in storage until we decide to put it on display. This object taught me a lot about thinking outside the box when it comes to making a treatment plan. It was a hugely rewarding process to see an object I started years ago finally reach the end of treatment.
I hope you enjoyed following the treatment of the gun tool with me!