A Man of Many Hats
I did not expect how many photography styles I would have to be familiar with as a museum photographer. I might have on my technical photographer hat; focused on meeting set standards to ensure precision reproduction is possible. A little later on, I might become a still-life photographer and carefully craft lighting to create a beautiful image of an artifact. That afternoon, I might have to be a documentarian and follow staff members that are doing interesting work.
If you’re familiar with my photography, you will probably know that I am typically the happiest when I’m in the studio working with lighting to create images that make our artifacts look beautiful. What can I say? I’m a bit of a control freak, and the level of control I get to exert in the studio is comforting to me. That said, every once in a while, it’s good to step out into the wide world outside my studio doors and take photos with less control.
Documentary Photography
Documentary photography is a genre of the medium where the goal is to tell a story through images. The idea is to take photos that, viewed together, can give you a more complete understanding of an event, a person, or even just a location. A documentary photographer wants you to view their images and walk away feeling like you get the narrative. It’s what we refer to as visual storytelling.
There are several amazing examples of documentary photography in The Mariners’ Museum and Park collection, but my favorite by far is the Hampton Roads Port of Embarkation collection.
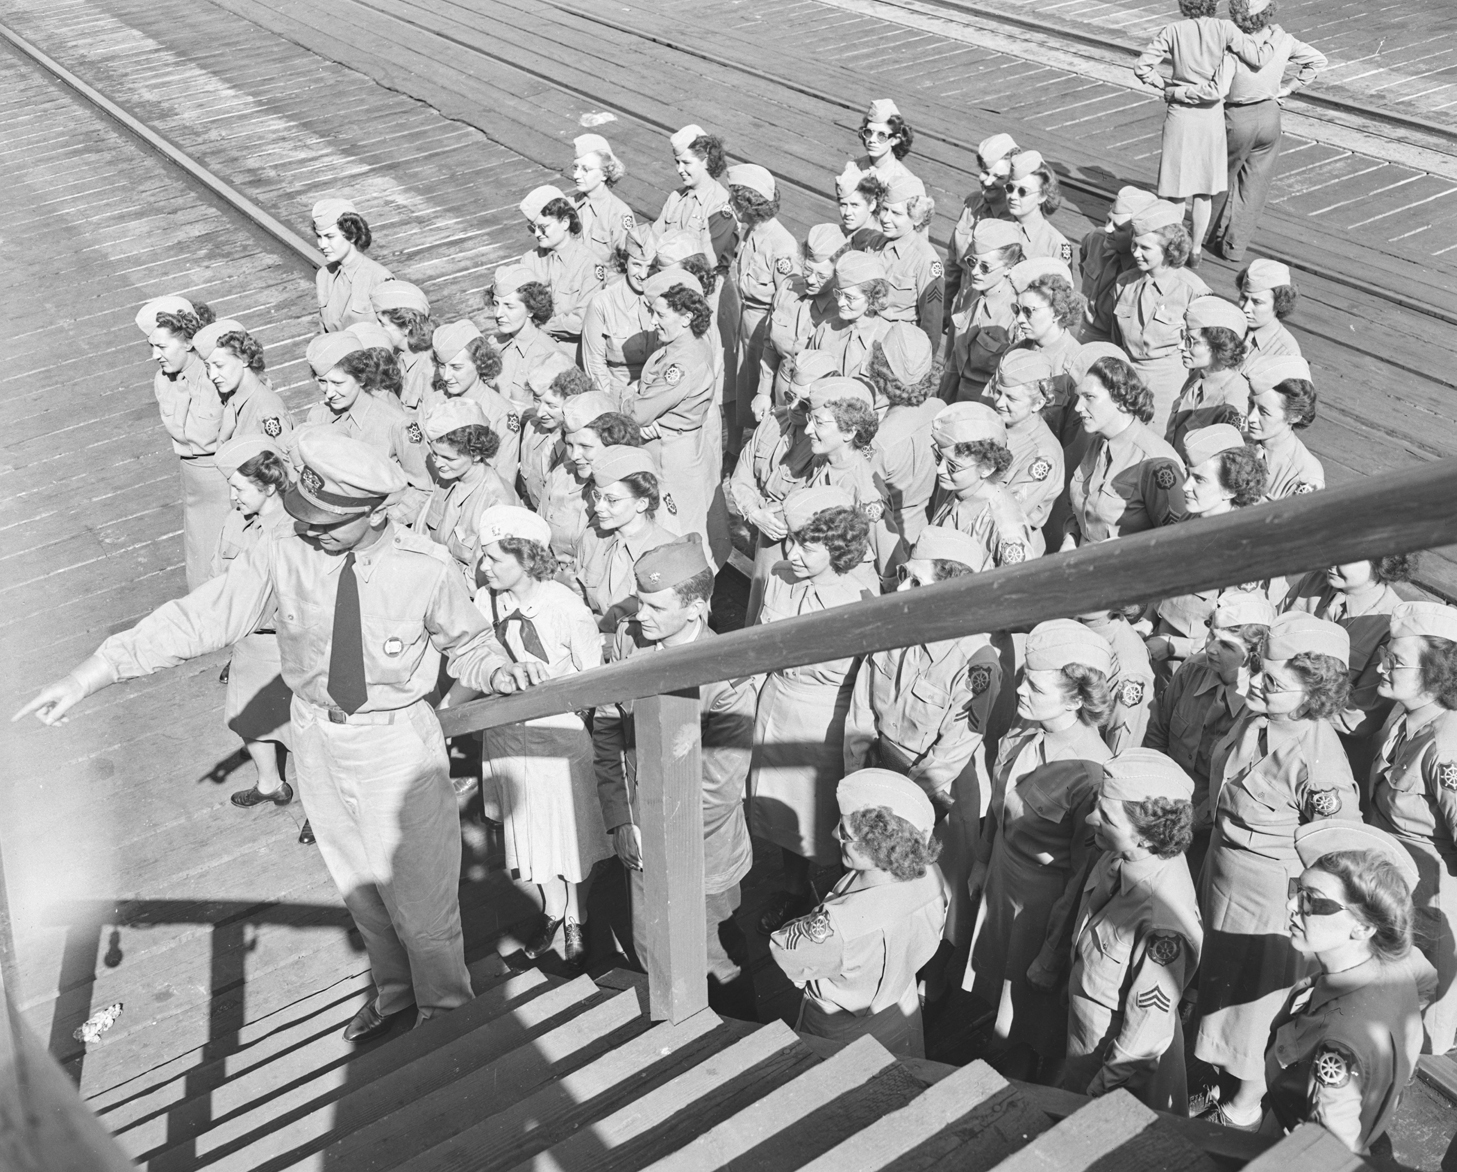
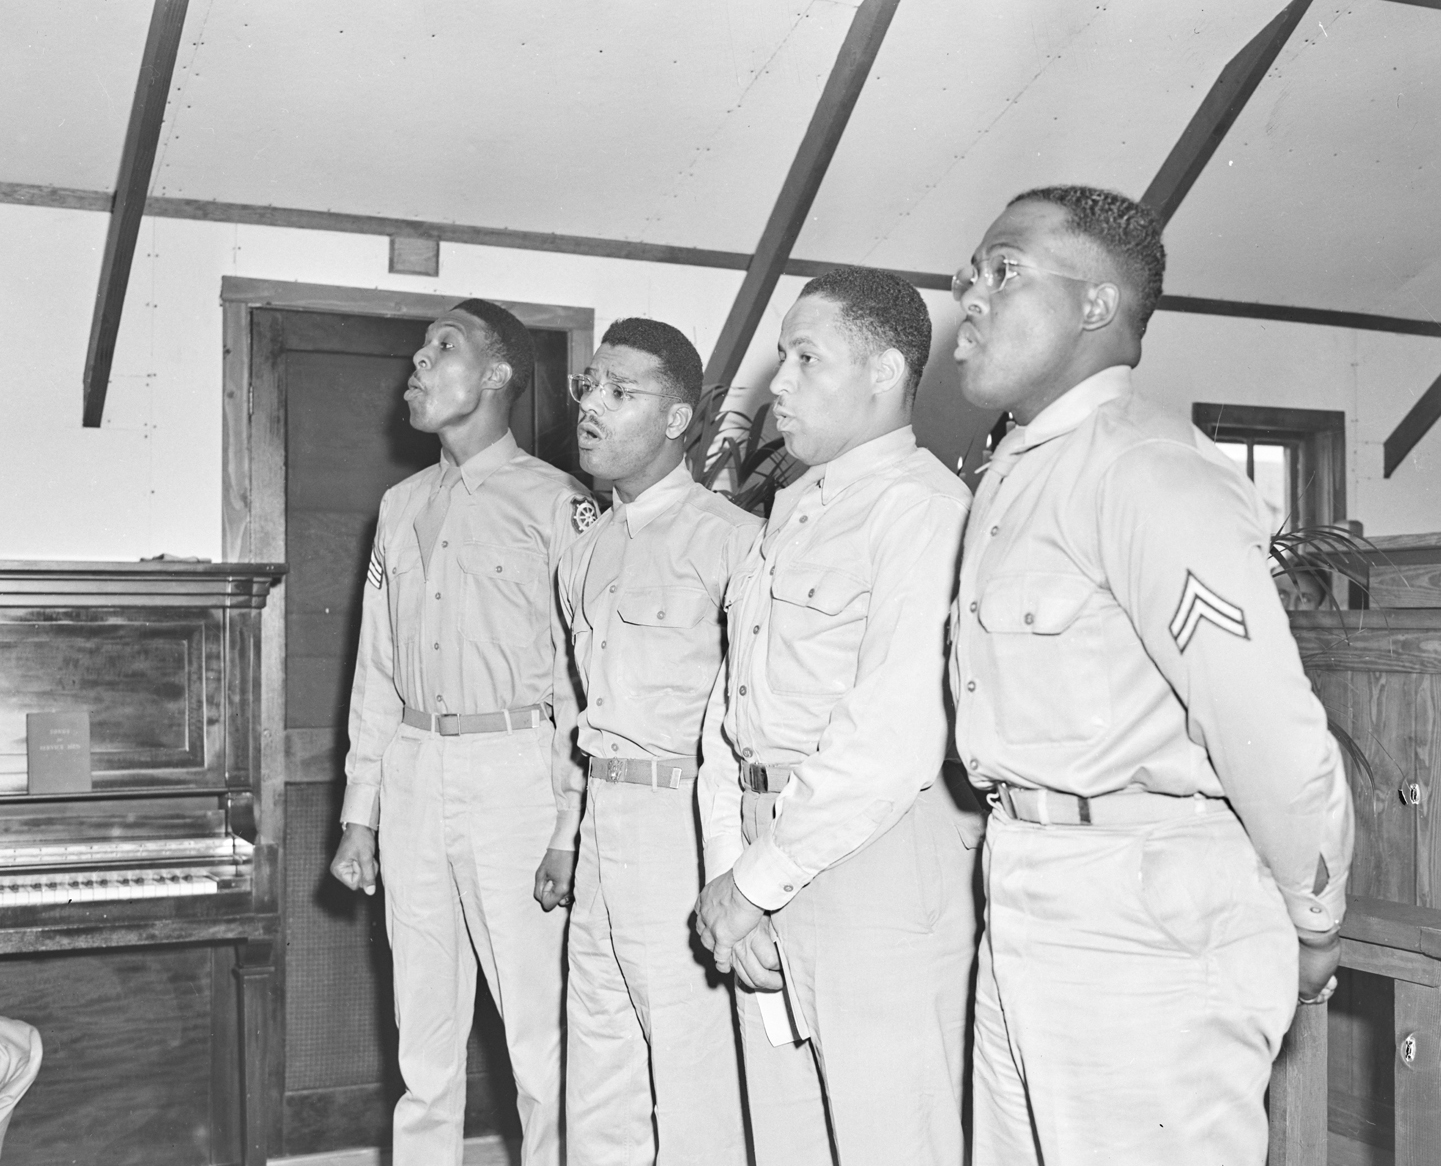
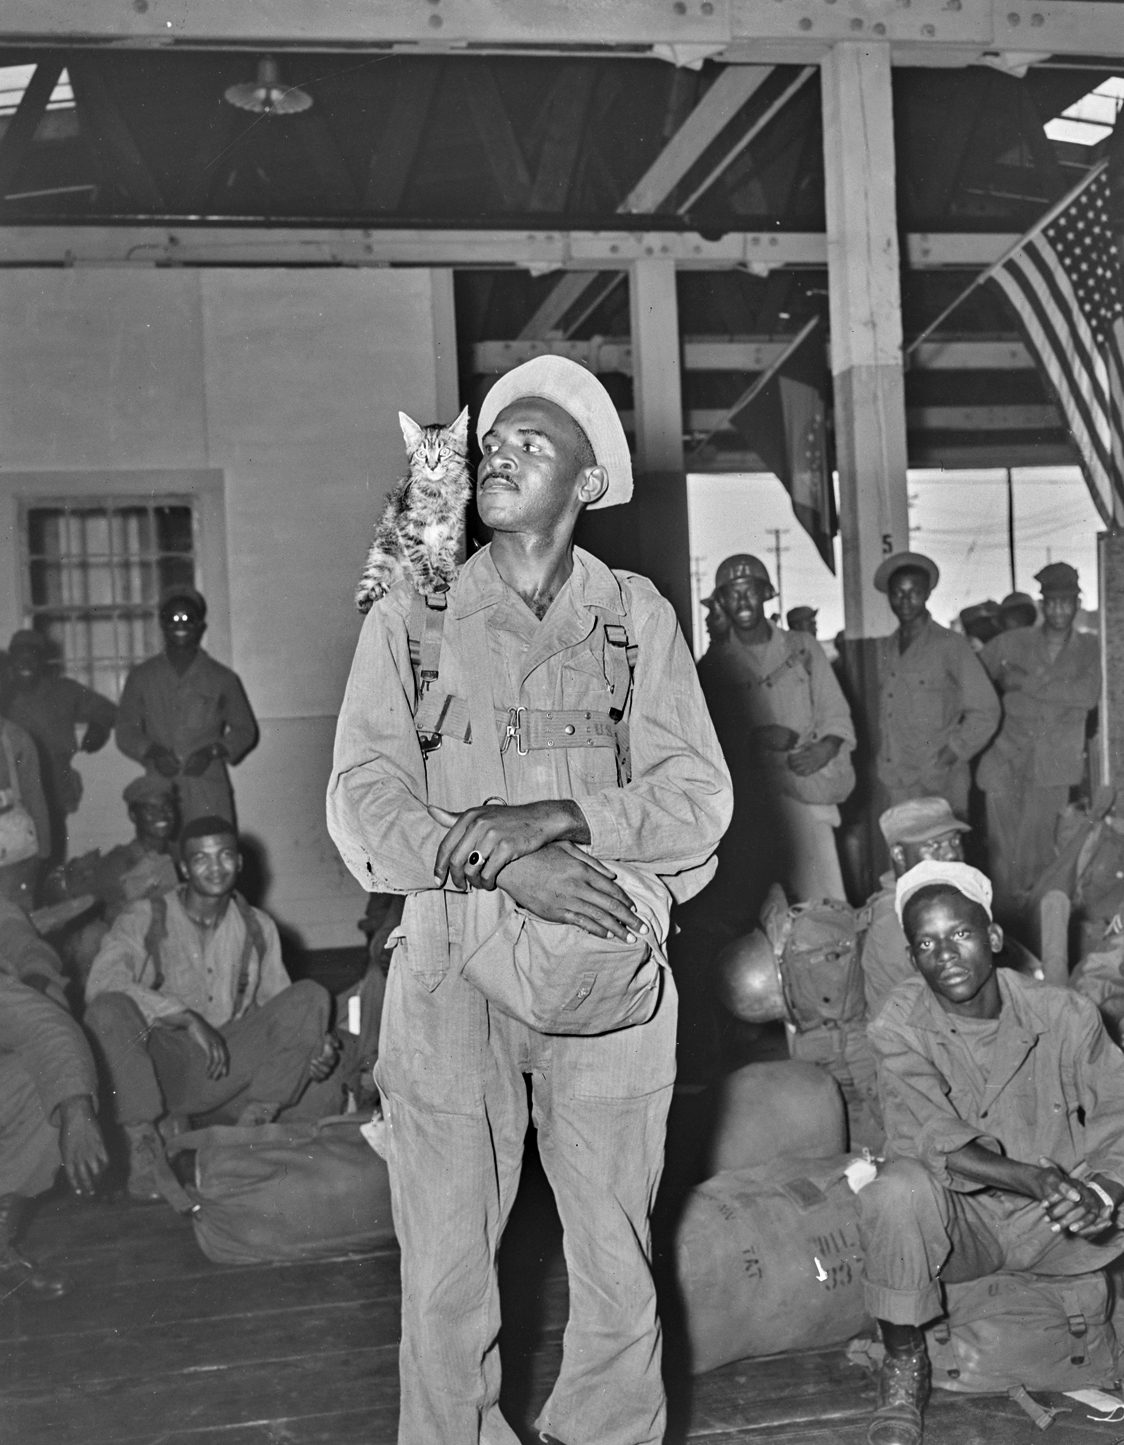
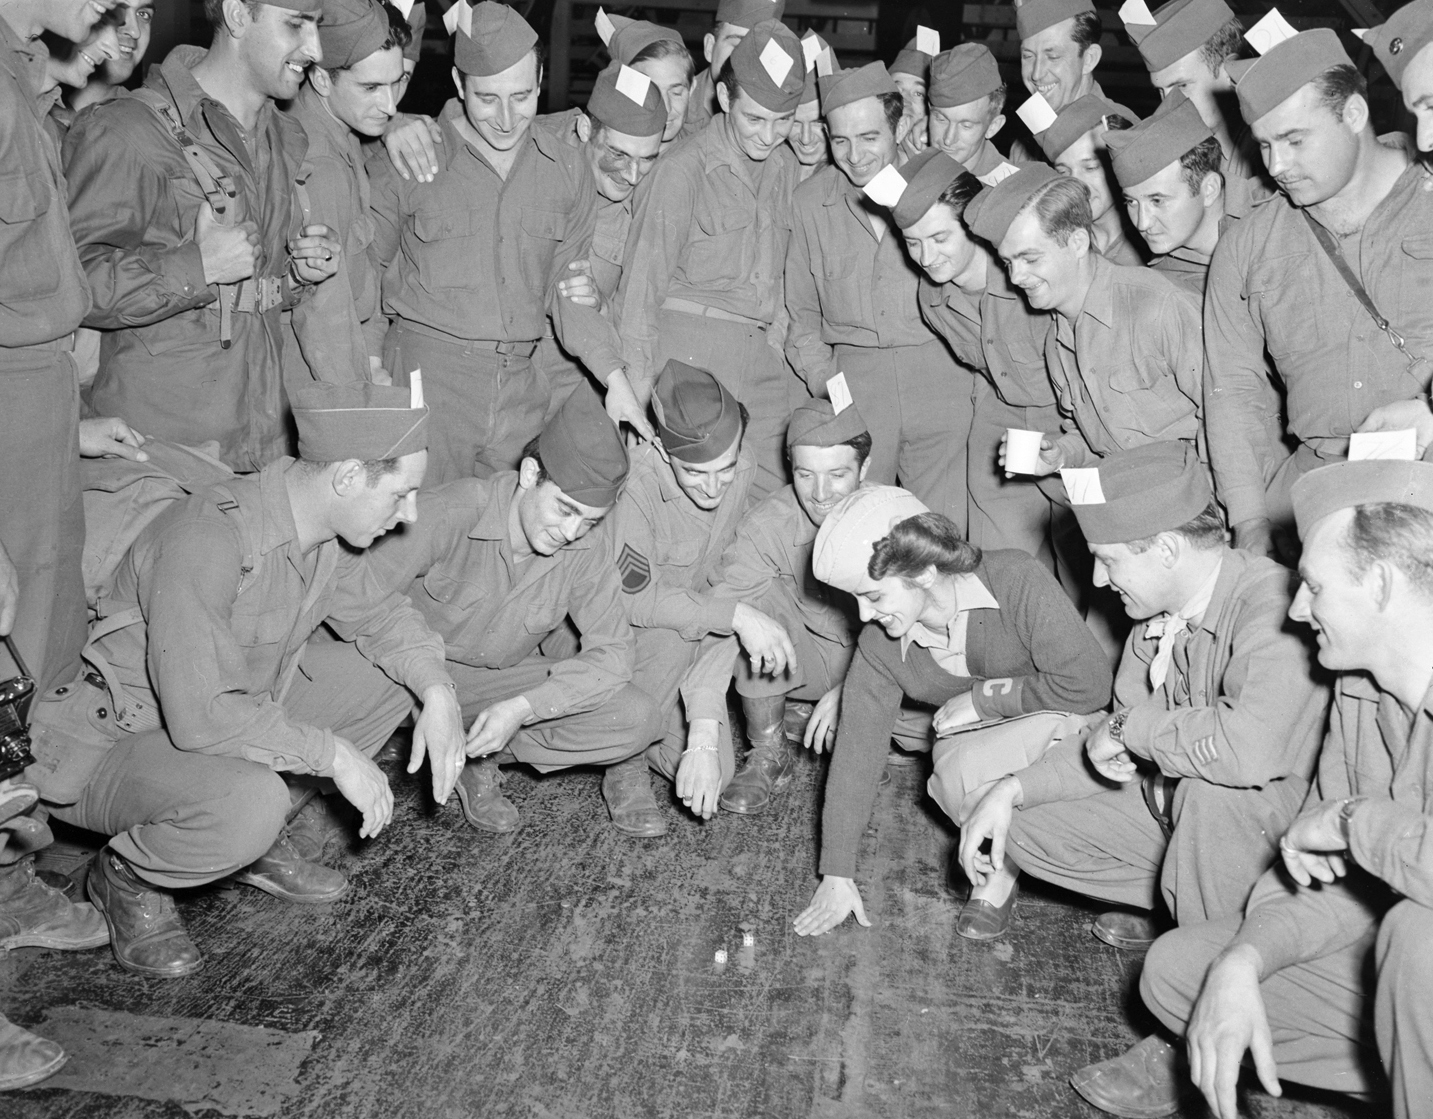
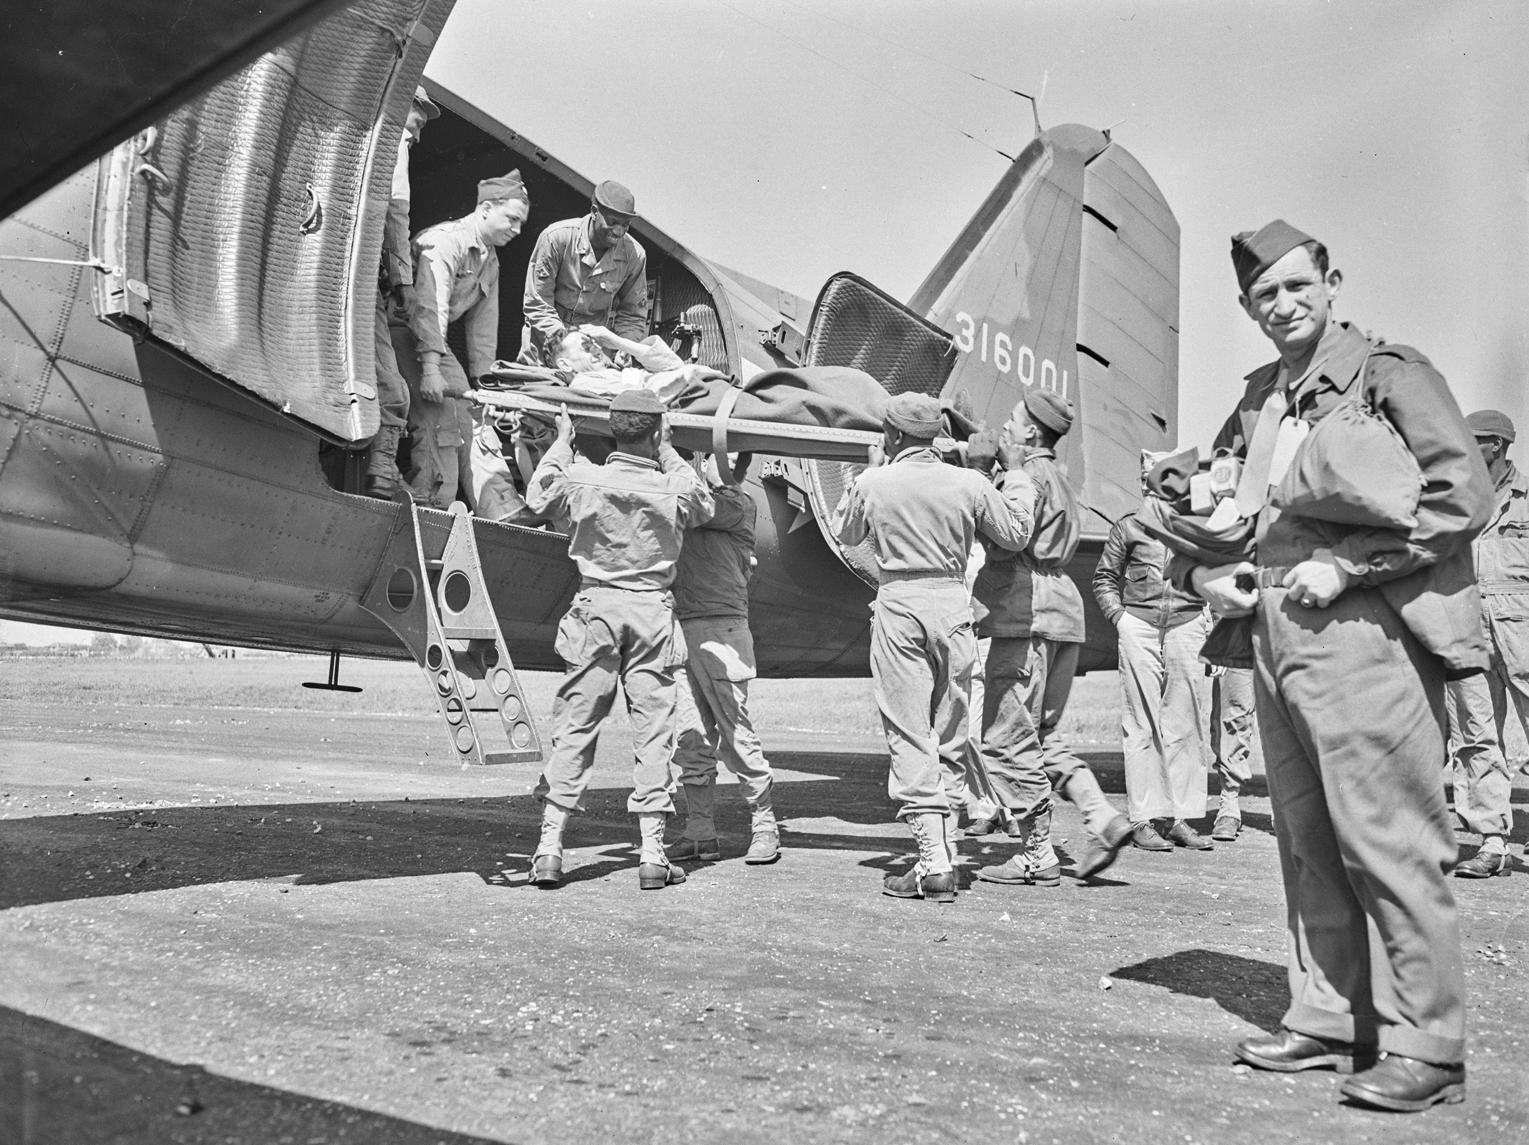
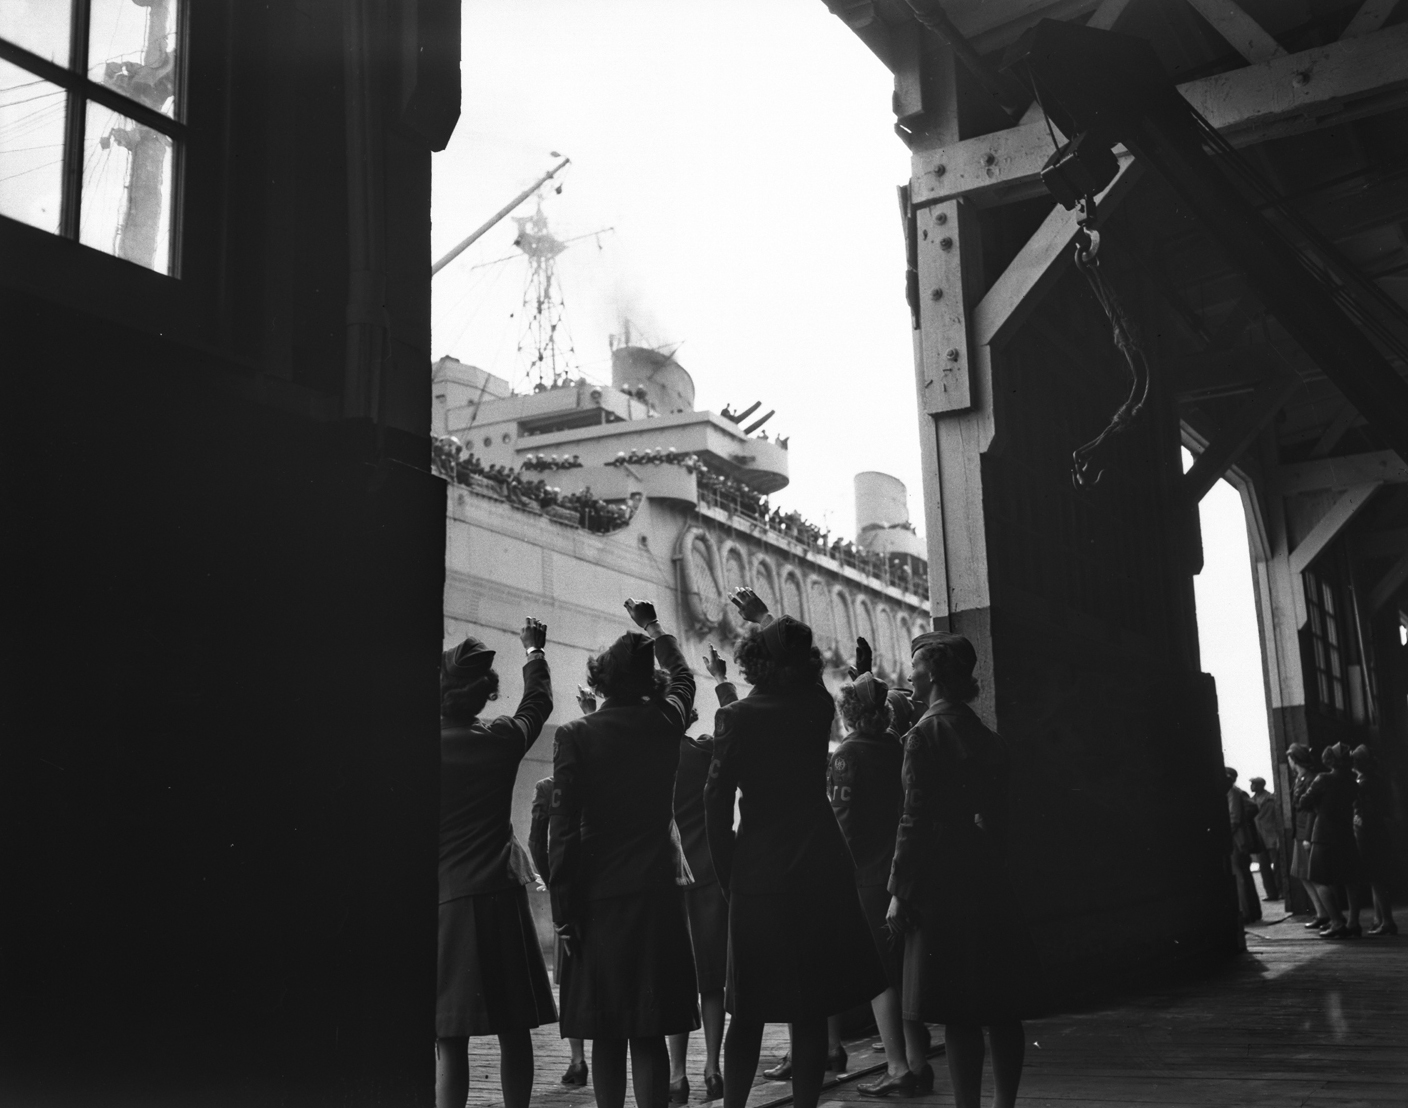

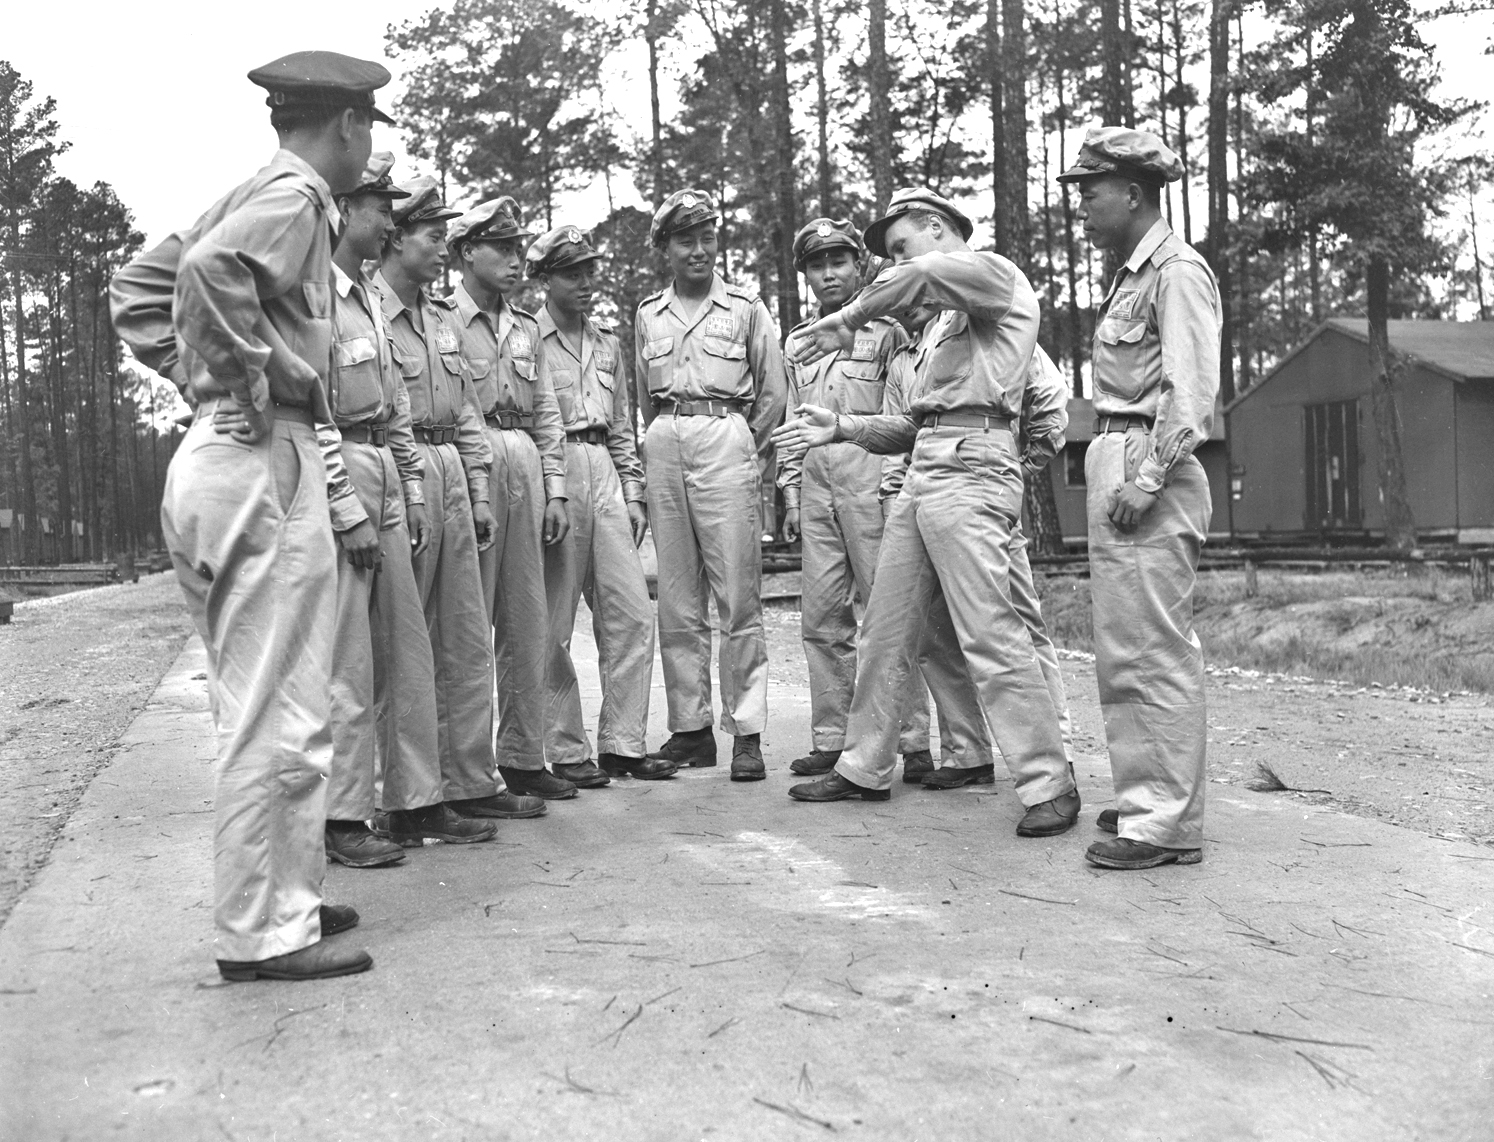
These images, captured by the U.S. Army Signal Corps during WWII, represent a massive and well-organized effort to document life and work at the port and associated military installations. The images help tell the story of the men and women who served in or passed through Hampton Roads.
Sounds Easy enough
The catch, and there’s always a catch, is that the images should also be beautifully lit, well-composed, and compelling. See, visual storytelling through photography has a relative shortcoming compared to film. With photos, you see the images, but there’s no dialog, no sound design, nothing to tell you what it is that you see audibly. Sometimes even the amount of text that accompanies the images is limited to a caption of 120 characters.
So all you have to do is simply take images in a situation in which you have limited control, where things happen once before the moment is gone forever, that tell a complete and accurate story, and are visually compelling enough to get, and hold, someone’s attention long enough for them to understand the narrative you are establishing on the fly. Oh, and remember the specifics of each image well enough that you can write accurate captions for them later.
Do not fear, though. If you are interested in improving your documentary photography skills, allow me to provide you with some tips that I have recently used to up my documentary game with the Conservation Department.
Yep. It’s that easy.
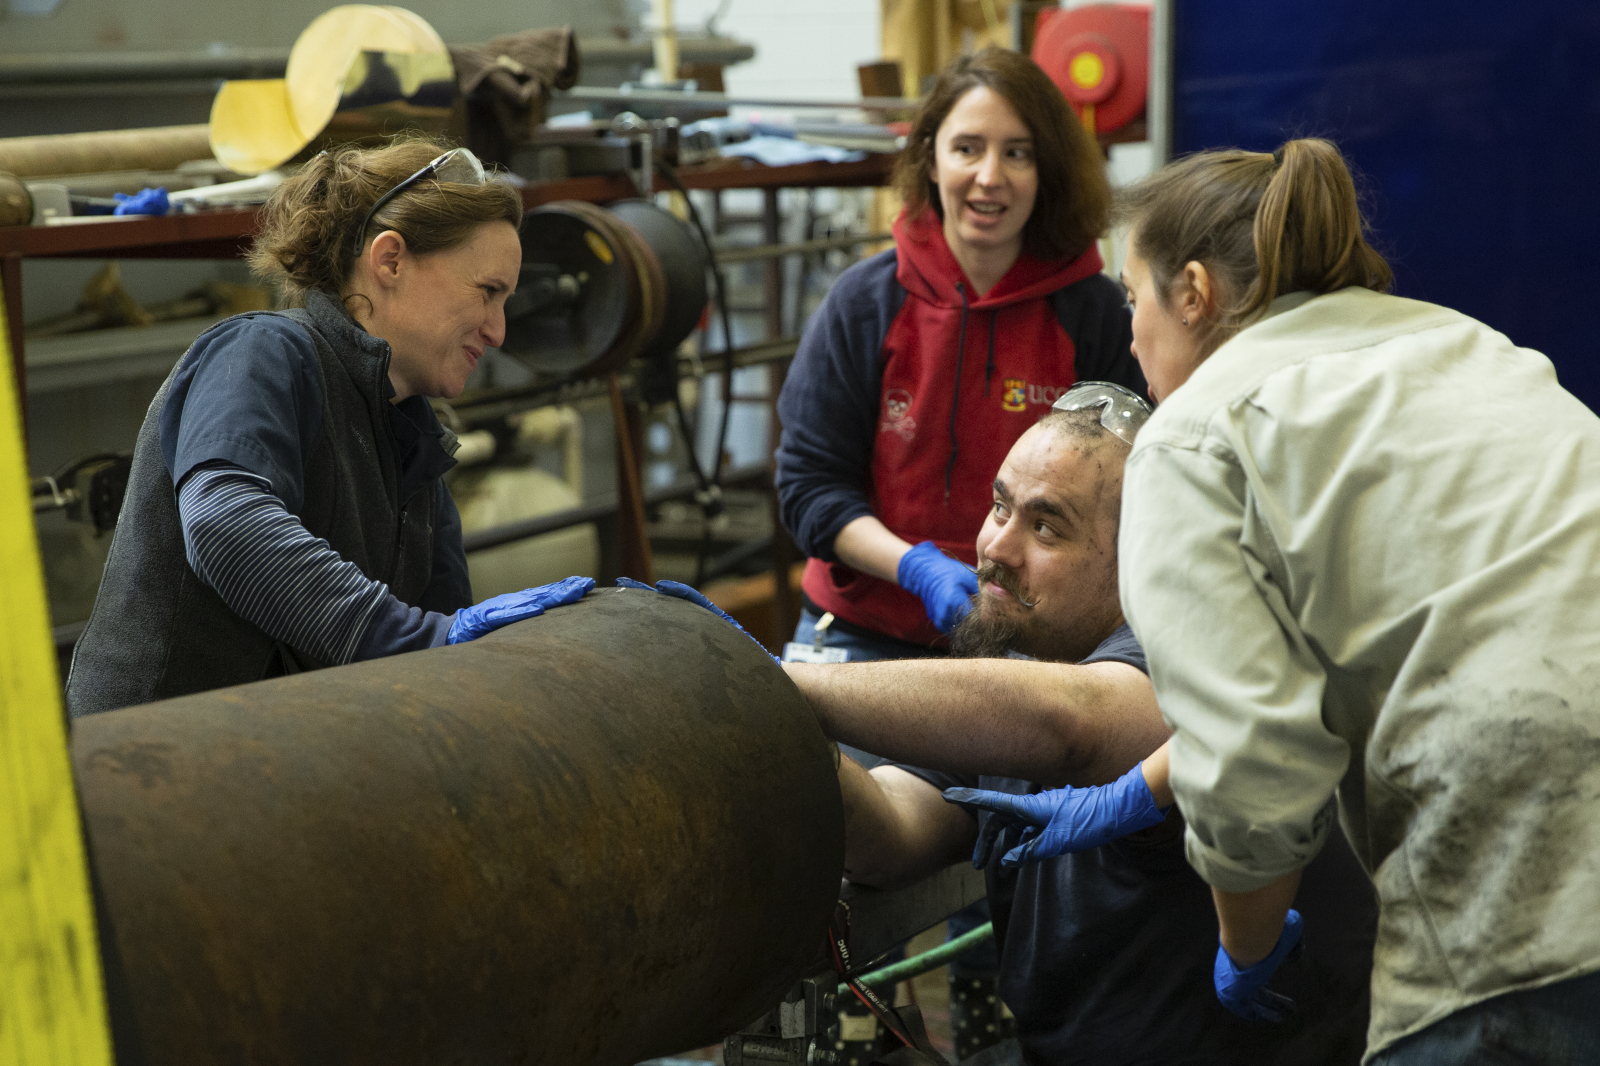
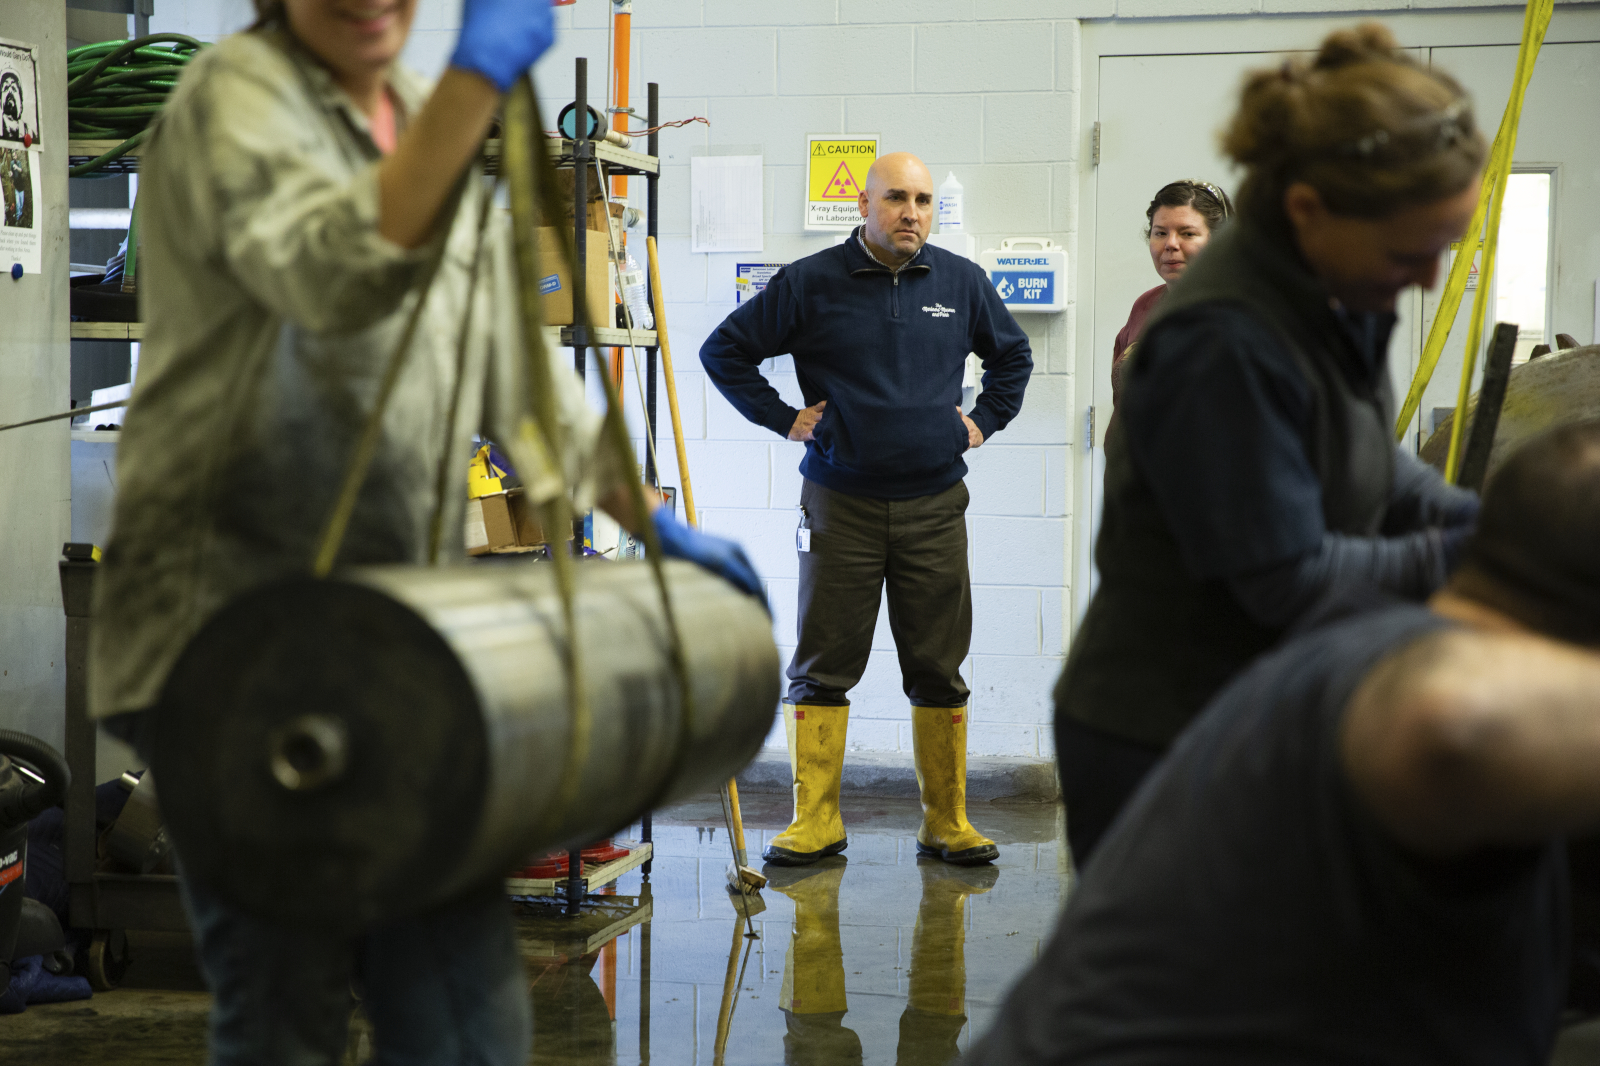
Tip #1: Look for expressions
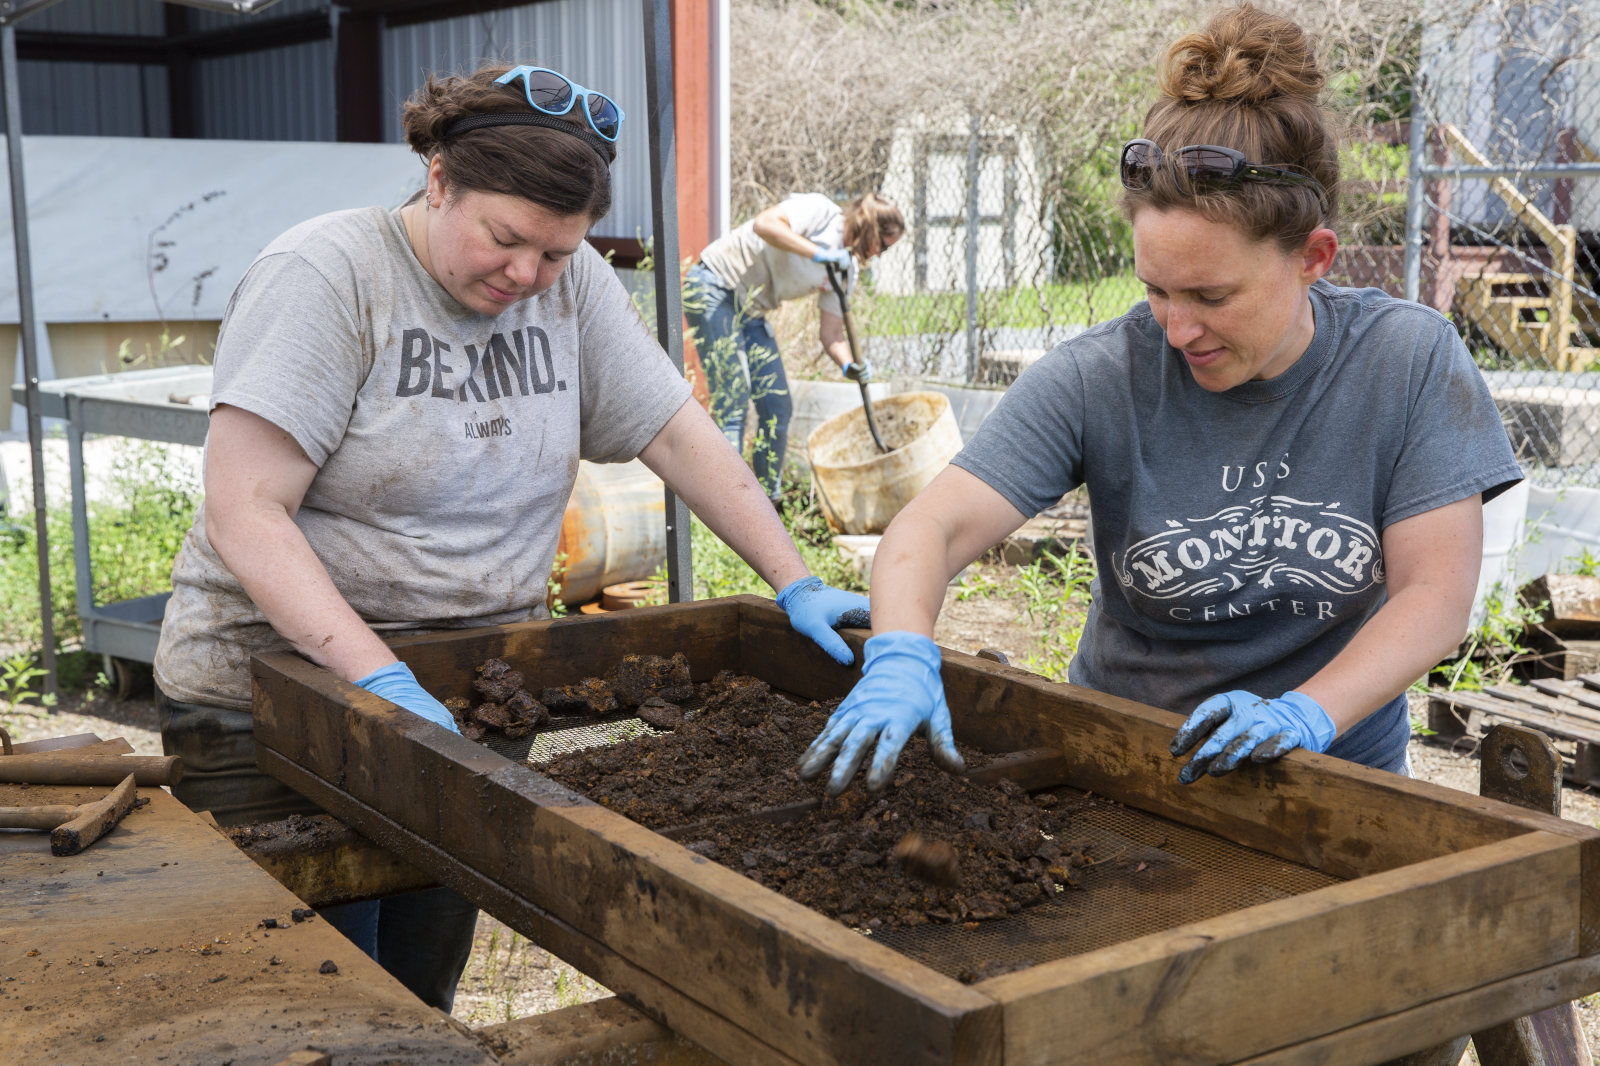
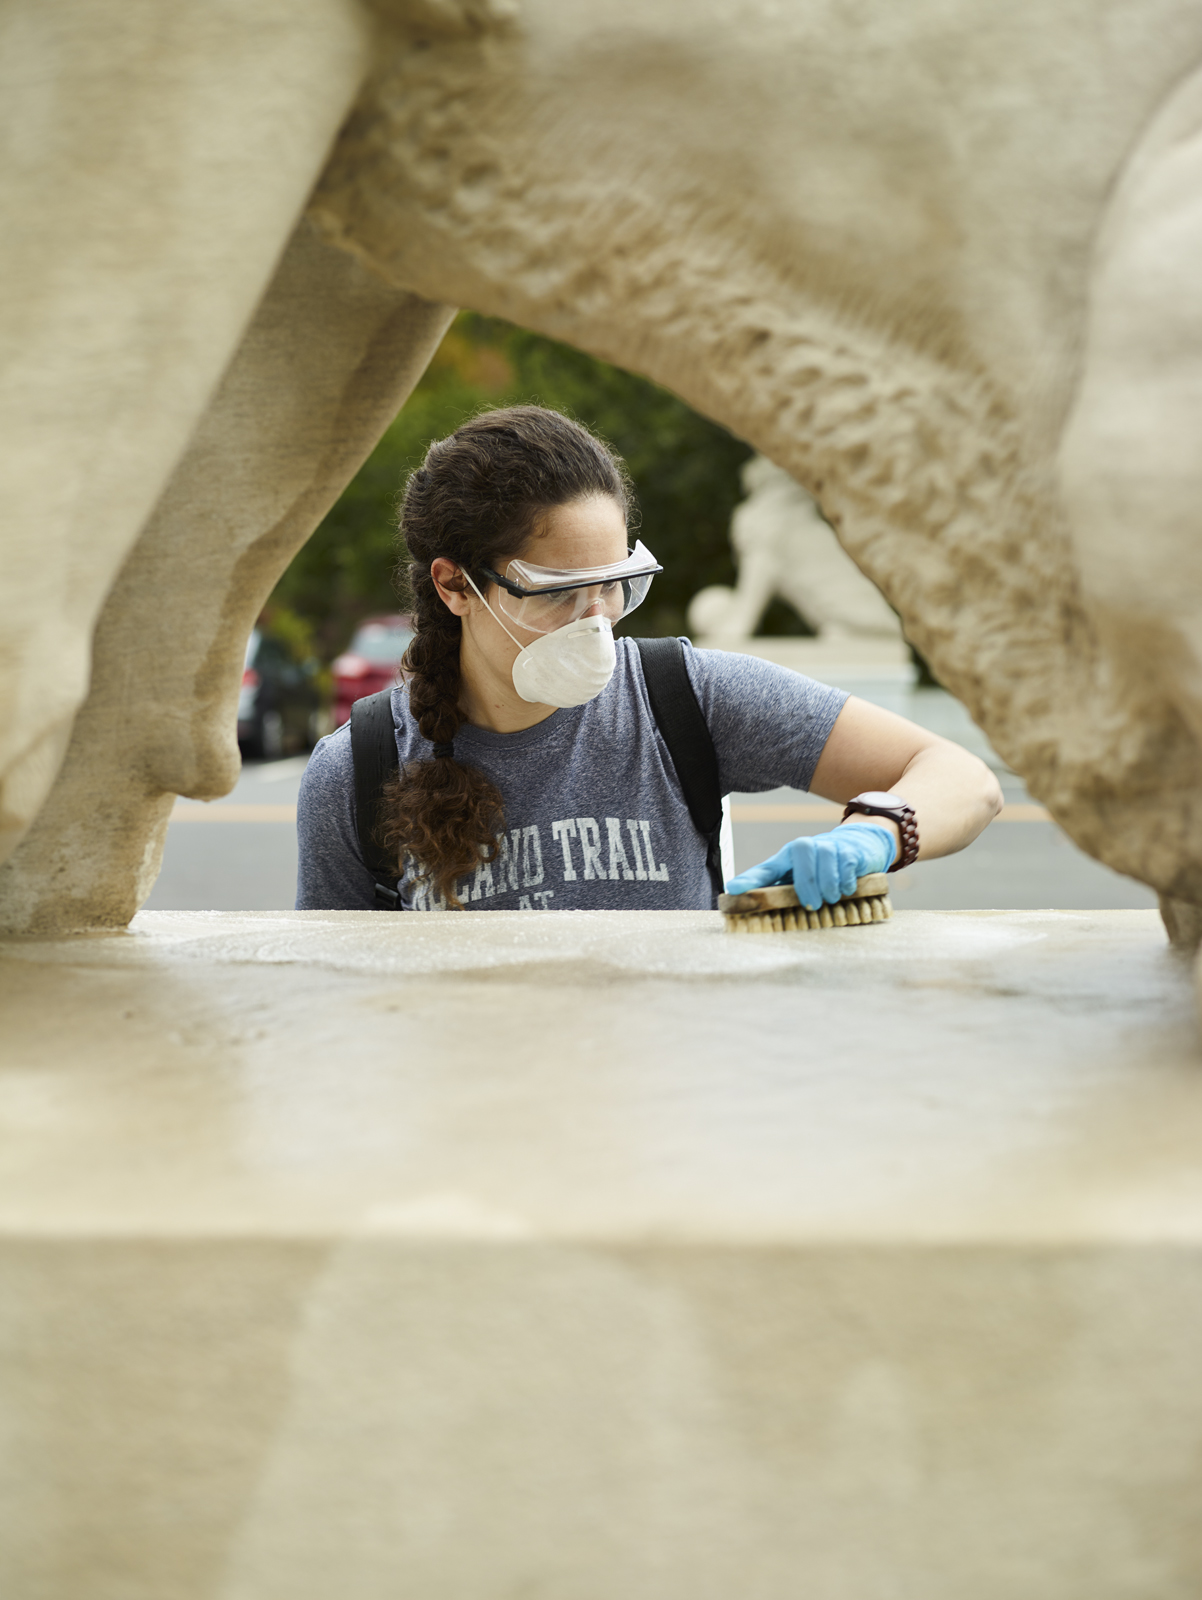
When you want someone to connect to the story of a group of people, nothing beats introducing emotions. Emotion is a shared human experience, and when we see it in someone’s eyes or on their faces, it’s easy for us to understand the story better. In the case of documenting our conservators, I always look for moments of happiness. I love capturing photos where you can tell that they love what they’re doing.

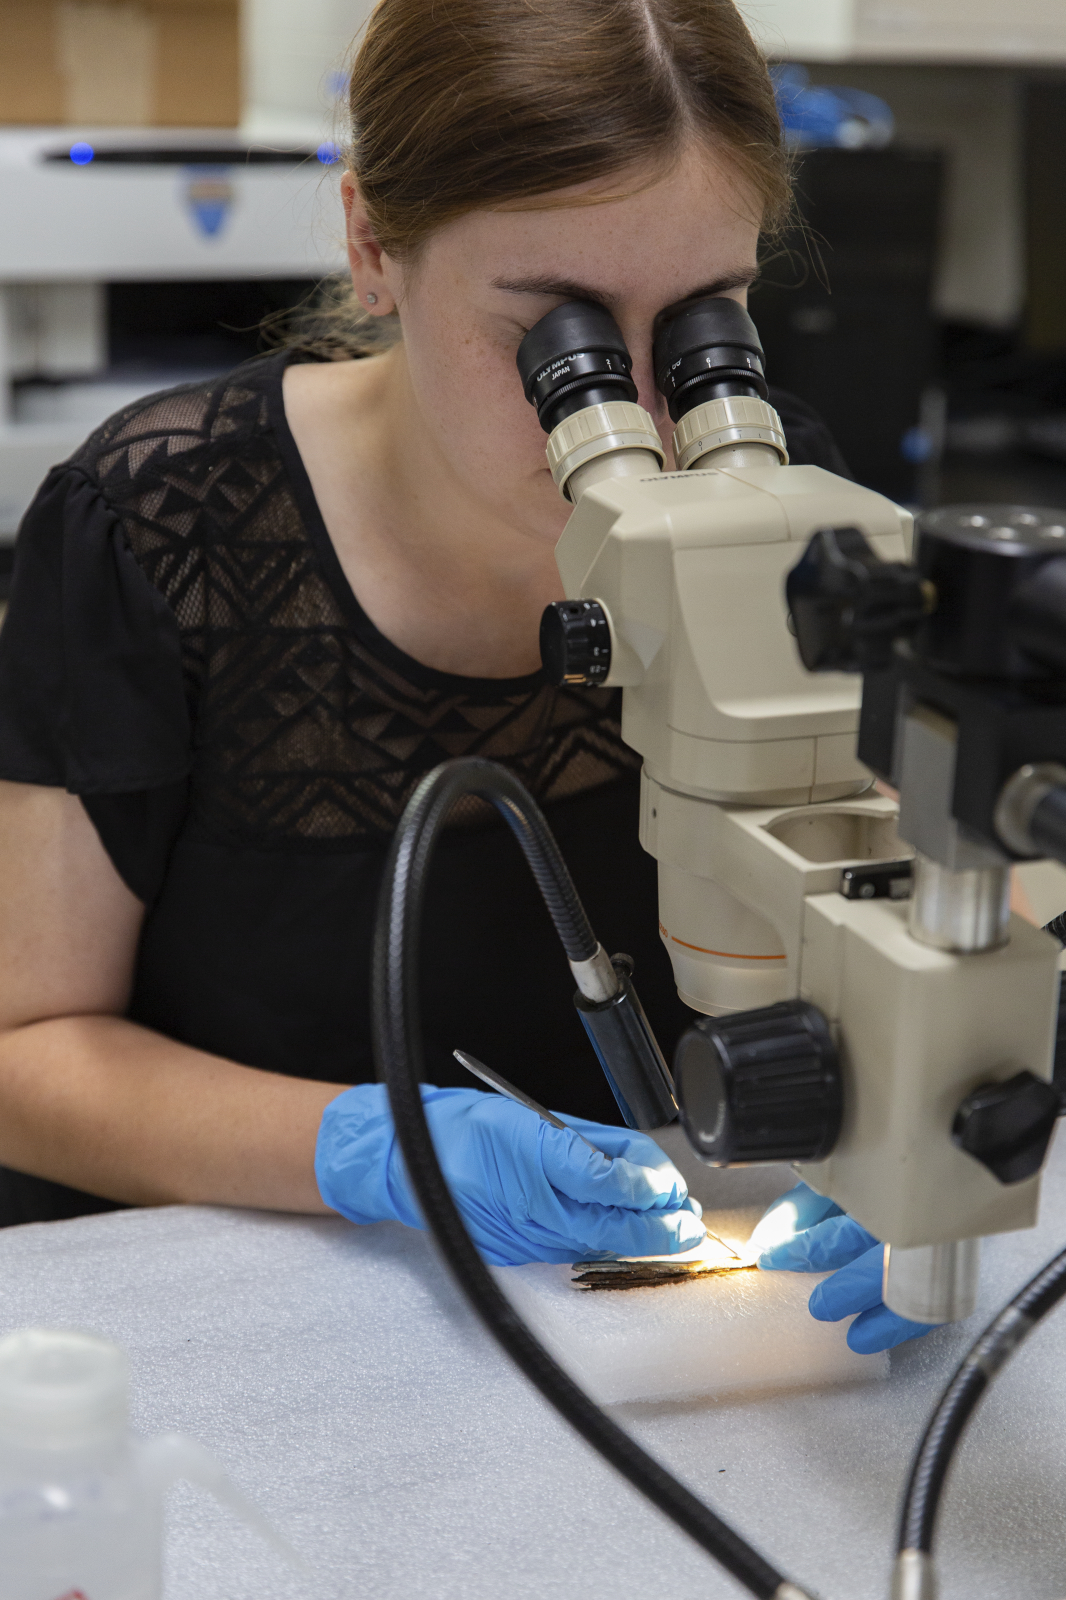
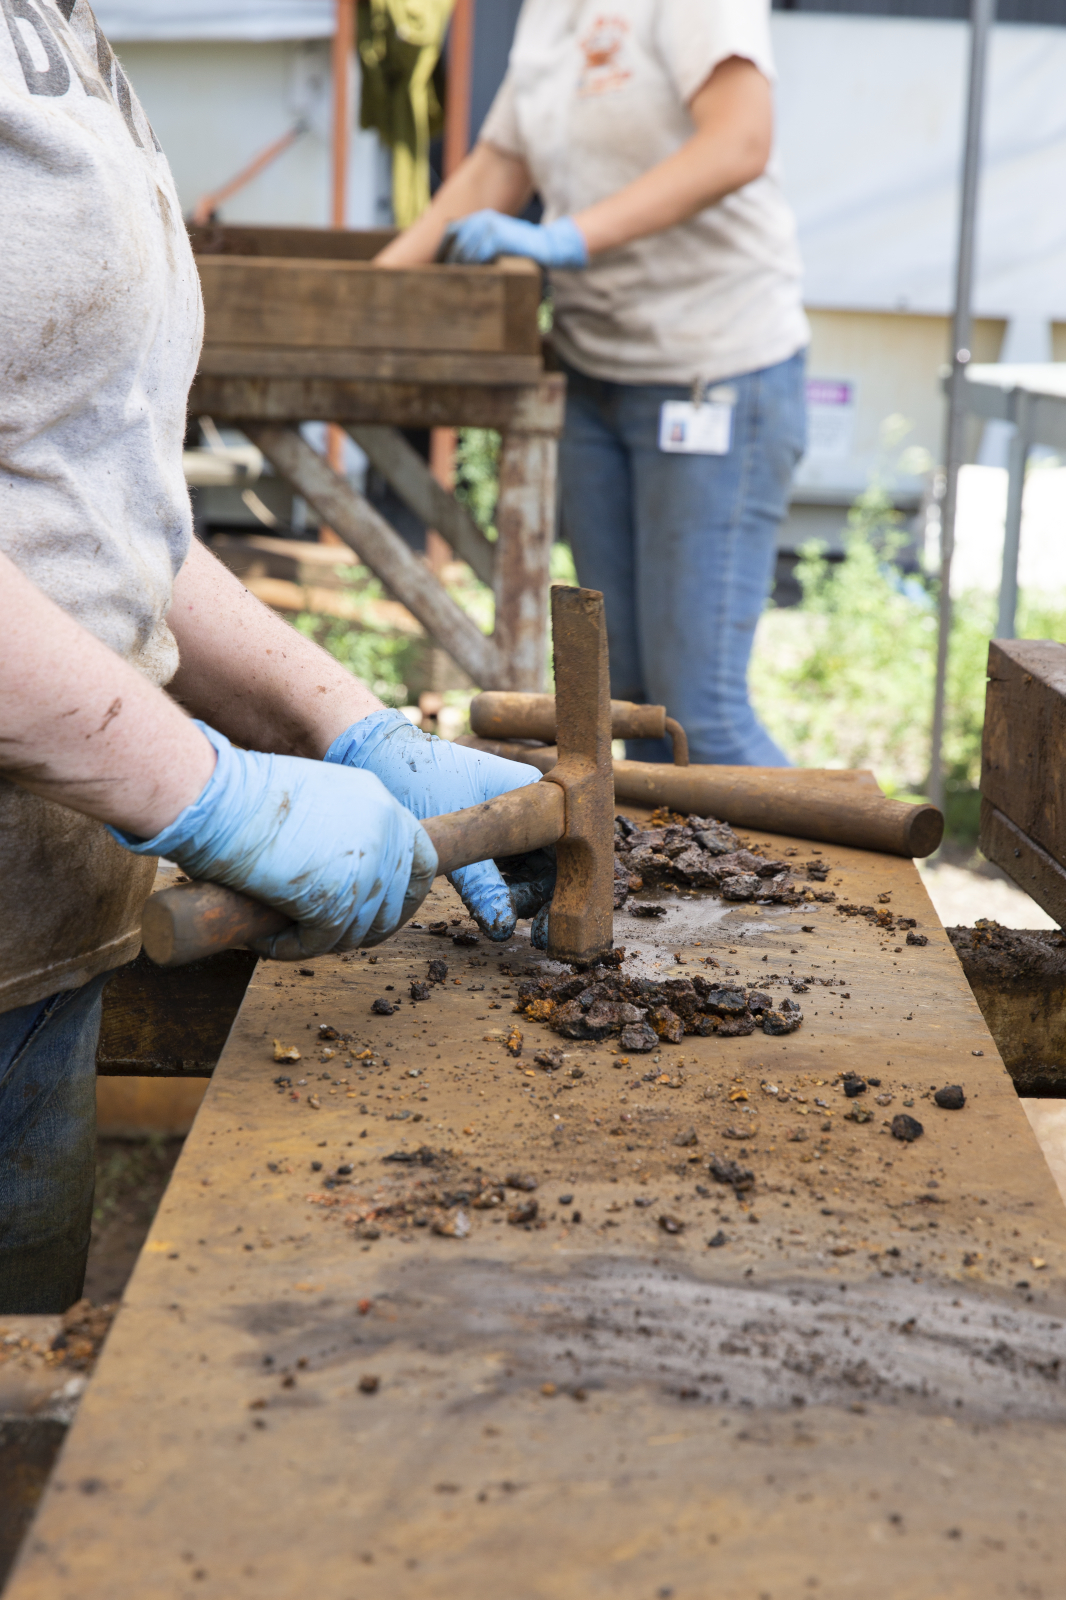
Tip #2: It’s all in the details
Sometimes the best way to tell a story visually is to get in close. We definitely need to see the big picture, but it’s never a bad idea to also zoom in. Focus on hands doing work, tools being utilized, interesting little details that are part of the bigger scene. It all helps to fill in our knowledge of what is happening. Think of it like your favorite author explaining what everyone is wearing or the intricate details of a room. It aids in our complete understanding.

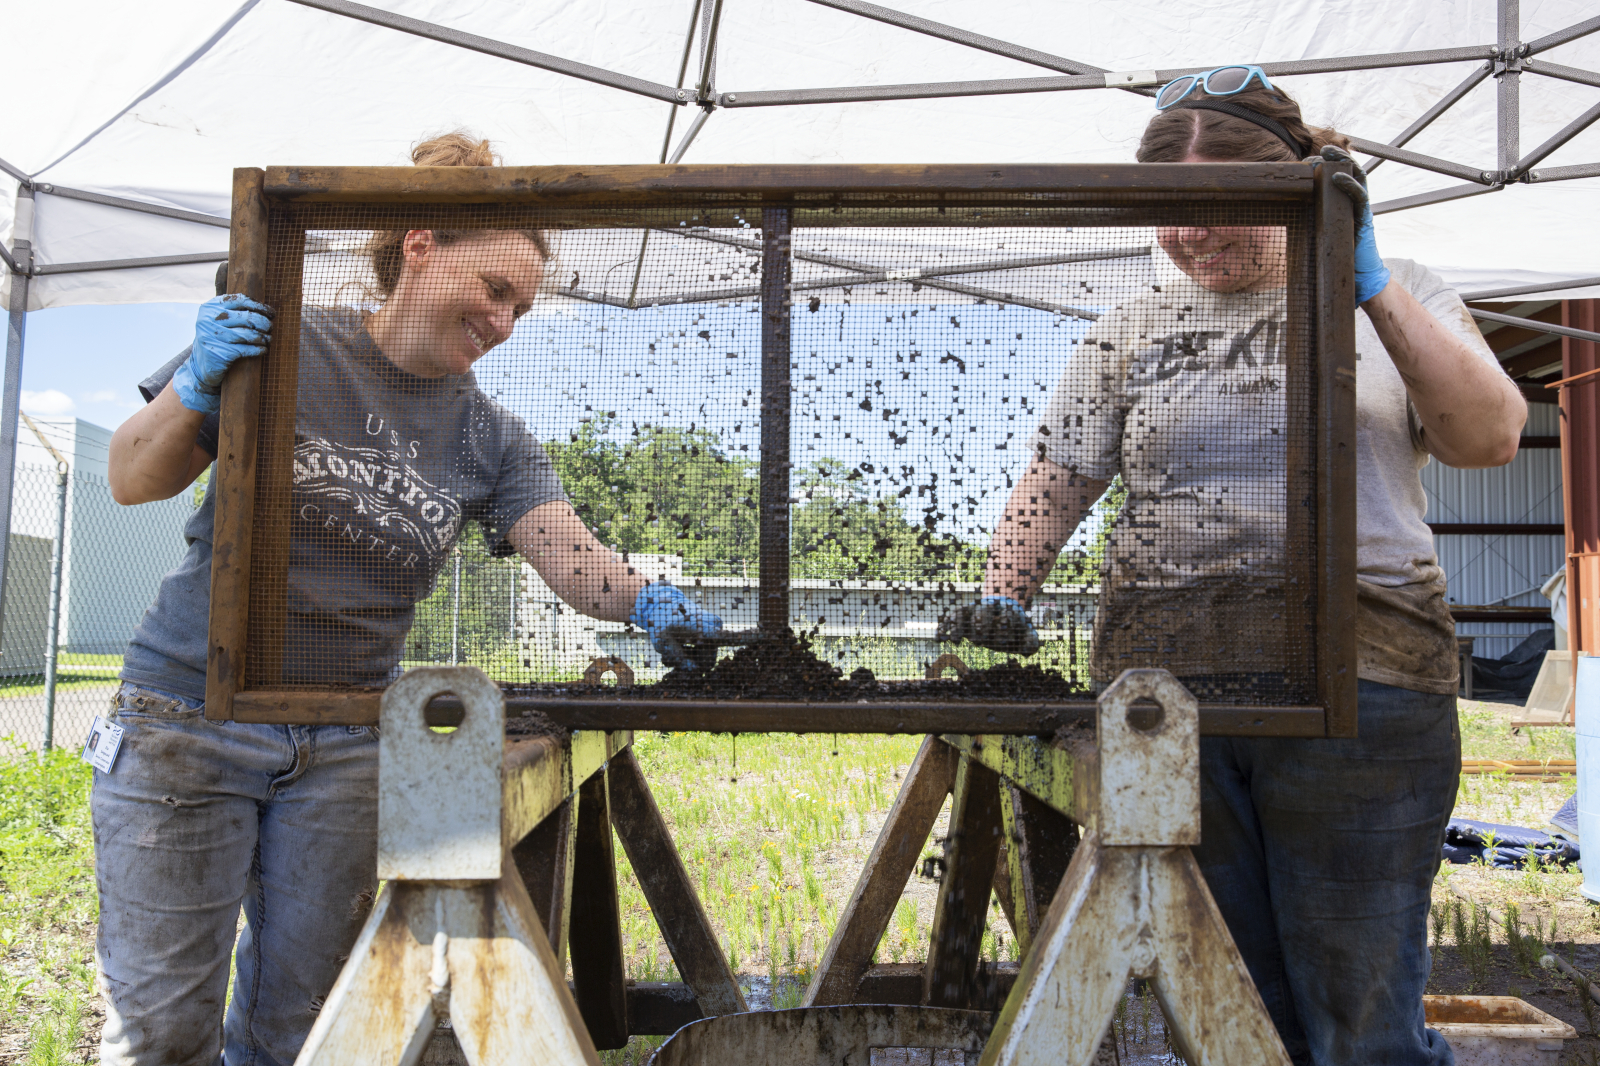
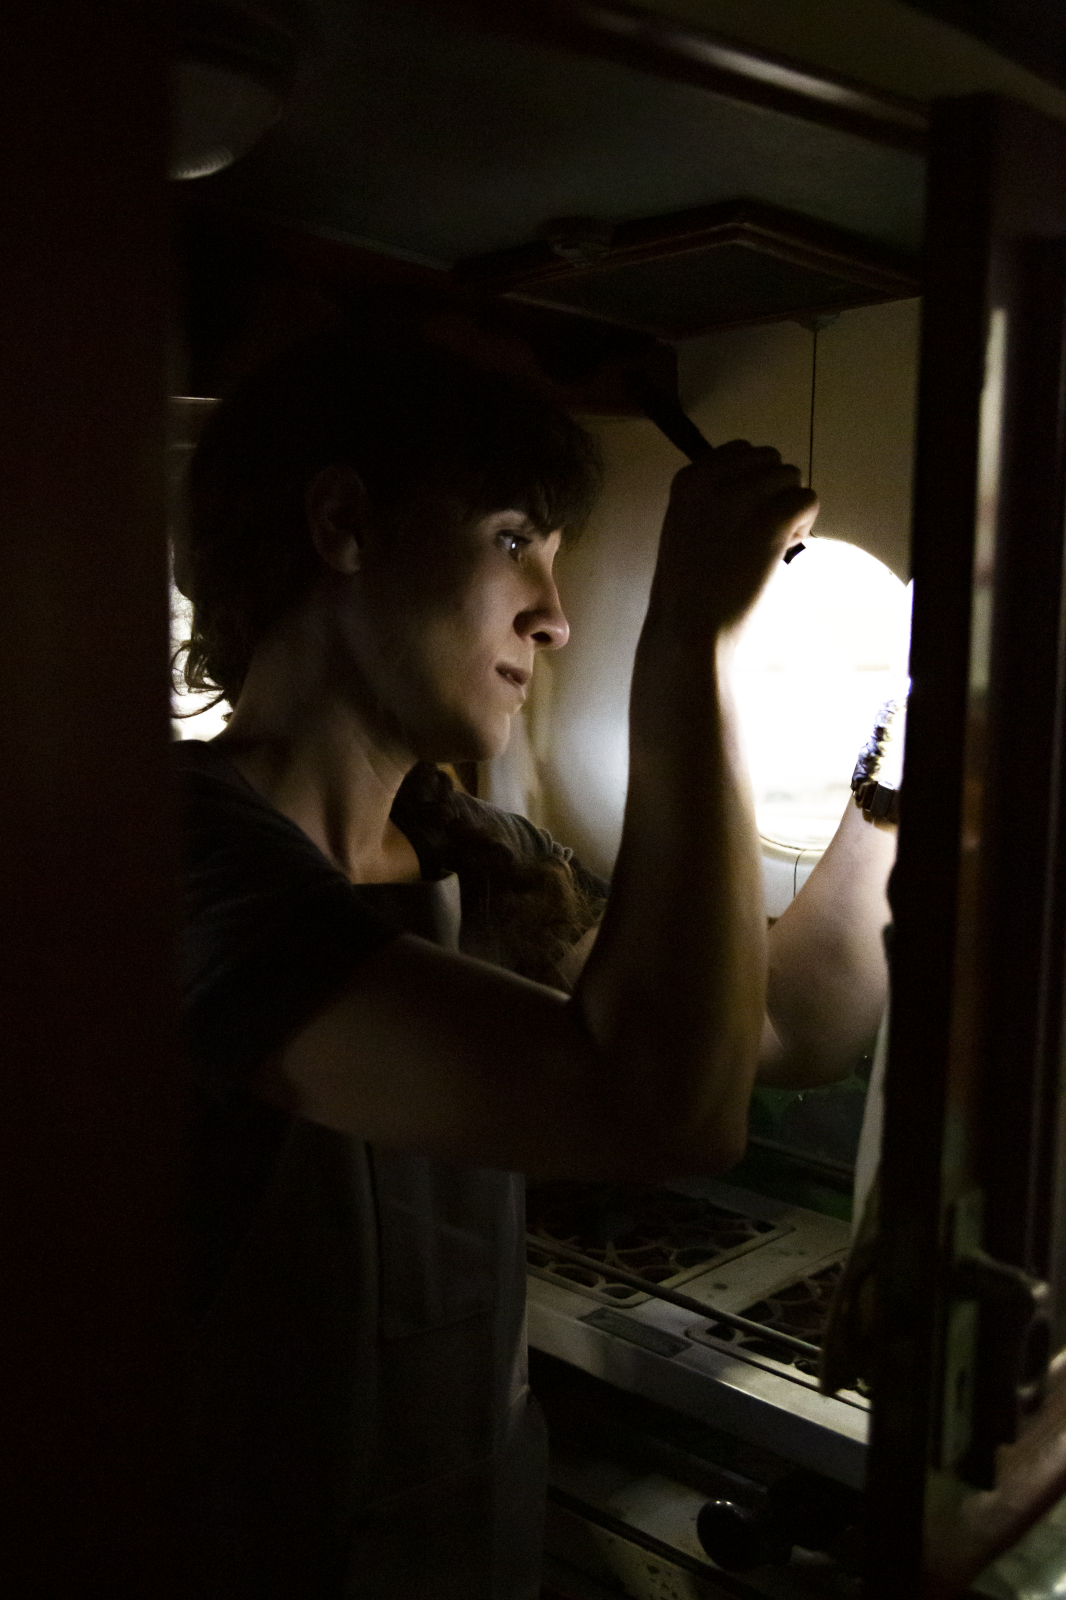
Tip #3 Embrace the light
If you were wondering what the single hardest lesson for me to learn has been, it’s embracing the light. The big reason I like studio photography is that I have full control over the lighting. That is definitely not the case as a documentary photographer.
However, one of the best ways to help flesh out a story is to just roll with the lighting that you’re in. Sometimes you’ll find yourself in darker settings, sometimes bright sunlight. Those are parts of the story, too. So embrace that light! Play around with your settings and find cool and artistic ways to express the lighting conditions as they were when you took the photos.

Tip #4 Framing Devices
A tip that pertains to just about every genre of photography is to utilize framing devices. Sometimes it’s literally a frame that you place around your subject. Other times it’s making use of what is referred to as “leading lines,” which are visual lines in your view that point toward your intended subject. These techniques can be difficult to master but keep an eye out, and you’ll start to see more and more opportunities for framing devices.
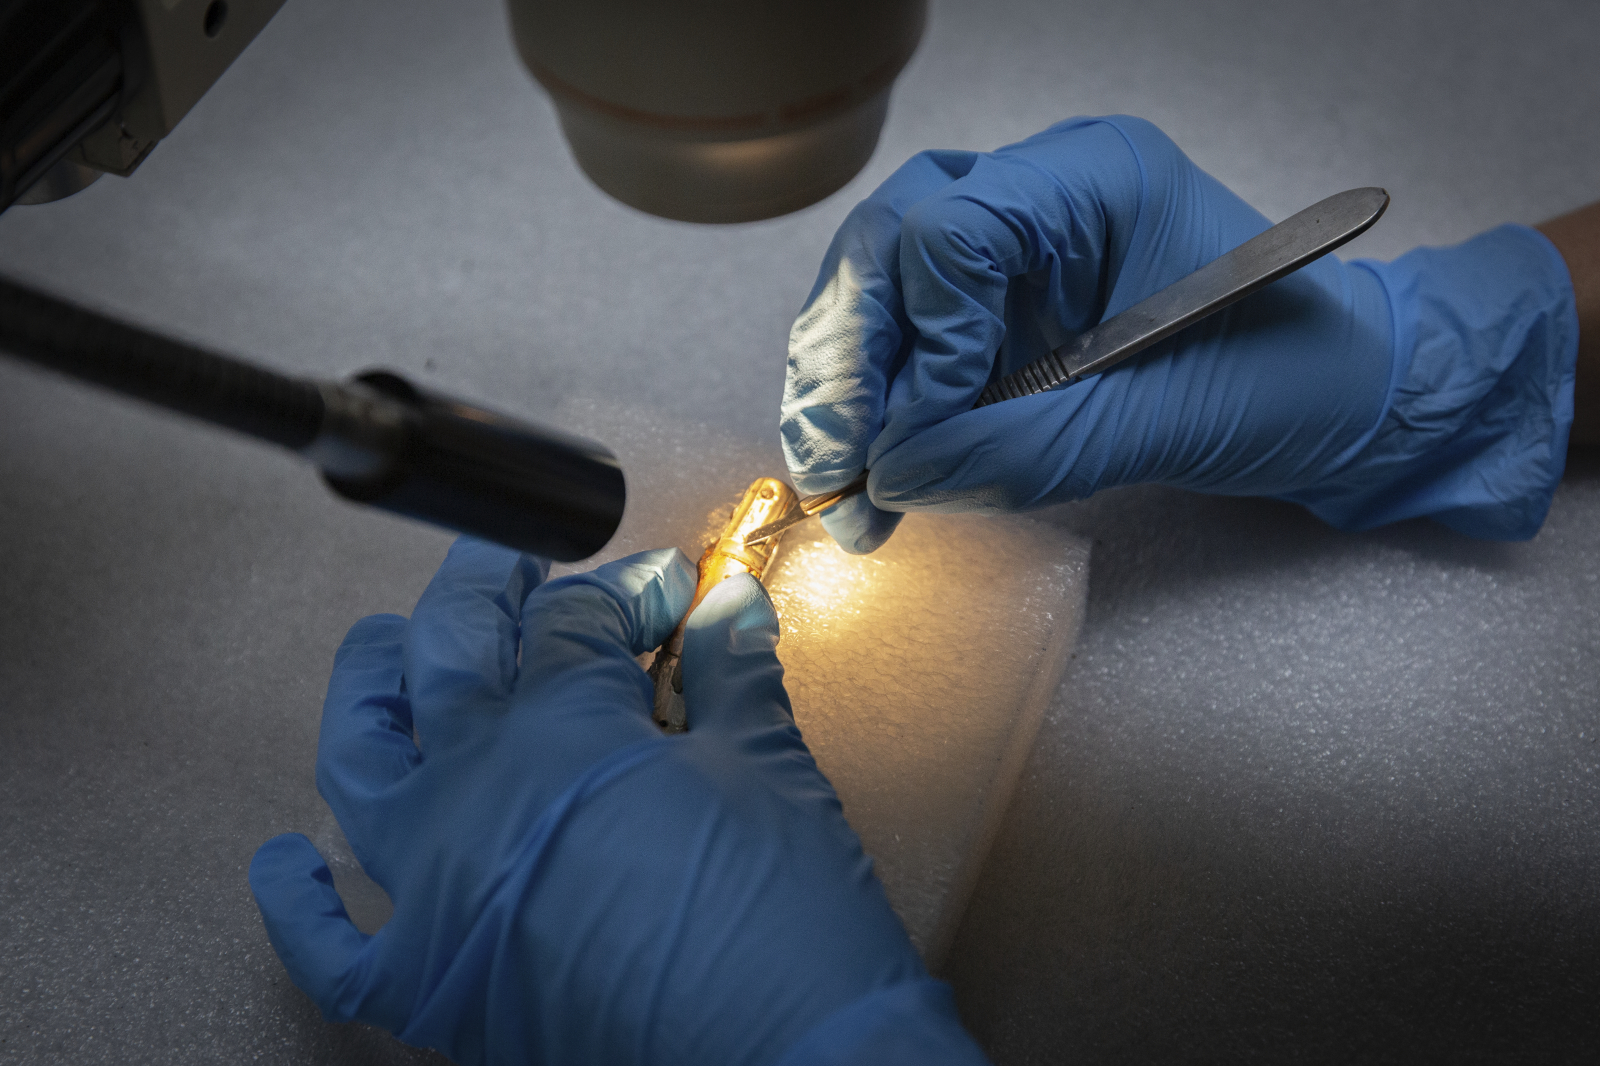
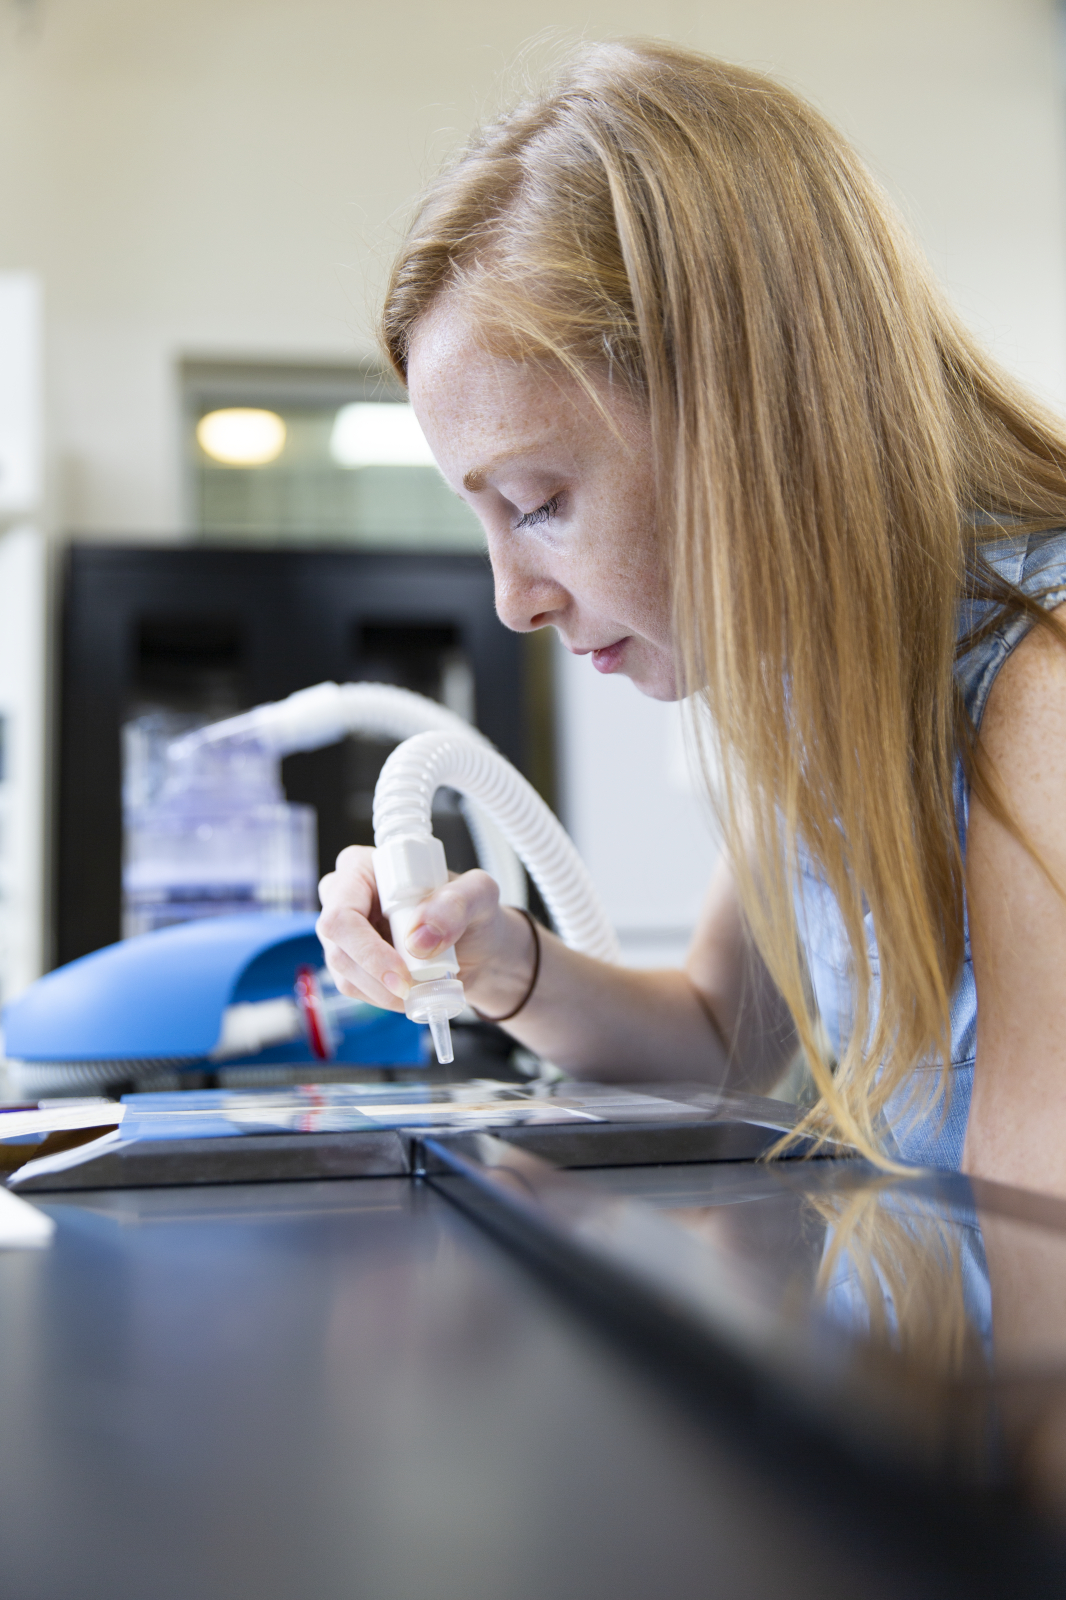
Tip #5 Shifting Focus
A common technique in photography is “bracketing,” which means taking several different exposure times of the same scene. One that is the technically correct exposure, one slightly over-exposed, and one slightly under-exposed. This gives you the option of choosing the one you find most visually appealing or using them to create a high dynamic range image.
You can apply a similar thought process when it comes to your focal point. For example, it can be advantageous to shift your focus from a person to something else in the scene, like tools or something they’re working on. Then later, you can decide which is the most important subject to help you fill in the story.
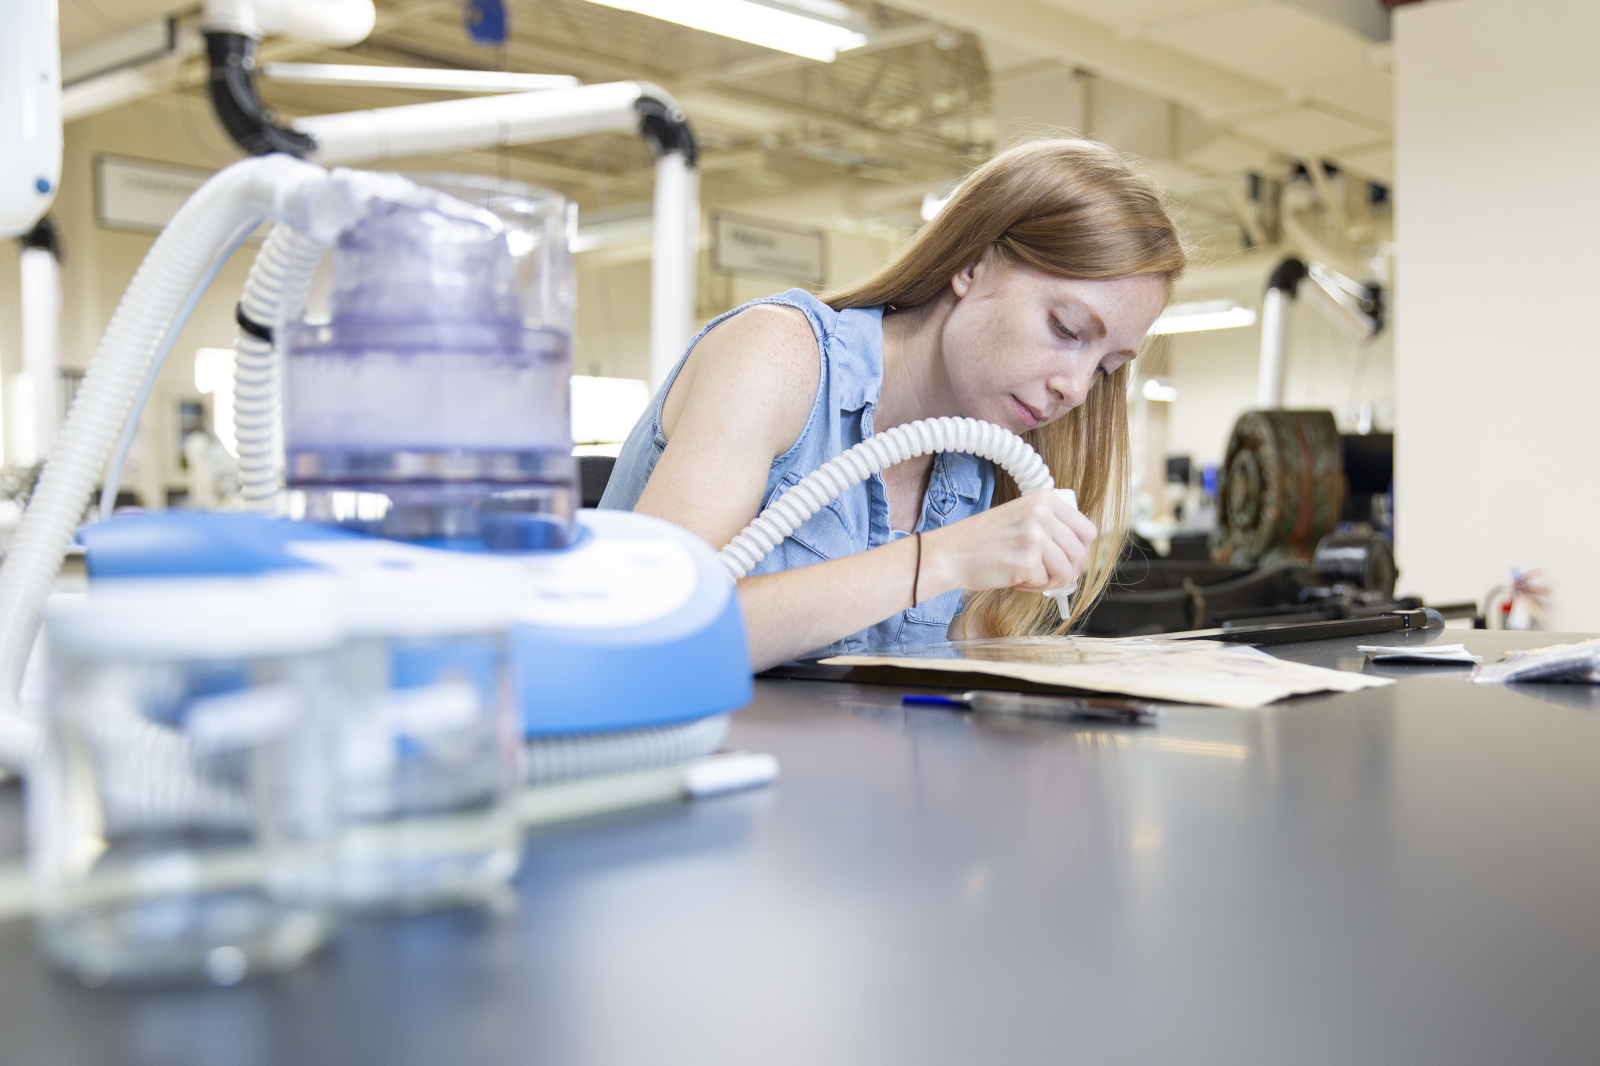

I took both of these images of Library and Archival Materials Conservator Emilie Duncan while utilizing an ultrasonic nebulizer to create a fine adhesive mist that she carefully sprayed onto Samuel Pook papers that were wearing thin in spots. The adhesive penetrates and evenly coats the paper to provide it with added strength. I gave the option to whoever wants to use these images to either feature Emilie or feature the tool she used.
Give It A Try
Documentary photography can be really intimidating. Take it from me, a person who finds it really intimidating. However, if you practice these tips, it will start to build what we refer to as a “visual database” in your head. The more you work to recognize various photographic moments, the easier it will be to spot them on the fly and react quickly.
Now go grab your cameras, look around for some interesting moments and share your stories!