In my last treatment post, I wrote about the Myriopticon, an object that is far from the type of treatment that normally comes across a paper conservator’s bench. This time, I’m going to highlight an object that received a much more “typical” paper treatment while introducing a couple of common conservation techniques along the way. Keep reading for details on how I completed the treatment and for some satisfying before and after photos!

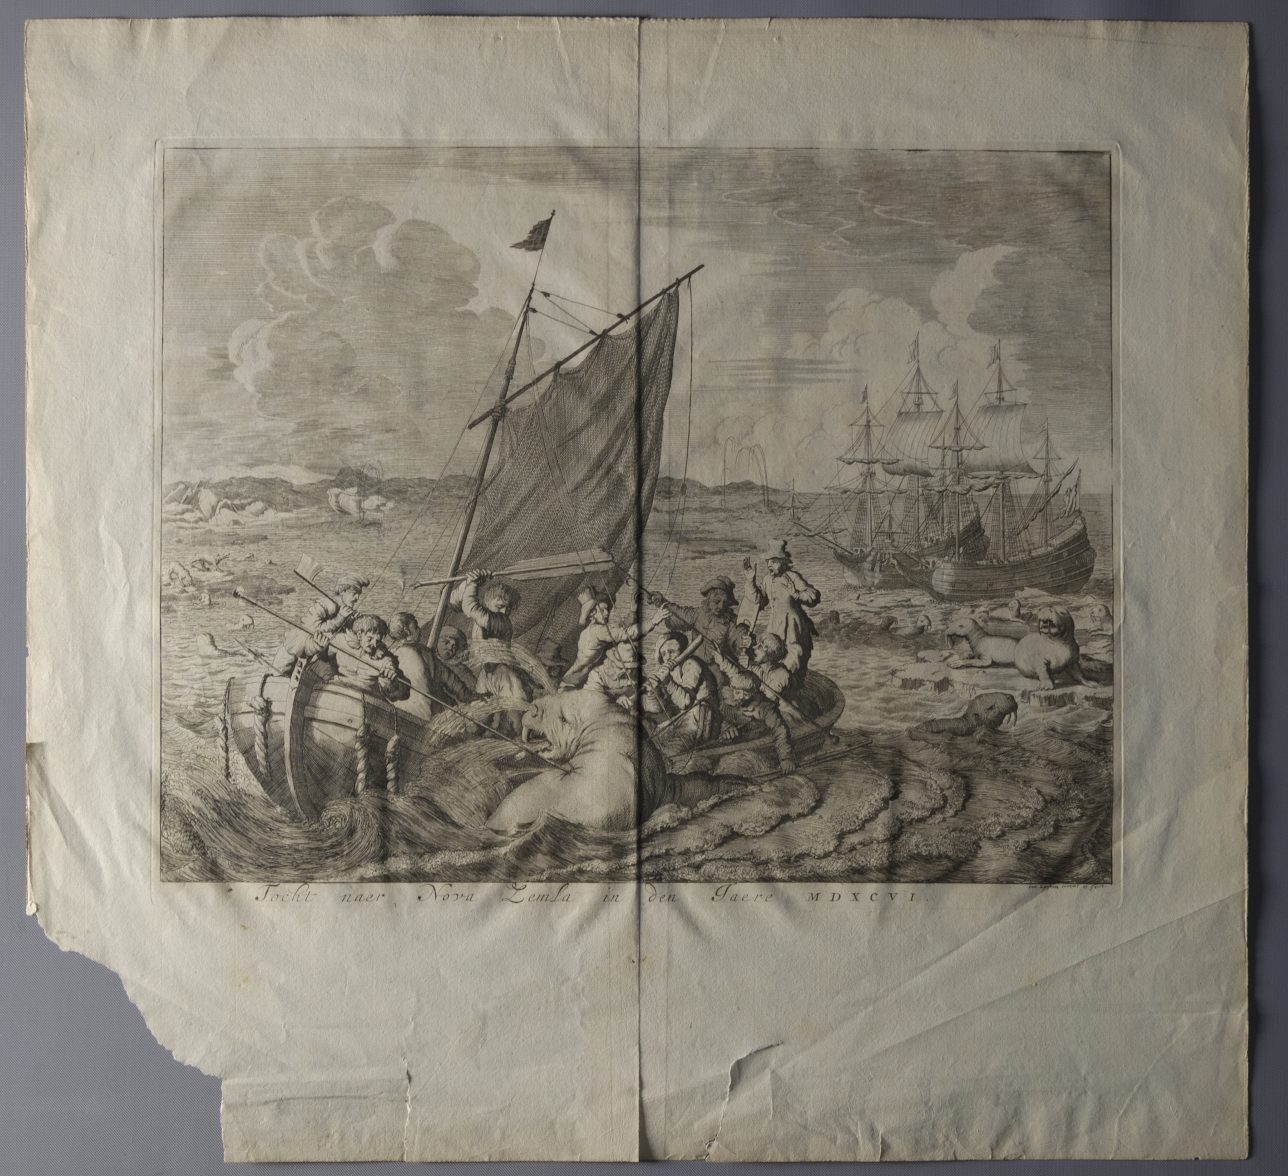
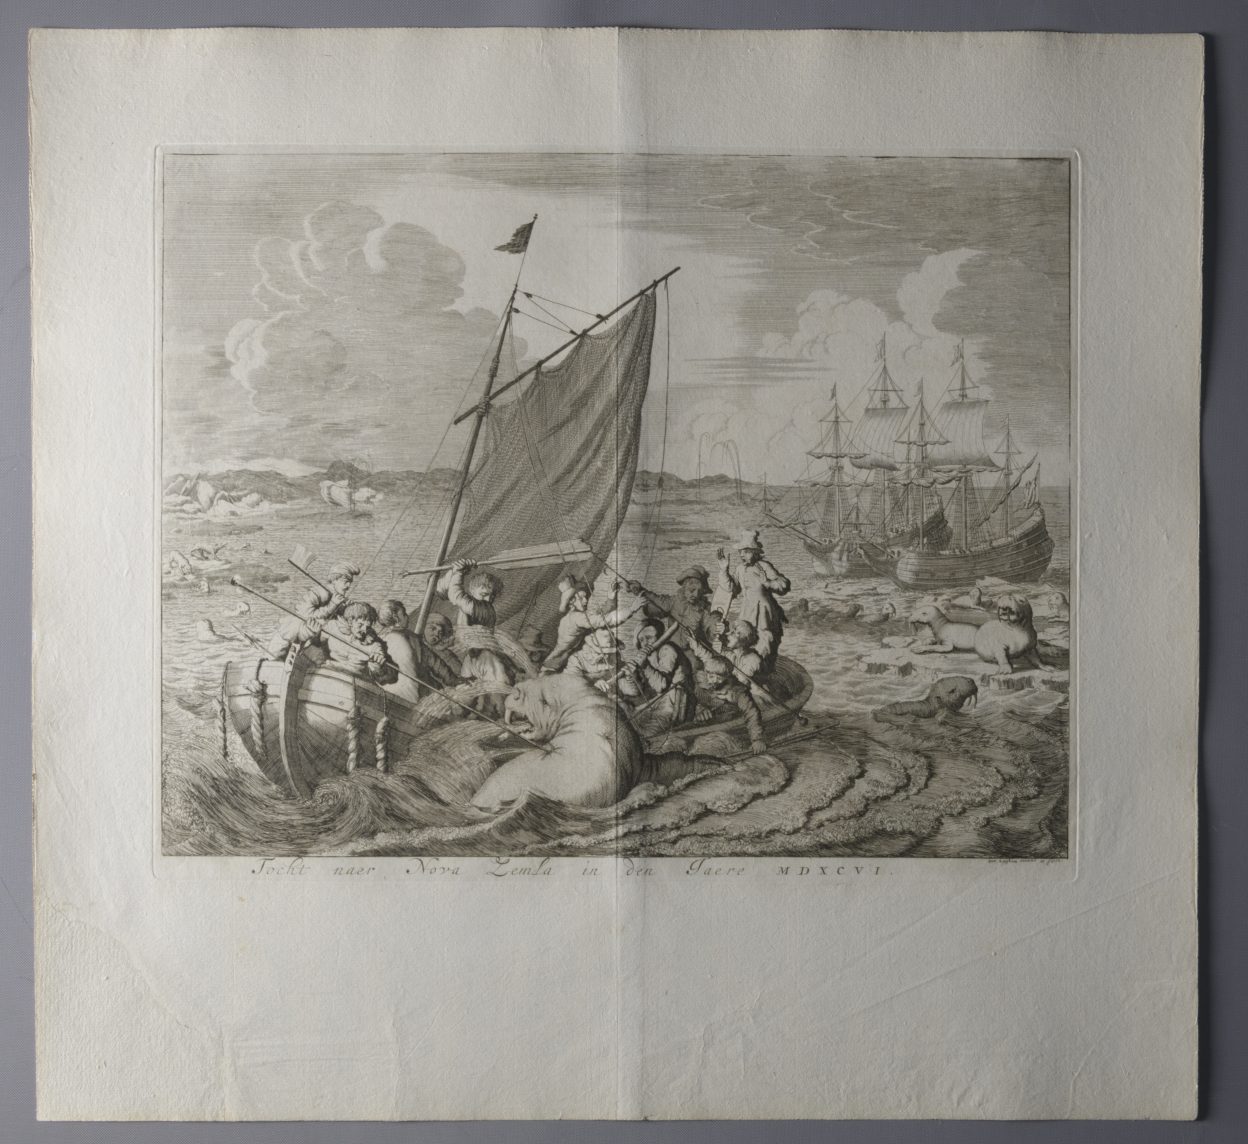
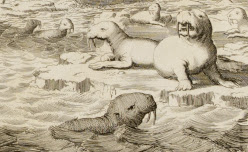
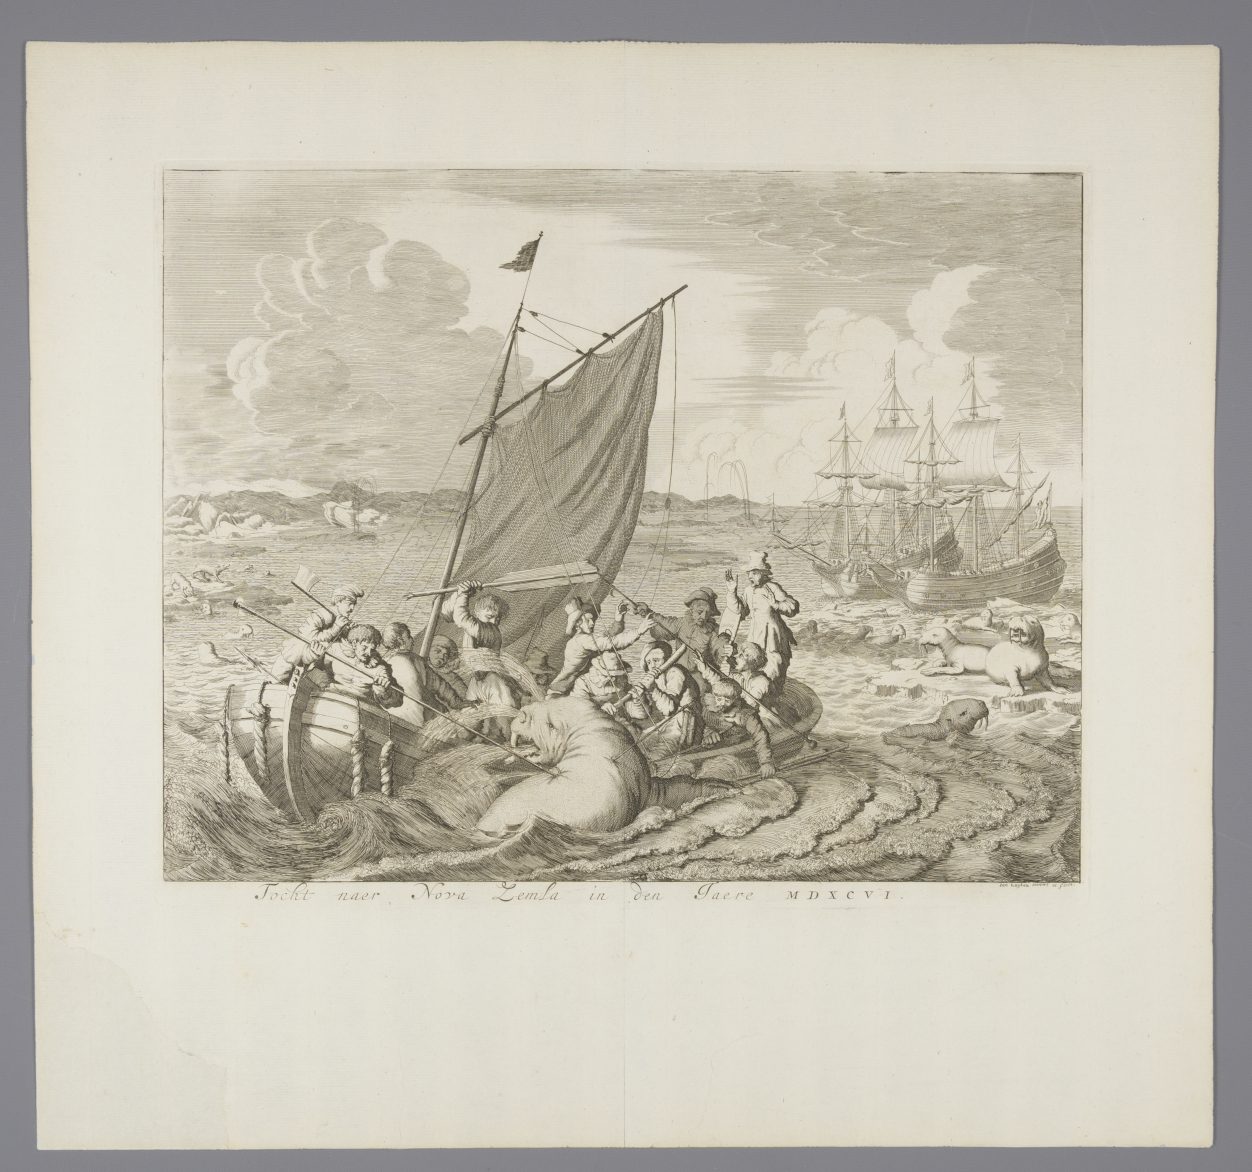
This print, titled Focht naer Nova Zemla in den Jaere MDXCVI (translating roughly to “Trip to Nova Zemla in the year 1596”) by Jan Luyken came to the lab for treatment due to its fragile condition. The piece was printed c. 1681 and depicts a scene from Willem Barents’ expedition to find a northeast passage from Western Europe to Eastern Asia. Barents made three separate voyages from Amsterdam spanning from 1594-1597. Ultimately the voyages were unsuccessful, with most of the crew members, including Barents himself, losing their lives on the third and final attempt. This print illustrates one of the many dangerous obstacles the crews faced on their journeys: walruses (yes, those are walruses).
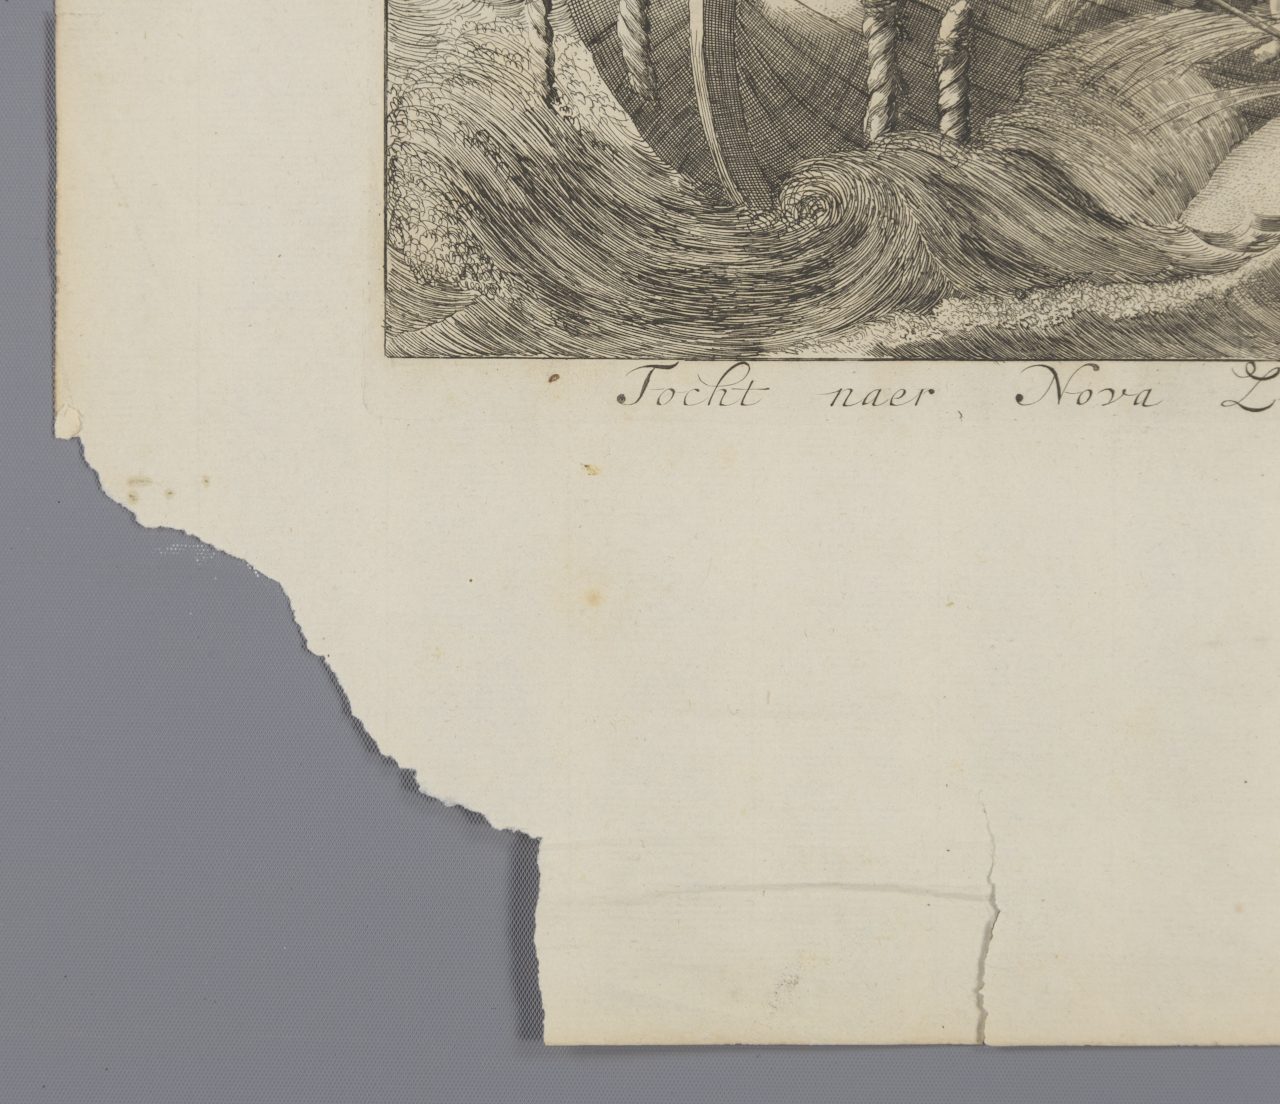
The condition issues which needed addressing were fairly obvious: there was a large loss in the lower corner of the sheet, along with several long tears. The print was also heavily creased and wrinkled, and showed chemical damage from light/aging by its yellowed tone.
After a thorough examination and photographic documentation of the object’s condition and appearance, the first step in the treatment was removal of excess surface dirt in a process called dry cleaning. Dry cleaning can be done with a variety of different tools, including soft brushes and various types or erasers or sponges. This print was cleaned using a combination of cosmetic sponges and white vinyl eraser blocks. Even though these items are commonplace in our everyday lives, the method in which they are used for cleaning paper is modified to avoid causing any damage to the paper fibers. For example, the block eraser may be cut into small pieces and rubbed gently on the surface with a pair of tweezers, or even grated into a course powder which can be swept across the sheet of paper. Cosmetic sponges are often used in paper conservation since they have a very soft and smooth surface, and the fine holes in the sponge structure are very effective in trapping dirt particles.
Dry cleaning is an important step in most treatments, since it removes particulates that may otherwise become embedded within the sheet of paper and cause damage to the paper fibers. Dry cleaning is especially important in treatments where any type of wet technique is used, because if the dirt particles aren’t removed before water is added, the water can end up carrying them further into the paper structure.
After dry cleaning was complete, the next step in the treatment was wet cleaning using the method of submersion bathing. (If the concept of putting a piece of paper into a bath sounds unusual, check out my recent blog on the use of water in paper conservation.) While the goal of dry cleaning was to remove the physical particulates on the surface of the print, the goal of bathing was to remove the chemical degradation products held within the paper structure. These chemicals are the natural byproducts of cellulose (the main material making up the majority of paper types) as it breaks down due to light exposure and natural aging processes. The byproducts are acidic and not only cause the paper to appear yellow/brown over time, but also contribute to the further breakdown of cellulose within the paper, so it is beneficial to remove them when possible.

The print was given two successive baths in deionized water which had been adjusted to an appropriate pH using calcium hydroxide. Since the water is pulling out the yellow degradation products, the bath water turns yellow if a significant amount are removed. Using this fact as a guide, the bathing was stopped after two baths because most of the acids had been effectively removed.
When the print came to the lab, there was a narrow strip of paper adhered to the center of the back of the sheet. This strip of paper is called a binding stub, and is a common method of incorporating plates into books without sewing directly through the center of the print. The binding stub, along with the strong central crease and small diagonal undulations (from a step in the binding process called beating) in the surface of the paper, all indicated that the print was originally bound in a folio. The edges of the print even had remnants of gold, showing that the textblock was gilded. Since the print had, at some point in its life, been removed from its intended context, I wanted to do all I could to preserve the evidence of its past use, so the binding stub (removed during the bathing process to ensure even cleaning) was retained and stored with the print after treatment was completed.

After bathing, the print was put in between sheets of wool felt to dry. There are many different ways to dry paper after wet treatment, from putting it in a press to air drying, and the decision-making process for choosing a method is fairly nuanced. In this case, felts were chosen since the soft, cushiony surface helps preserve important textural components such as the plate mark (see fig. 6) while keeping the overall sheet flat.

After drying, the tears were mended using strips of Japanese paper adhered with wheat starch paste. These materials are staples within the paper conservator’s tool kit, and have been used for hundreds of years in traditional Asian paper repair work. Japanese papers are usually very long-fibered, which allows the sheets to be extremely thin and flexible yet strong at the same time. The papermaking process omits the harsh bleaches and other additives common in modern papers which can weaken the paper over time, giving these specialty papers very good aging properties. Starch paste (wheat or rice) is made from purified starch powder cooked in water. It dries nearly clear and is a fairly strong adhesive which does not break down or discolor over time. Most importantly, starch paste remains permanently reversible in water, so if the mends need to be removed for any reason in the future, the object will not be damaged in the process.
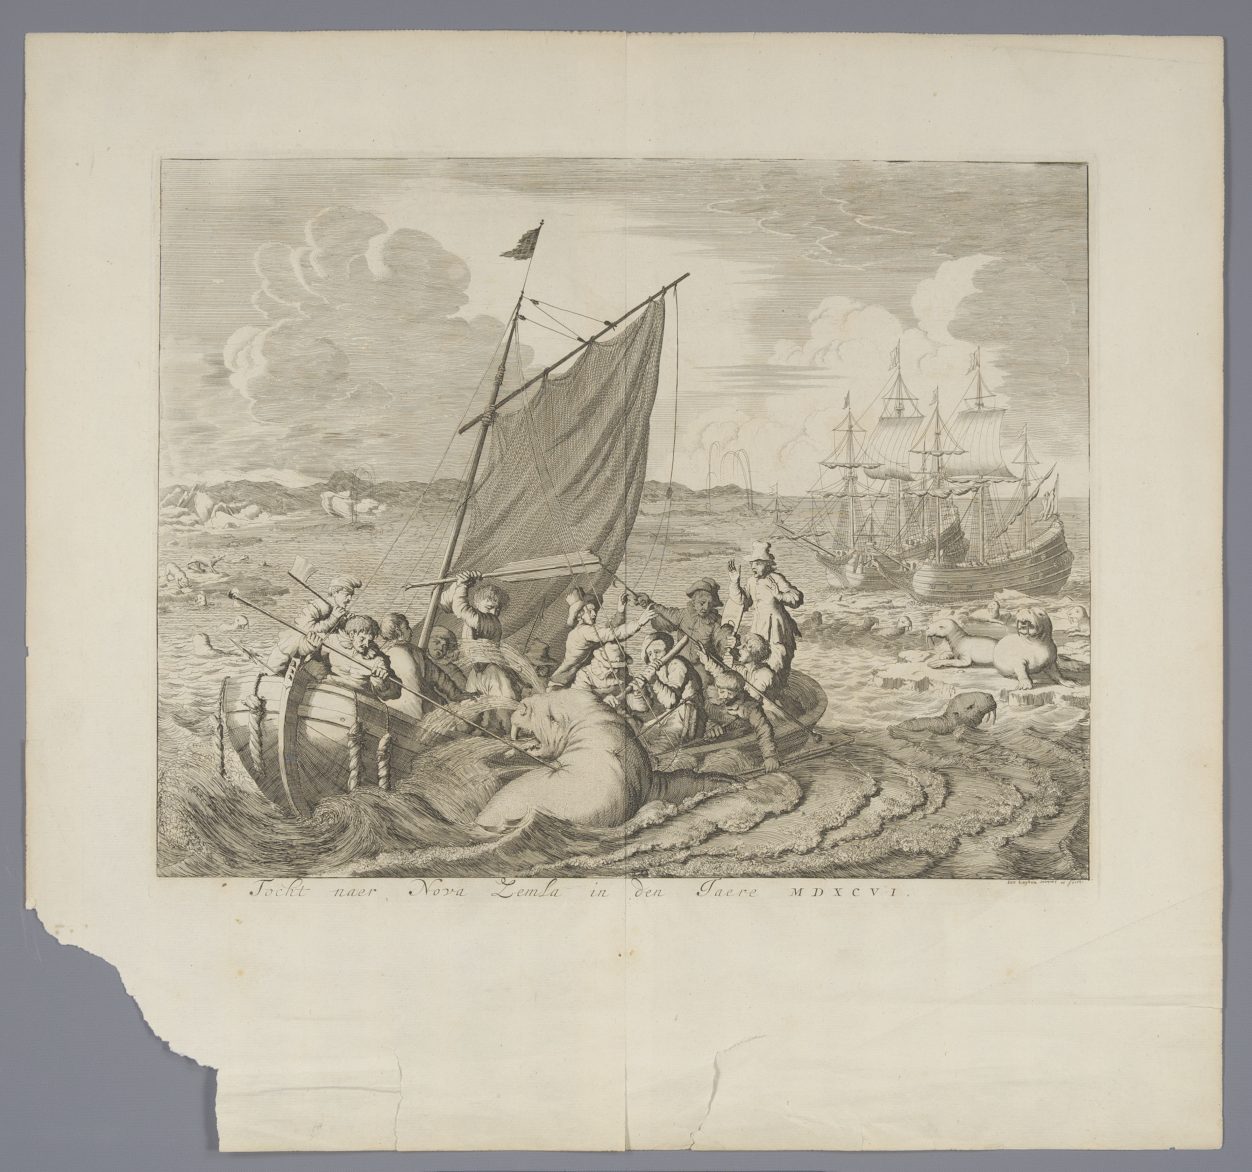
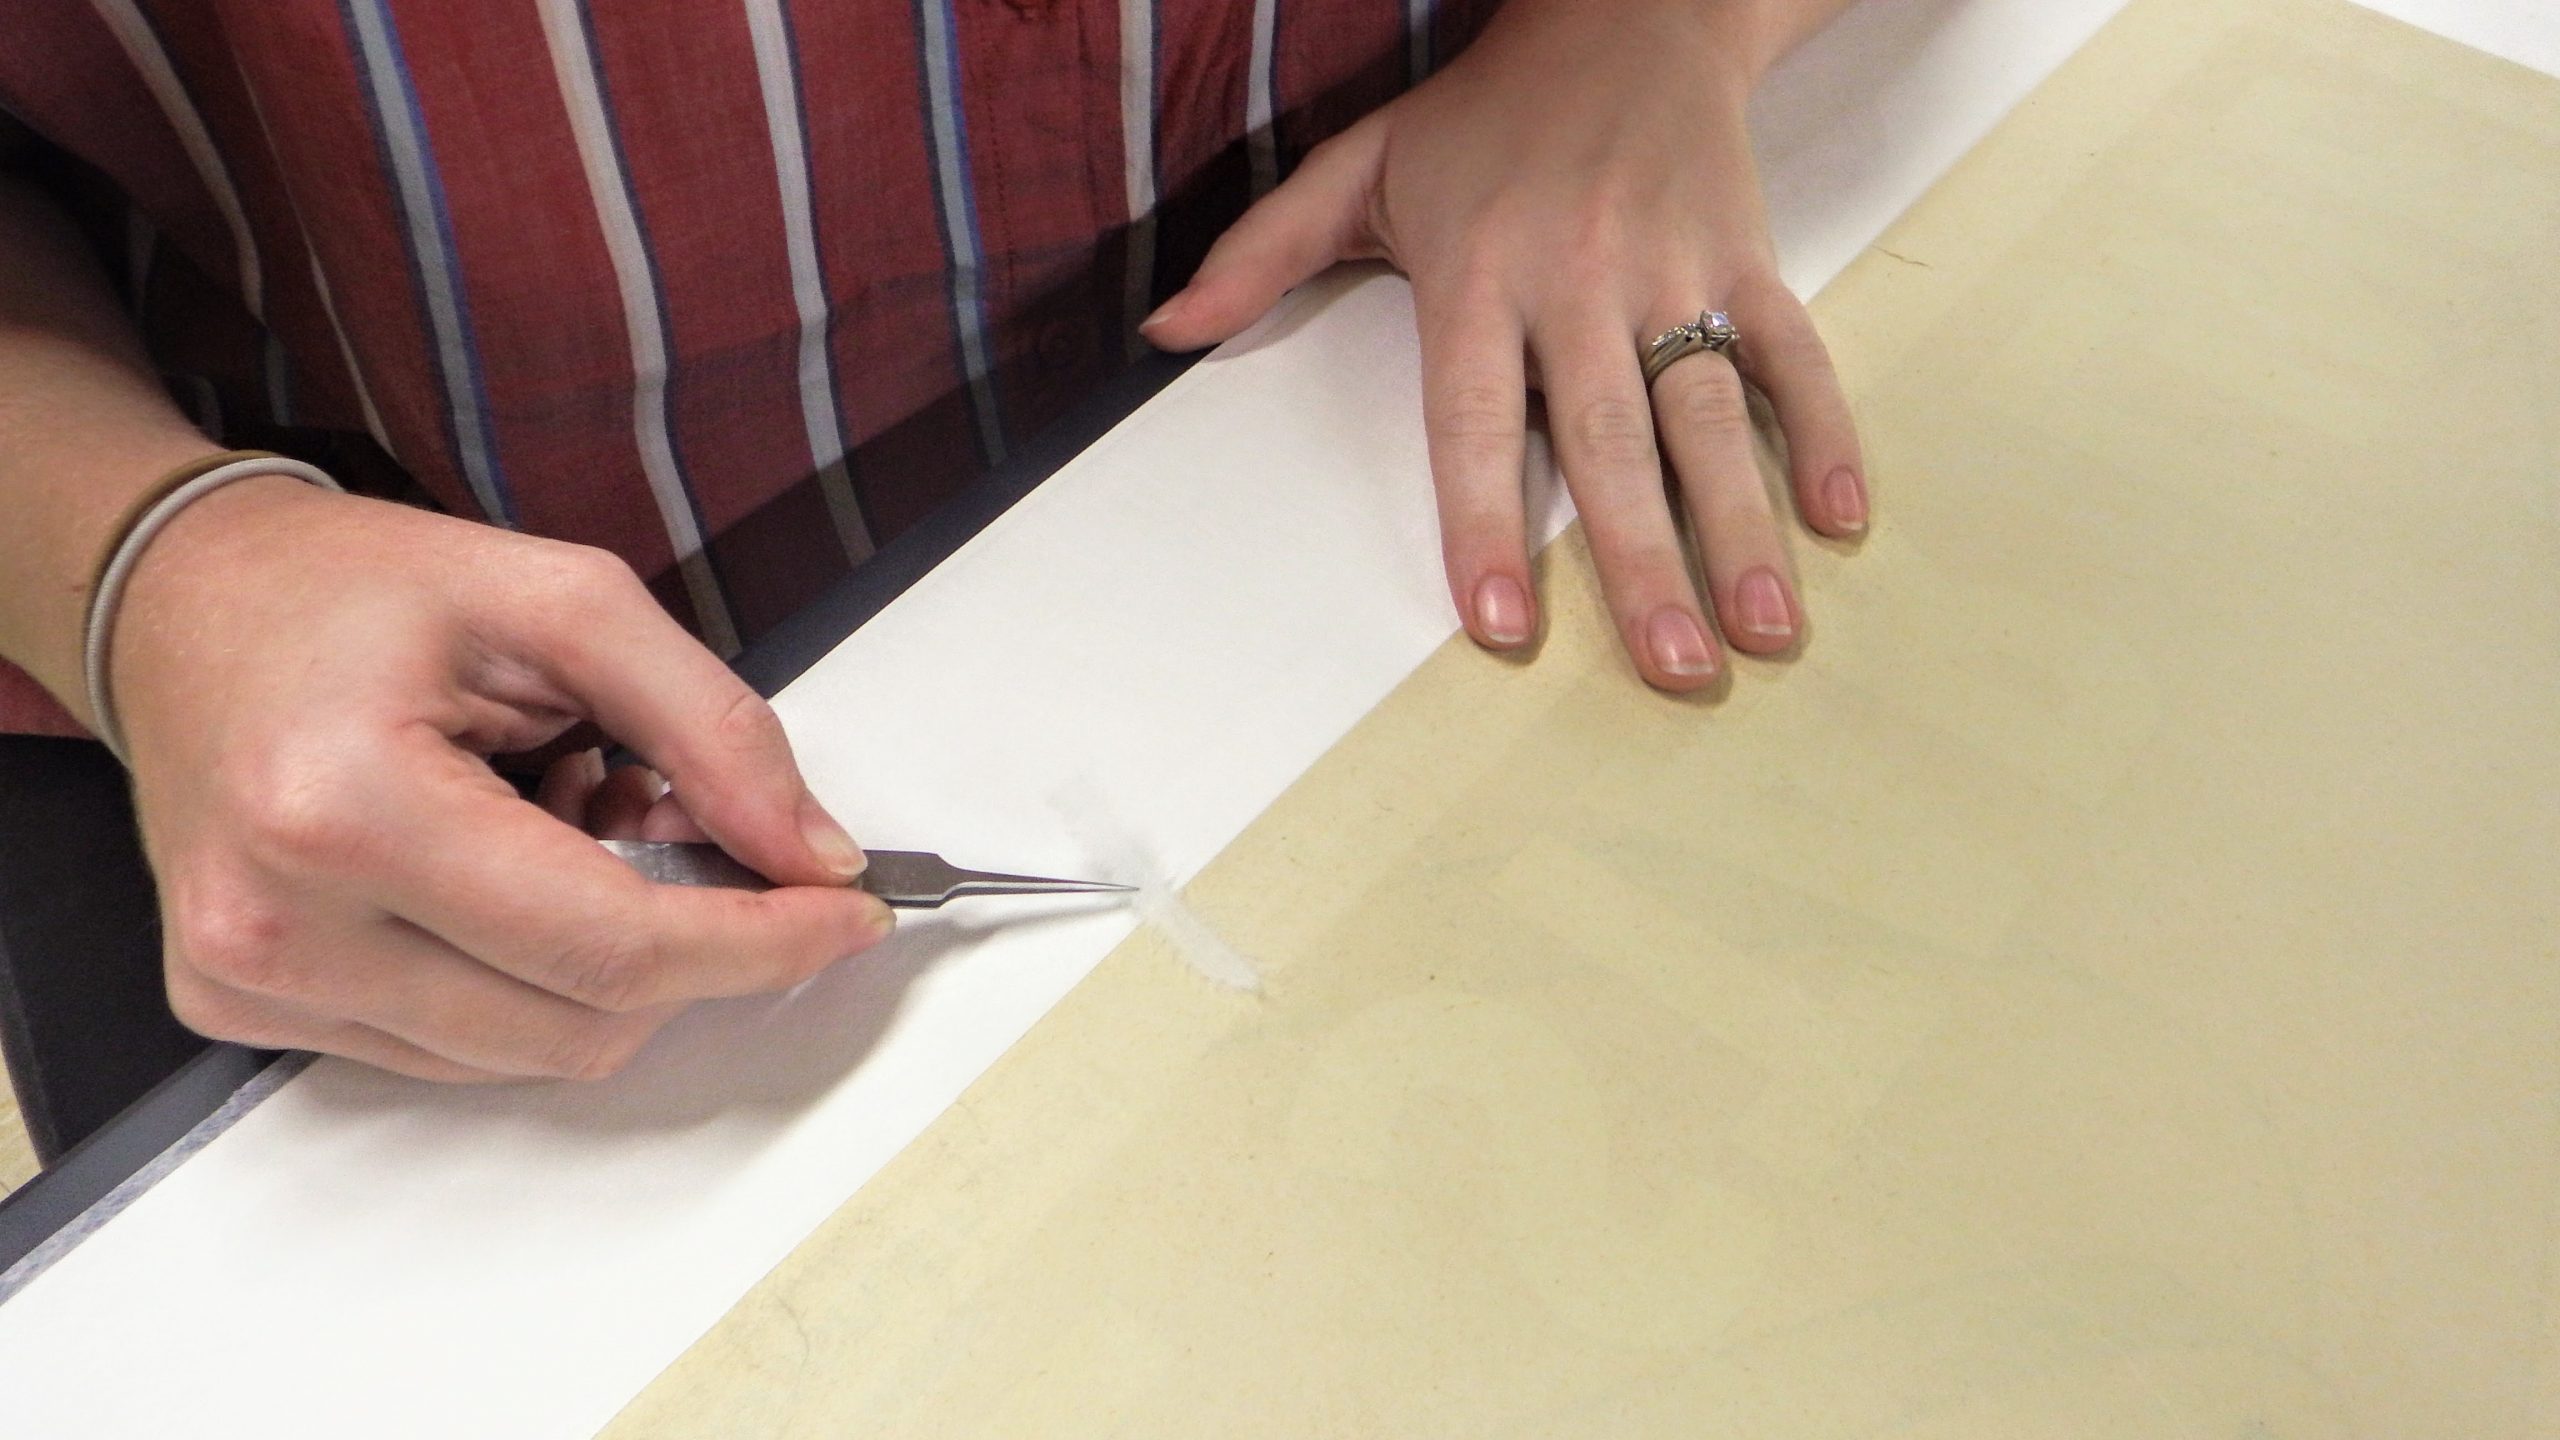
Finally, last step in the treatment was to fill the large loss in the lower corner. Not only did this loss make the object harder to handle and thus more vulnerable to damage, but it was also visually distracting and drew the viewer’s eye away from the printed image. Therefore, the fill material had to be chosen to match the original paper closely, or the fill would become the new distraction. Luckily, I was able to track down a high-quality, handmade paper that matched the thickness and texture of the original paper fairly well (see fig. 8). The tone of the paper was close, but still needed to be modified slightly with washes of acrylic paint. After an appropriate color was reached, the fill was cut out and the edges where it would meet the original paper were chamfered using a scalpel to achieve a smooth transition. Finally, the fill was attached using wheat starch paste.
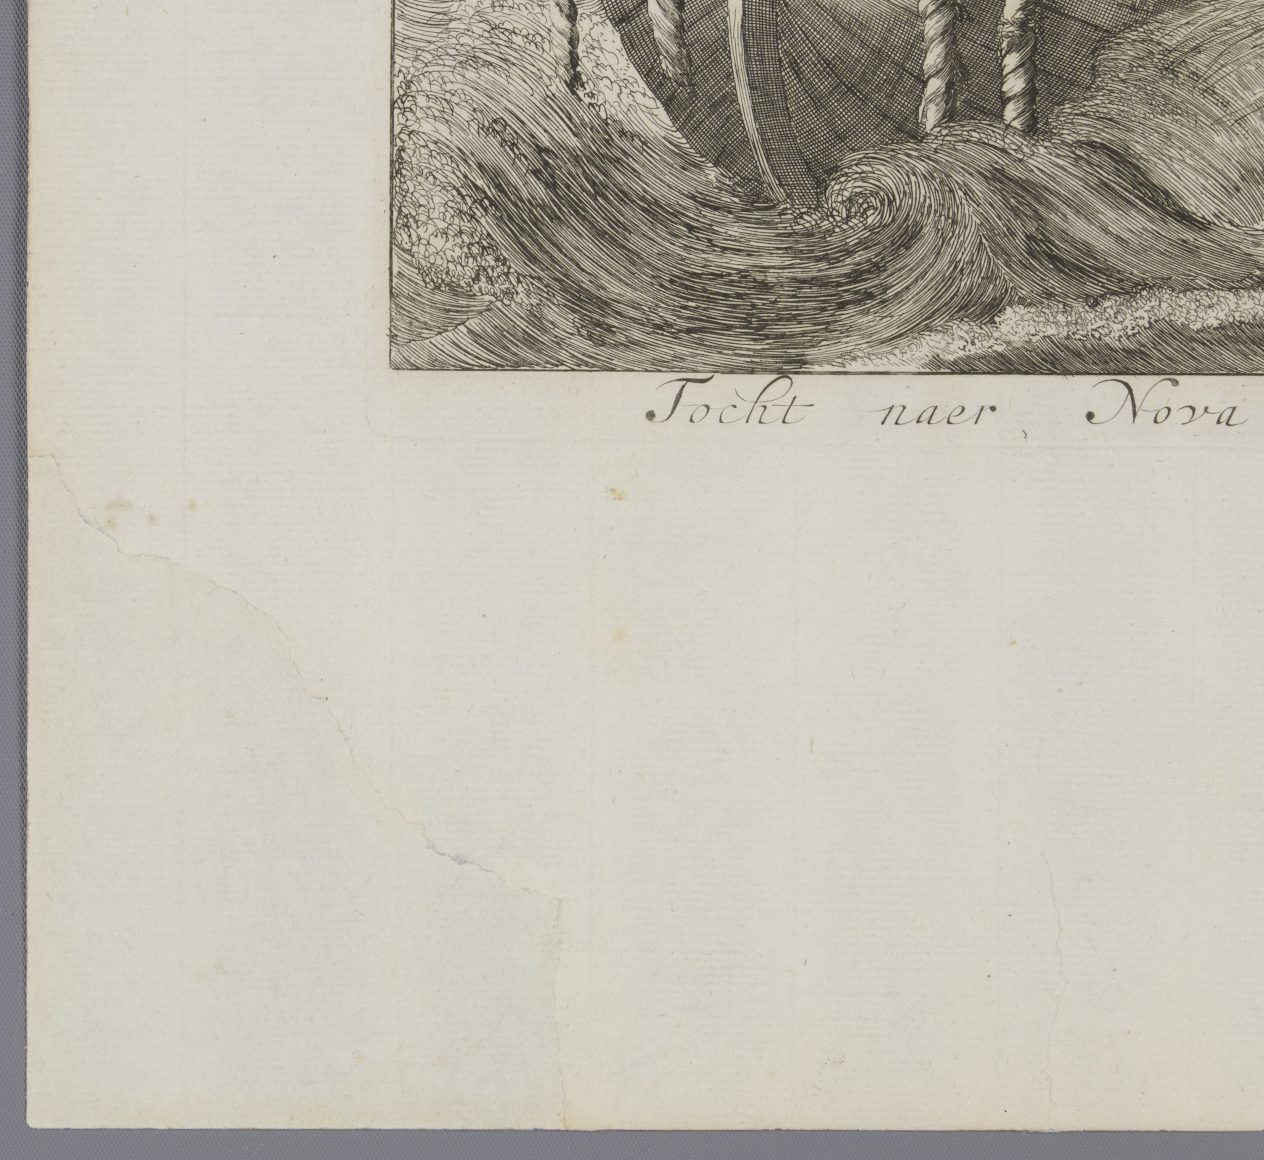
After treatment the object was placed in a storage mat to protect it from dust and handling damage and returned to storage. Overall, the project took about 15 hours of active treatment time – time well spent in stabilizing a piece of maritime history!

Of course, this and all treatments are unique and are tailored to the specific needs of the object being treated. However, this project demonstrates a couple of fairly common techniques used in paper conservation, and hopefully gives some insight into how these objects are cared for at the museum!