Hello, everyone! I’m Olivia Haslam, the newest addition to The Mariners’ Conservation team. I joined the team back in October 2021 as an assistant archaeological conservator working with USS Monitor. I recently graduated from Cardiff University with a Master’s in Conservation Practice, and I’m excited to present my first completed treatment with you here.
What is a Re-Treatment?
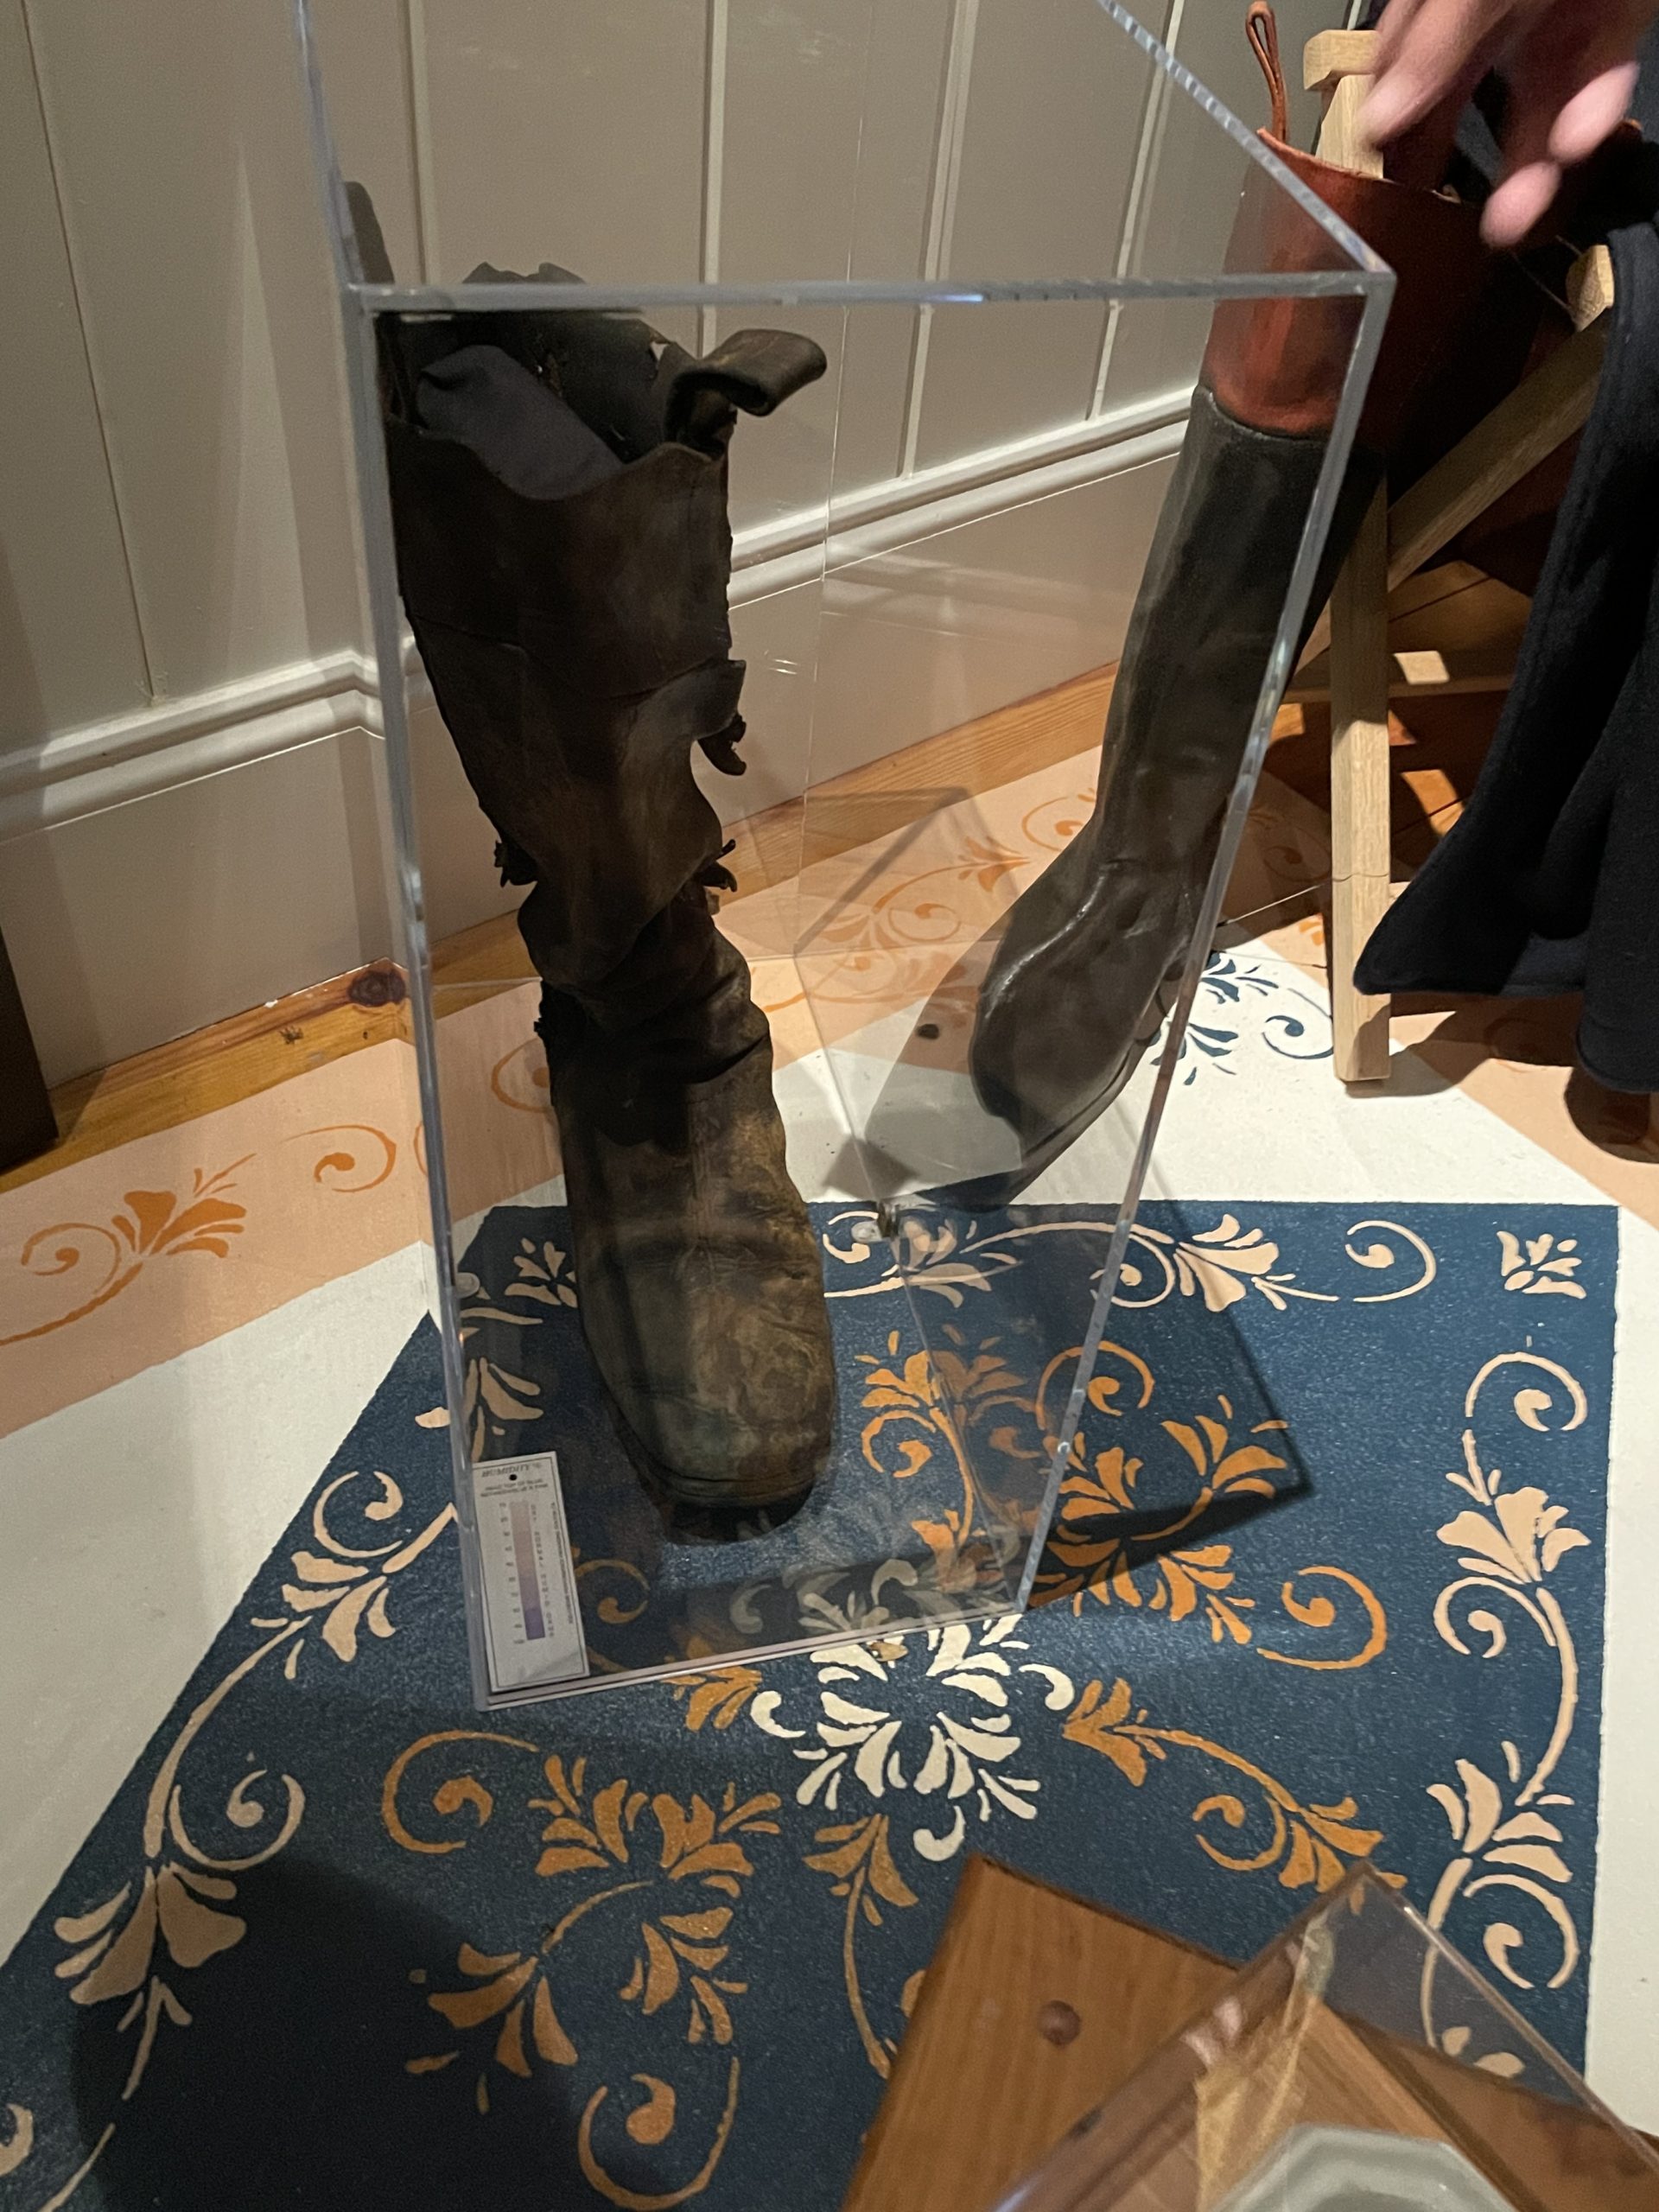
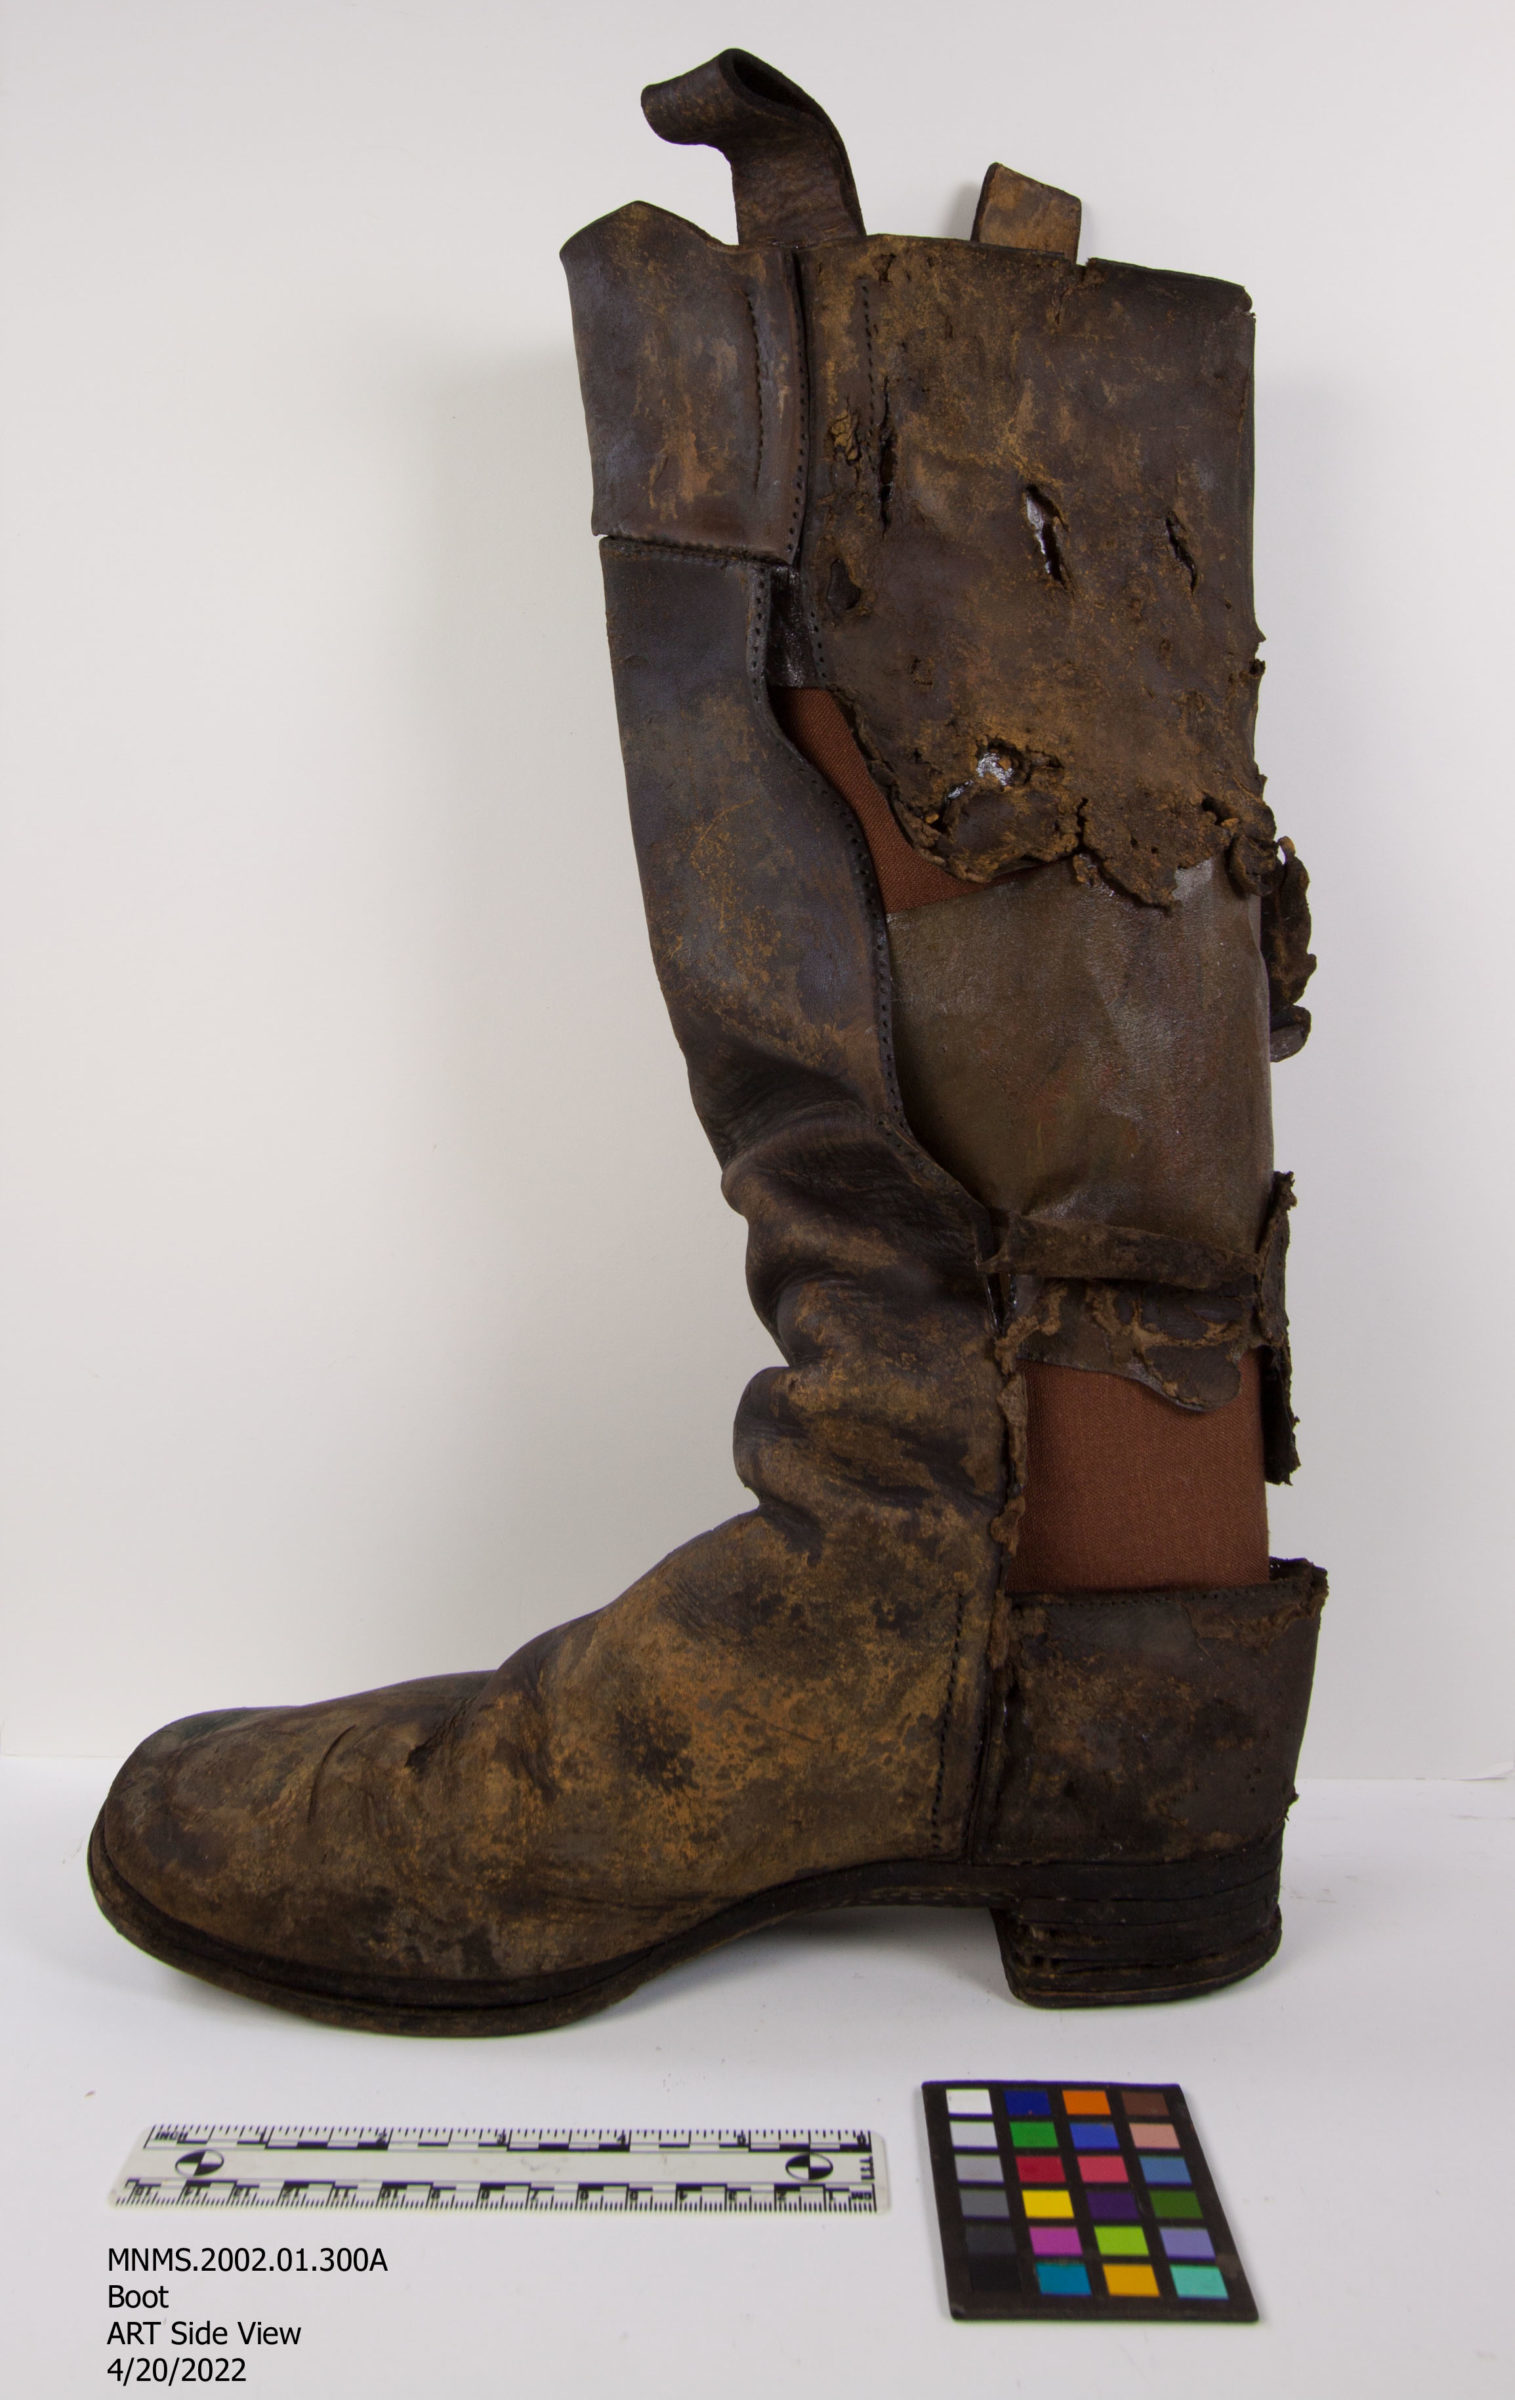
This treatment is a “re-treatment.” Occasionally, we’ll have an object that needs to be re-treated for various reasons. In this case, the Wellington boot was on display in our Monitor Center gallery. It is one of two boots from USS Monitor excavated from the turret and is the most complete of the pair. This boot was displayed in Lieutenant Samuel Dana Greene’s cabin in the replica of USS Monitor’s crew quarters. As the boot is made predominantly of leather, fluctuations in humidity can cause the leather to expand or contract. These fluctuations caused the boot to slump over on its support. During a routine check of the galleries, Lesley Haines, a fellow archaeological conservator, found the boot leaning against its vitrine case. The decision was made to pull it off display for re-treatment. Not long after, I joined the team and took on the project as my first treatment project.
Getting Started
I didn’t jump straight into treatment. Instead, I focused on determining exactly what had changed during its time on display. Edges of the leather had begun to lift away from the lining layer and curl in on themselves, in addition to the boot having slumped partially over. I compared the after-treatment images with the boot itself to see any changes.
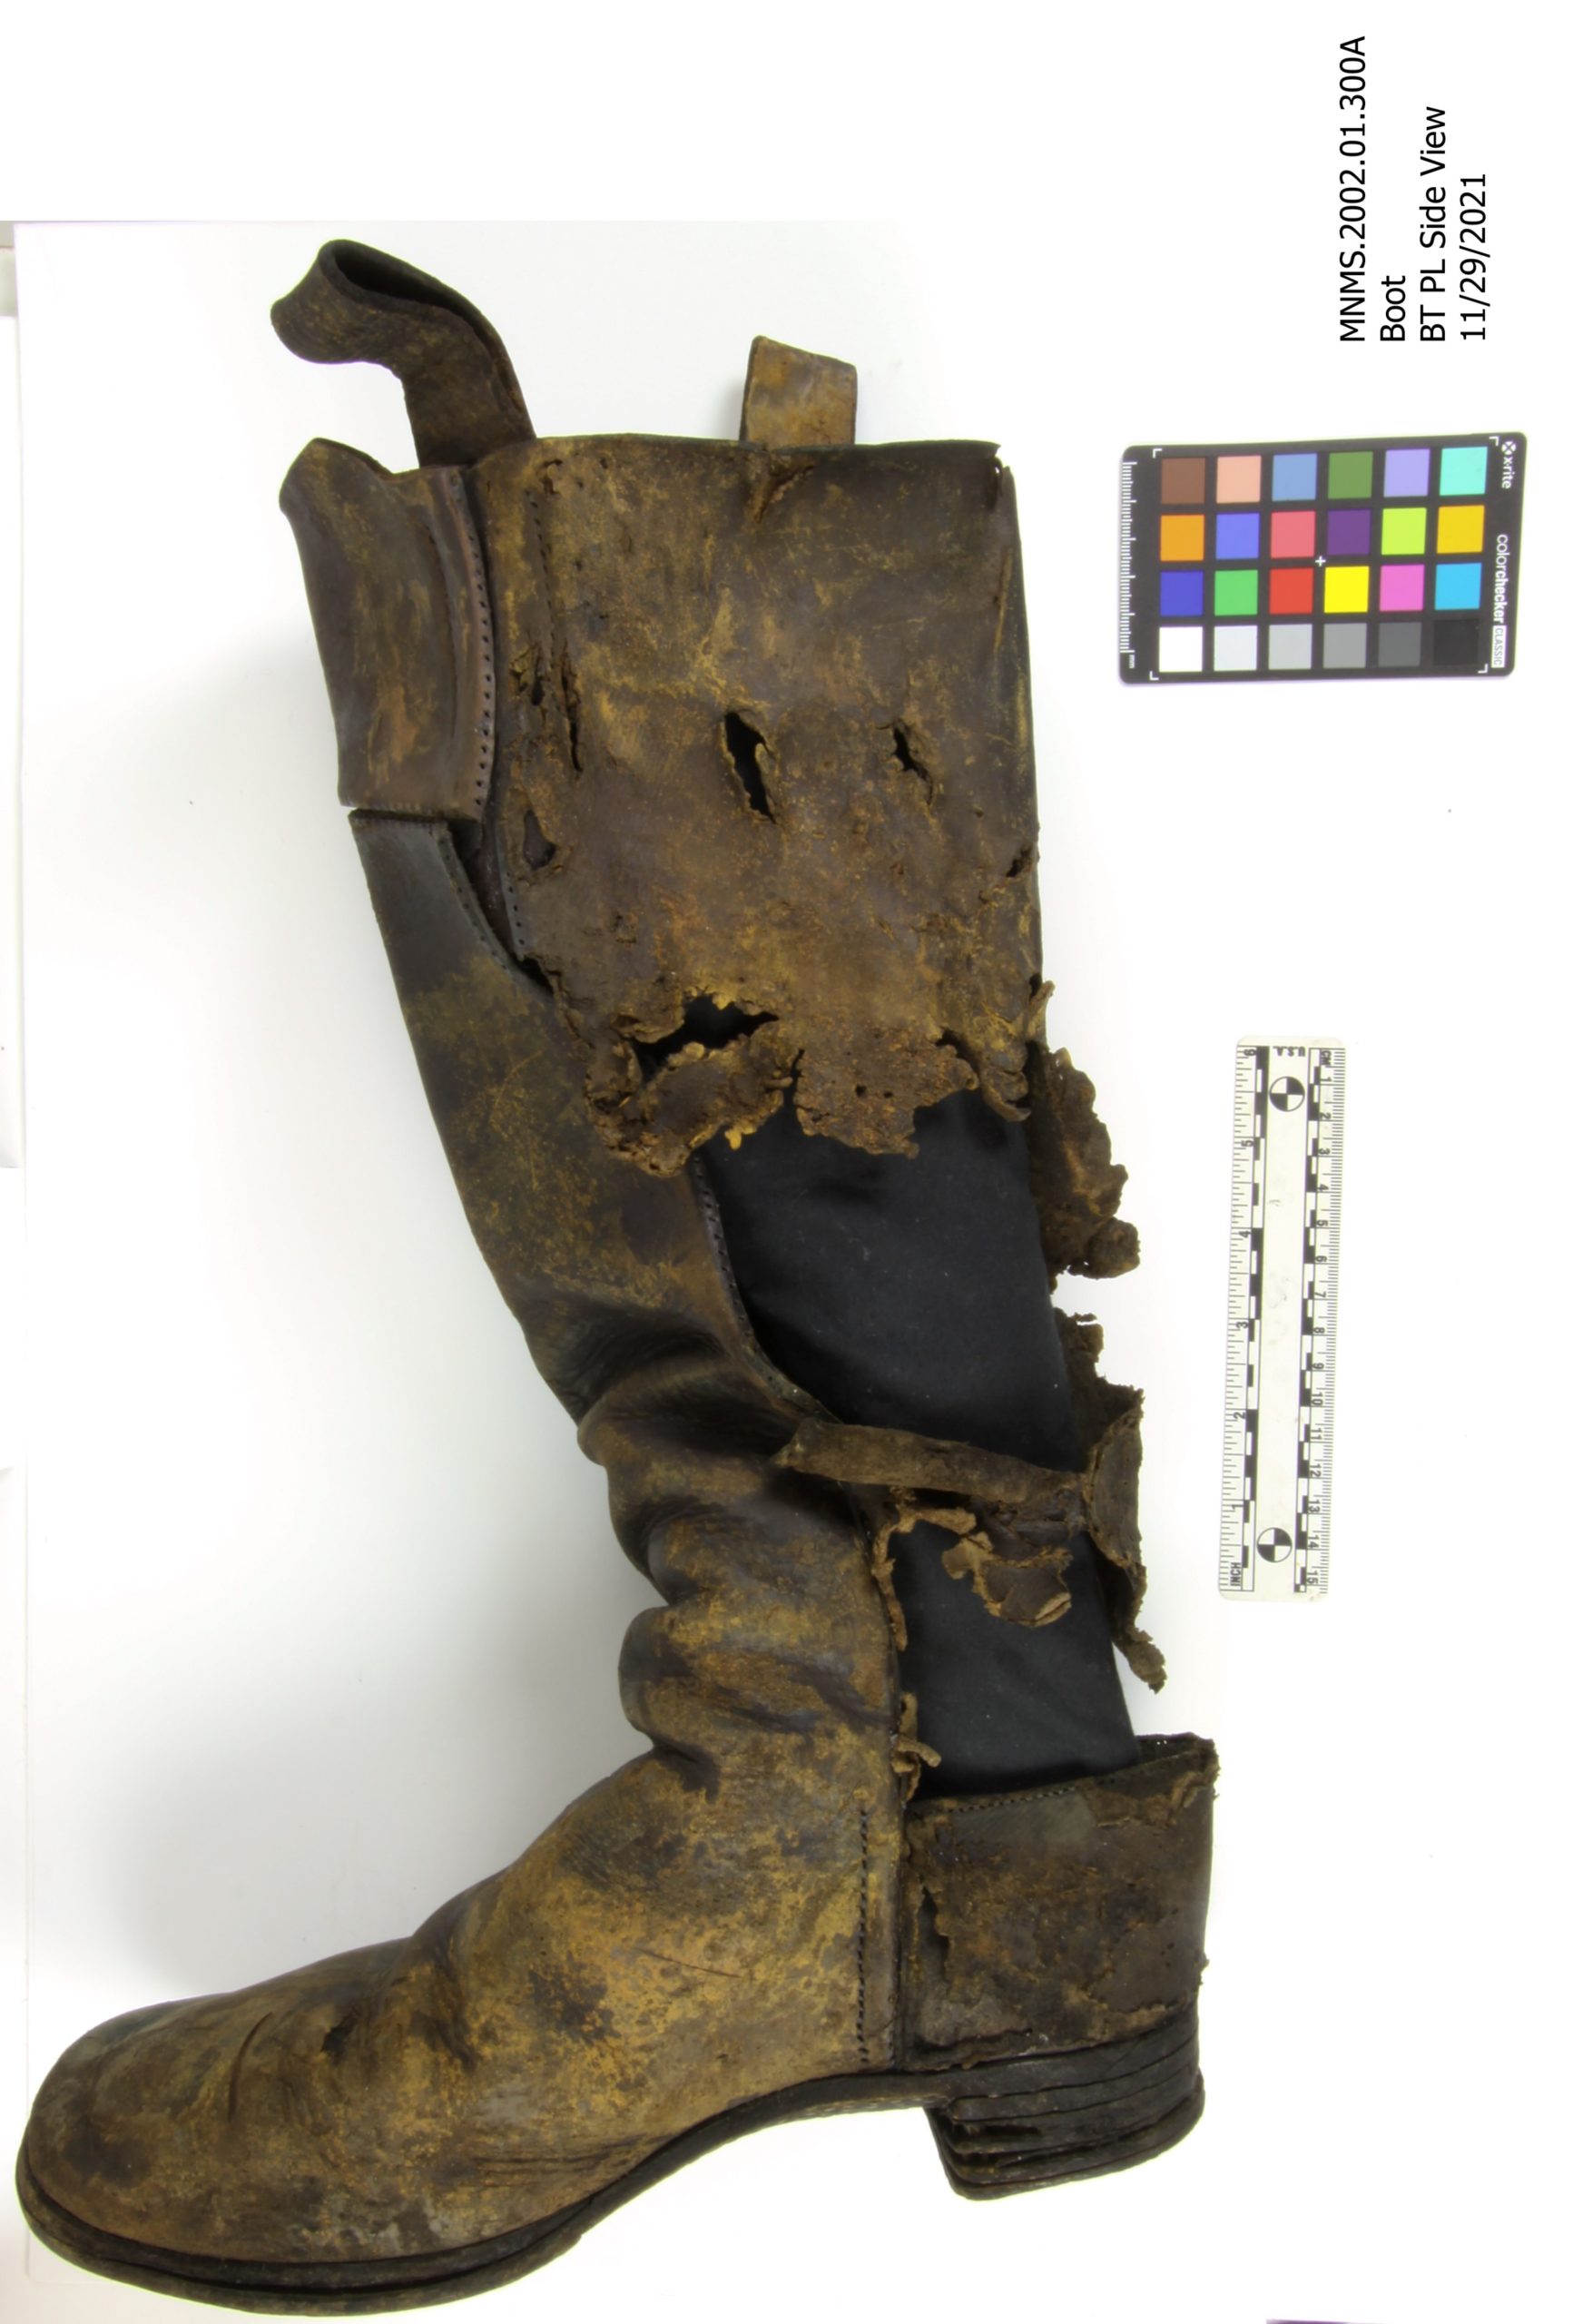
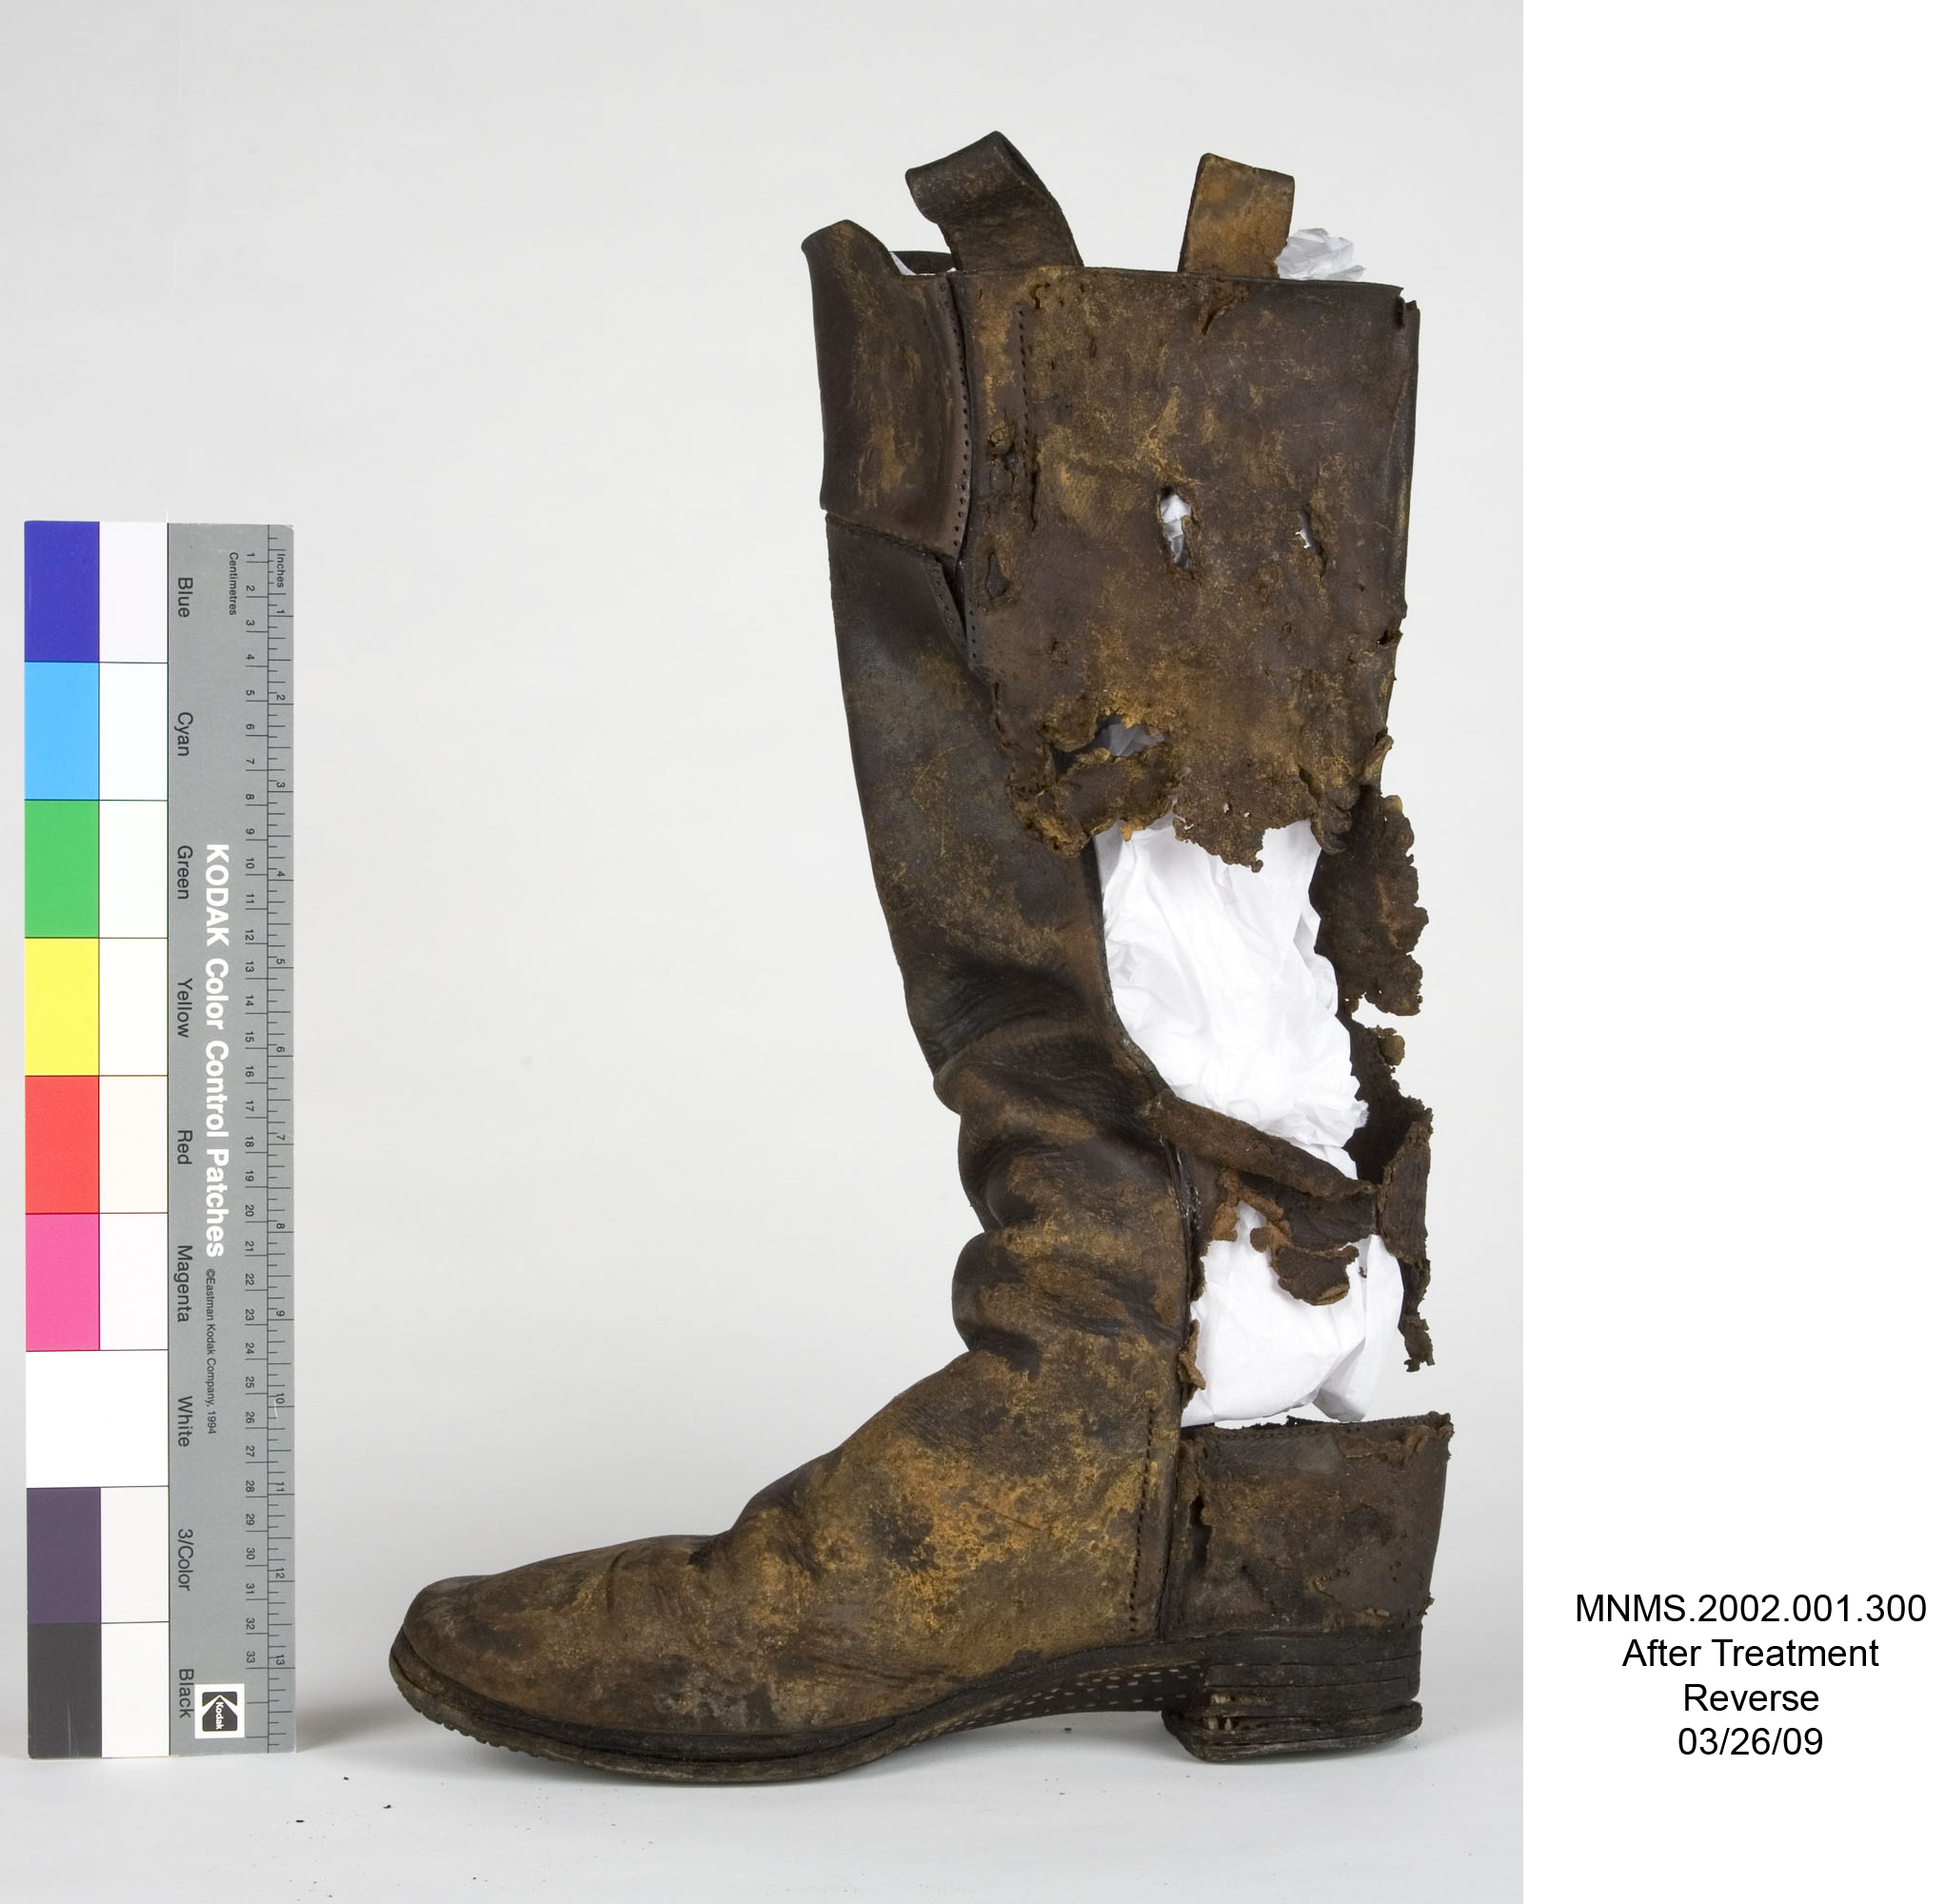
The boot clearly needed a more robust support system inside as the previous insert was not keeping it upright. Additionally, the large losses were contributing to the boot’s inability to maintain an upright position. Some smaller leather pieces had been lined to provide stability, but the major losses were left unlined to showcase the condition of the boot as an archaeological shipwreck object. I decided to add a stabilizing lining layer to provide further support. It would still showcase its origin while also supporting the fragile leather.
After taking ”before” re-treatment photographs, I moved forward with creating a treatment plan. This involved deciding on the materials needed for both the lining and new insert, and the method of treatment.
In the end, treatment was split into four main steps: lining of the boot’s interior; humidification and reshaping of the curling leather; cleaning and coating of the copper alloy boot tacks; and creation of a new support insert.
Treatment Begins
I began with gently surface cleaning the boot to remove any dirt or dust. A slightly damp swab helped pick up anything remaining on the surface. This also helped give me a better sense of how fragile the leather was.
Once surface cleaning was finished, I moved on to creating the new interior lining layer. I laid out a portion of reemay, a spun polyester cloth used in conservation. The color of reemay is a rather stark white compared to the boot. So, I decided to tone it using acrylic paint to match the boot better and not draw the eye when back on display. This lining layer was then carefully placed inside after removing the original support insert. Testing was undertaken to determine the best adhesive for the job, and four different adhesives were tested. It was decided to use a conservation adhesive from the brand Lascaux to adhere the lining to the interior. This was done before slow and controlled humidification was applied to the boot to help uncurl the edges.
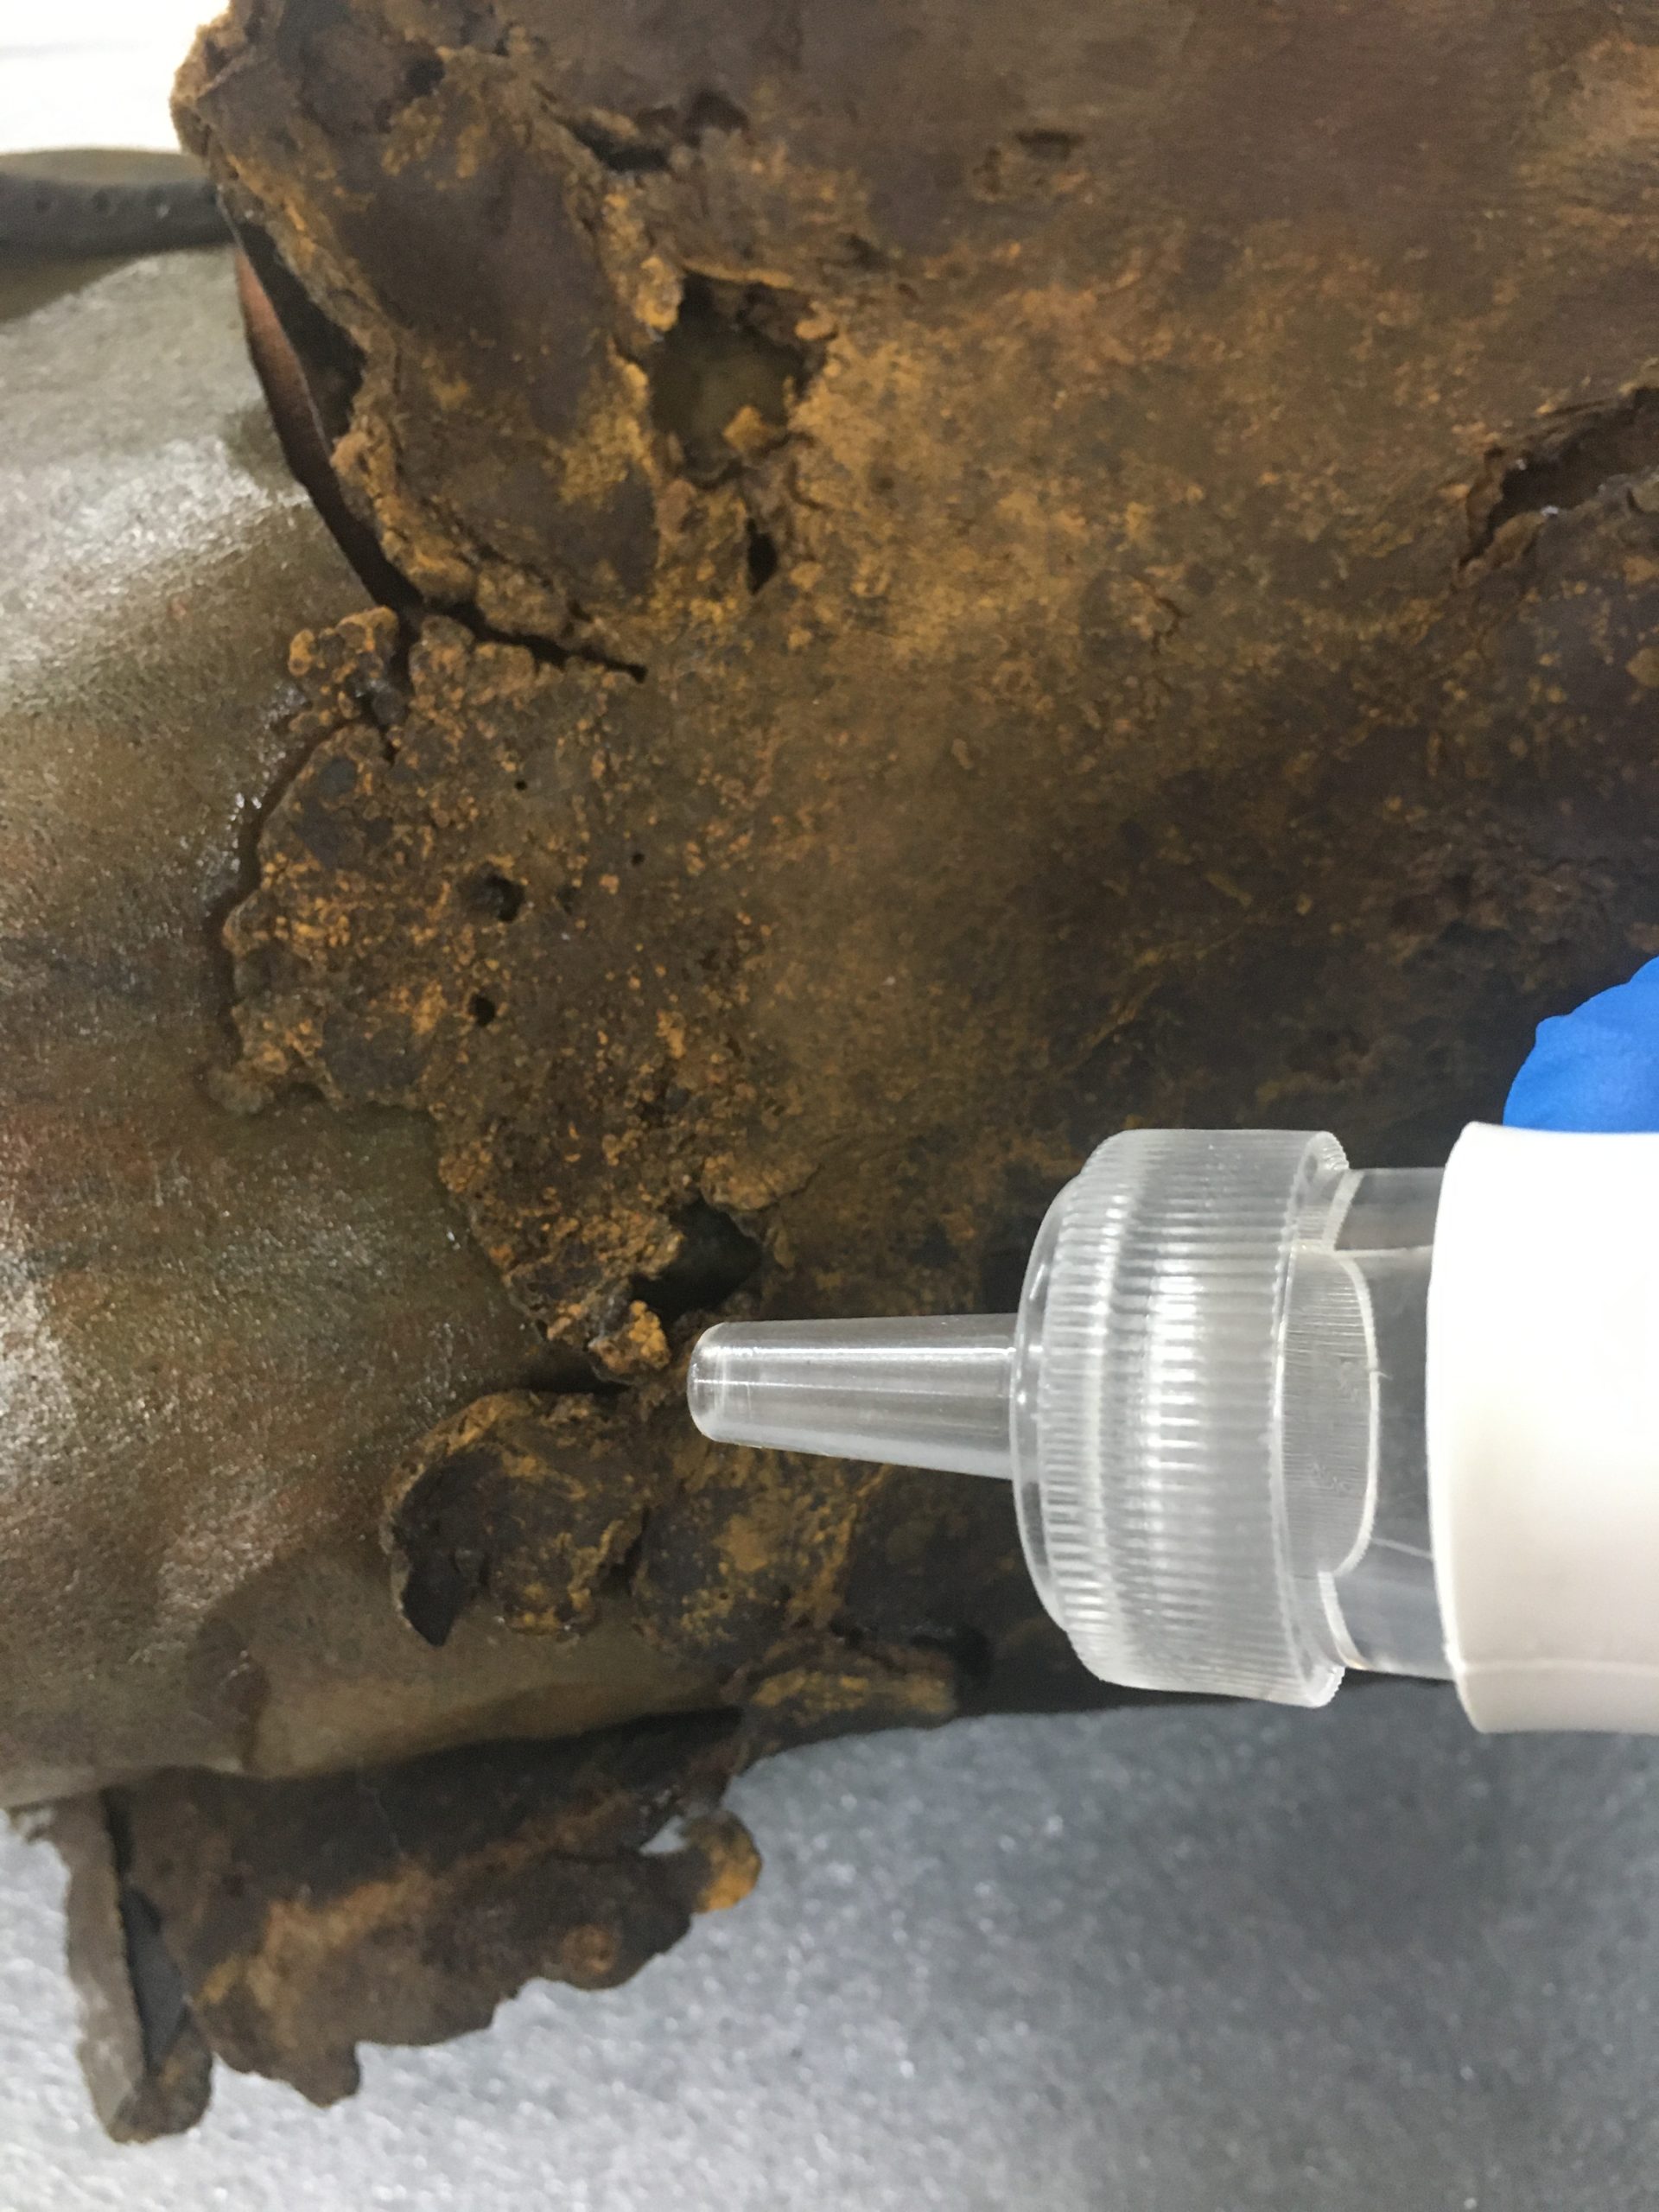
When I was happy with the lining, I moved on to humidification. Without damaging the fragile leather, I used a sonic nebulizer with deionized water and applied localized humidification to the edges. The high humidity gives the leather a bit of give, allowing me to gently uncurl the leather and adhere it down to the new lining layer. I did this in stages to minimize any chance of mold and allow proper time for the adhesive to set. During this time, the uncurled leather was secured in place under weight.
The next step was the cleaning and coating of the copper alloy tacks. I used a scalpel and a porcupine quill to remove the surface corrosion gently. A swab dampened with deionized water was used to remove any corrosion powder located on the leather from the tacks. Following cleaning, I used an acrylic adhesive solution to coat the cleaned copper alloy tacks. This step intended to seal the tacks, which should help prevent future corrosion.
My last step involved the creation of a new foam insert. It needed to be easily removable but shaped to fit well inside to provide support. I used several pieces of ethafoam and carved them down to fit properly inside. These were then wrapped in polyester batting to pad out the shape. All of this was then sewn into a brown fabric sleeve.
Moving Forward
All that’s left now is to make some changes to the display case. The boot is still somewhat slumped over as the leather did not move back to being straight up and down. A slight bump to the heel will keep it upright, along with the addition of a data logger to track changes in humidity. The Mariners’ Exhibit Design team is doing this work.
Keep an eye out for the boot back on display soon!